Published: Nov 21, 2024 by Isaac Johnson
First, credit to Marius of MariusHosting again for finding this very cool CICD suite, OneDev. I came across his post a week ago about hosting it on a NAS and really wanted to try it in Kubernetes.
OneDev
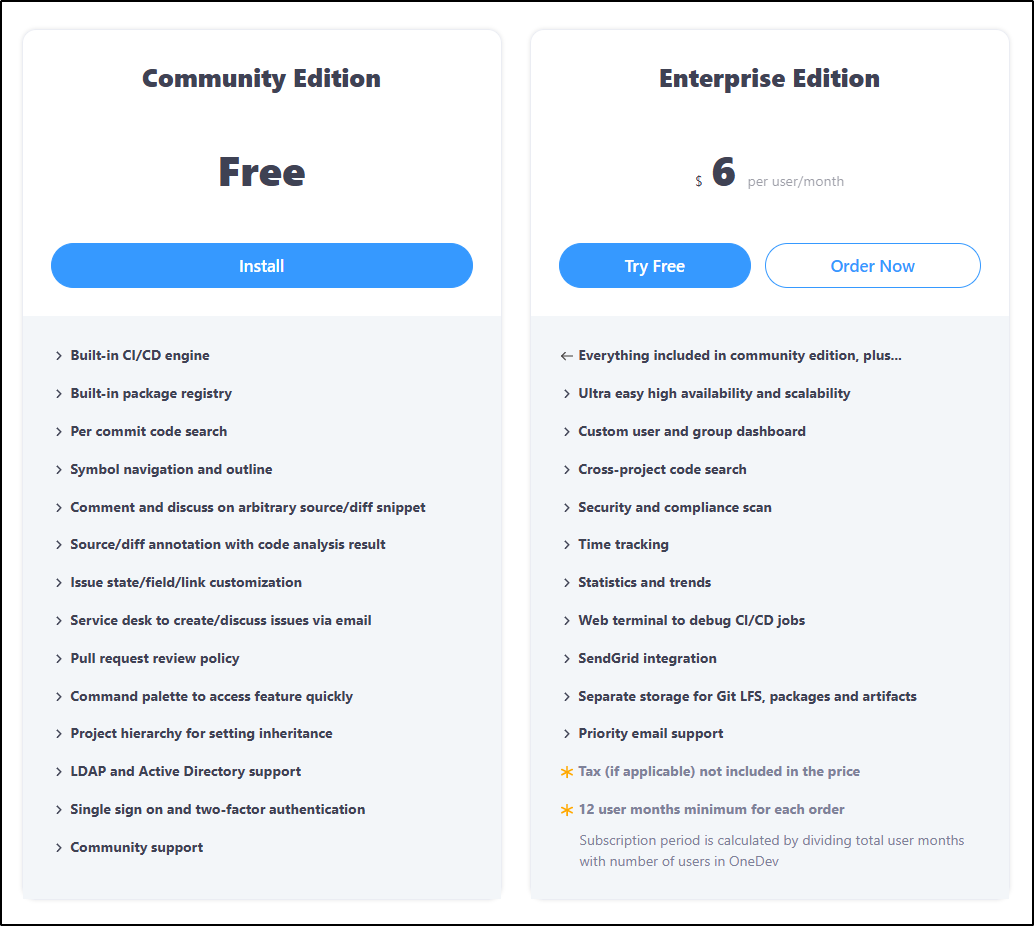
First, let’s cover the two editions available - Community, which is free, and Enterprise which is US$6/mo.
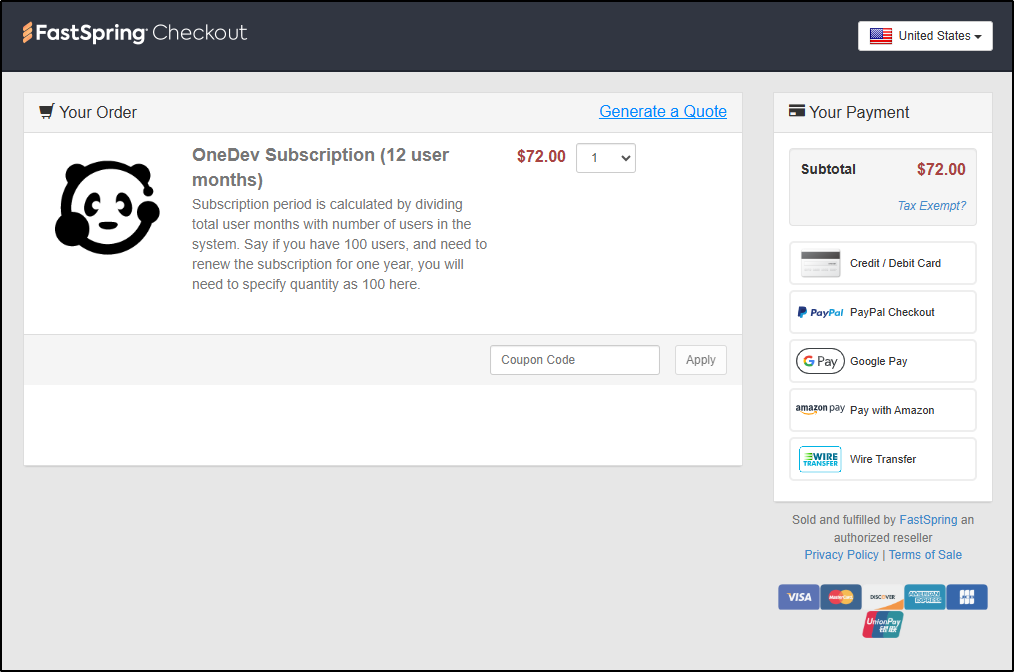
I would jump right in on the enterprise if it weren’t for that small note about a 12-user month minimum order
Kubernetes install
Let’s start with Kubernetes as they have good Helm docs already
I’ll add and update the chart
$ helm repo add onedev https://dl.cloudsmith.io/public/onedev/onedev/helm/charts
"onedev" has been added to your repositories

$ helm repo update onedev
Hang tight while we grab the latest from your chart repositories...
...Successfully got an update from the "onedev" chart repository
Update Complete. ⎈Happy Helming!⎈
They do have ingress values so I was tempted to setup Ingress immeditiately. However, they do not let me set the Issuer in the annotations which is a blocker for me. Therefore, we’ll do a standard helm install and come back on the Ingress
$ helm install onedev onedev/onedev -n onedev --create-namespace
NAME: onedev
LAST DEPLOYED: Sat Nov 16 08:08:52 2024
NAMESPACE: onedev
STATUS: deployed
REVISION: 1
TEST SUITE: None
NOTES:
CHART NAME: onedev
CHART VERSION: 11.5.2
APP VERSION: 11.5.2
###################################################################
#
# CAUTION: If you are upgrading from version <= 9.0.0, please make
# sure to follow https://docs.onedev.io/upgrade-guide/deploy-to-k8s
# to migrate your data
#
###################################################################

** Please be patient while the chart is being deployed **

Get the OneDev URL by running:

  kubectl port-forward --namespace onedev svc/onedev 6610:80 &

  URL: http://127.0.0.1:6610
I’ll do as suggested
$ kubectl port-forward --namespace onedev svc/onedev 6610:80
Forwarding from 127.0.0.1:6610 -> 6610
Forwarding from [::1]:6610 -> 6610
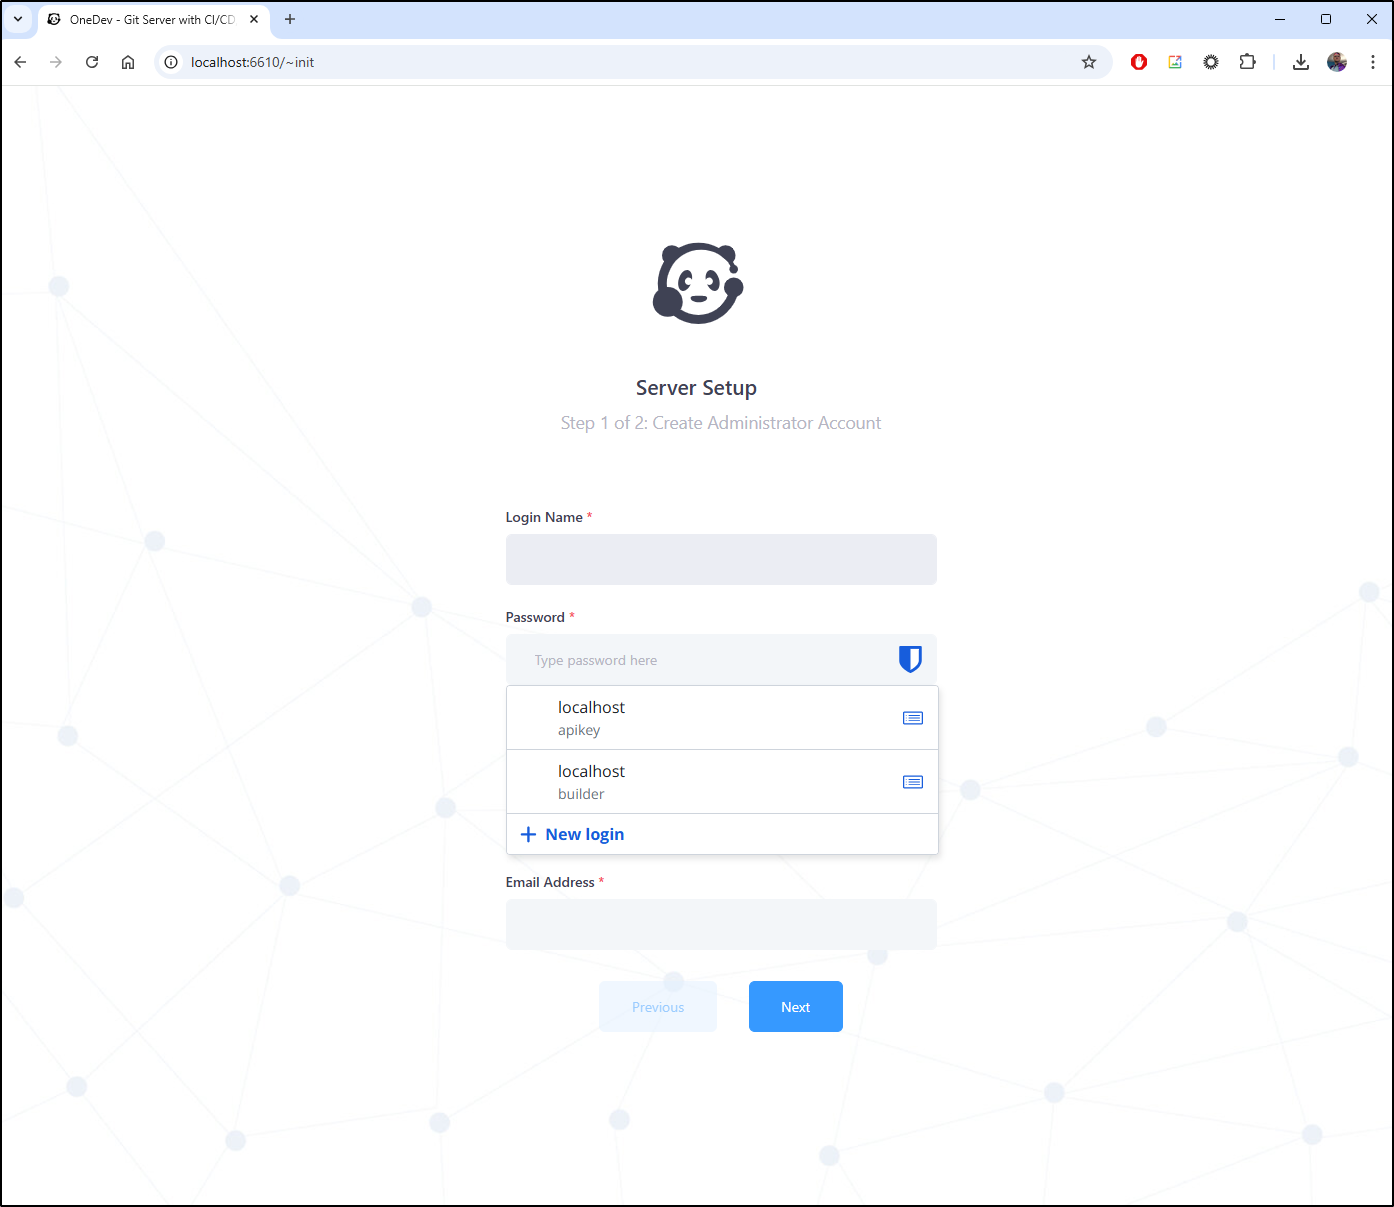
The first page of setup prompts me to create a user
I guess I’ll need to determine the DNS up front
Let’s whip up a 1dev DNS name in Azure
$ az account set --subscription "Pay-As-You-Go" && az network dns record-set a add-record -g idjdnsrg -z tpk.pw -a 75.73.224.240 -n 1dev
Then create the ingress
$ cat 1dev.ingress.yaml
apiVersion: networking.k8s.io/v1
kind: Ingress
metadata:
  annotations:
    cert-manager.io/cluster-issuer: azuredns-tpkpw
    kubernetes.io/ingress.class: nginx
    kubernetes.io/tls-acme: "true"
    nginx.ingress.kubernetes.io/proxy-read-timeout: "3600"
    nginx.ingress.kubernetes.io/proxy-send-timeout: "3600"
    nginx.org/websocket-services: onedev
  name: 1devingress
spec:
  rules:
  - host: 1dev.tpk.pw
    http:
      paths:
      - backend:
          service:
            name: onedev
            port:
              number: 80
        path: /
        pathType: ImplementationSpecific
  tls:
  - hosts:
    - 1dev.tpk.pw
    secretName: 1dev-tls

$ kubectl apply -f ./1dev.ingress.yaml -n onedev
ingress.networking.k8s.io/1devingress created
Once I saw the cert ready
$ kubectl get cert -n onedev
NAME       READY   SECRET     AGE
1dev-tls   True    1dev-tls   2m20s
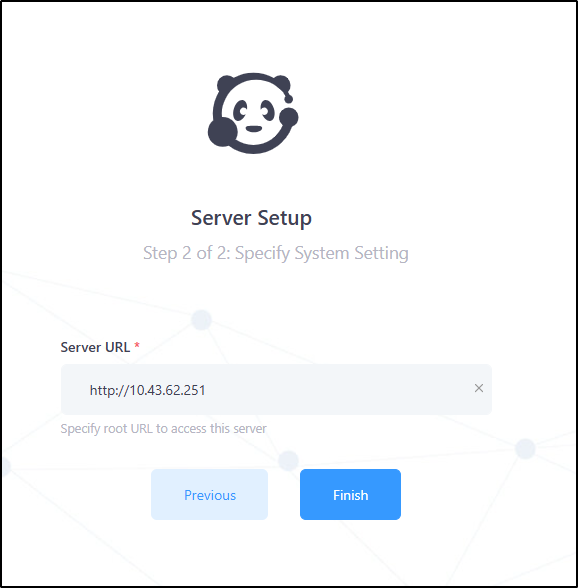
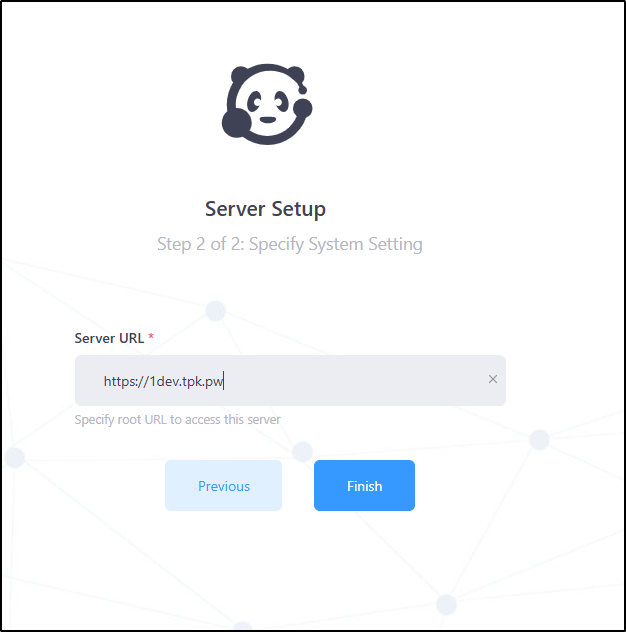
I set the proper value and clicked ‘Finish’
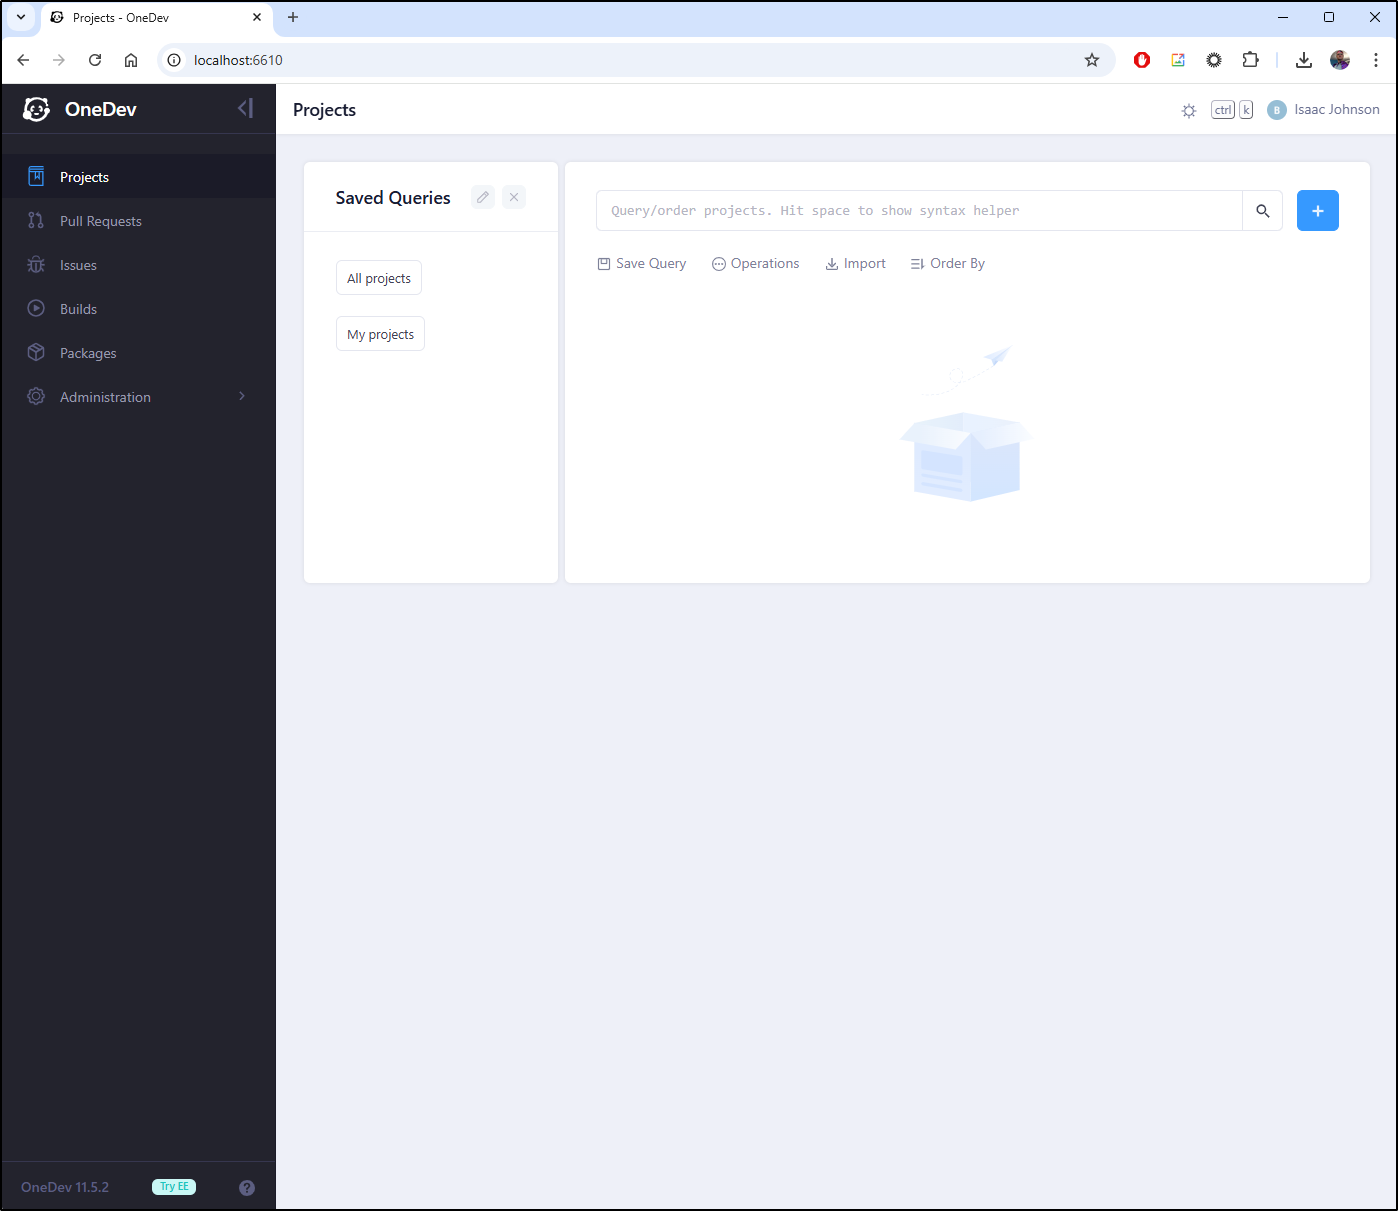
I wasn’t sure if it would redirect to the URL or not. I can confirm it kept with the port-forwarded one
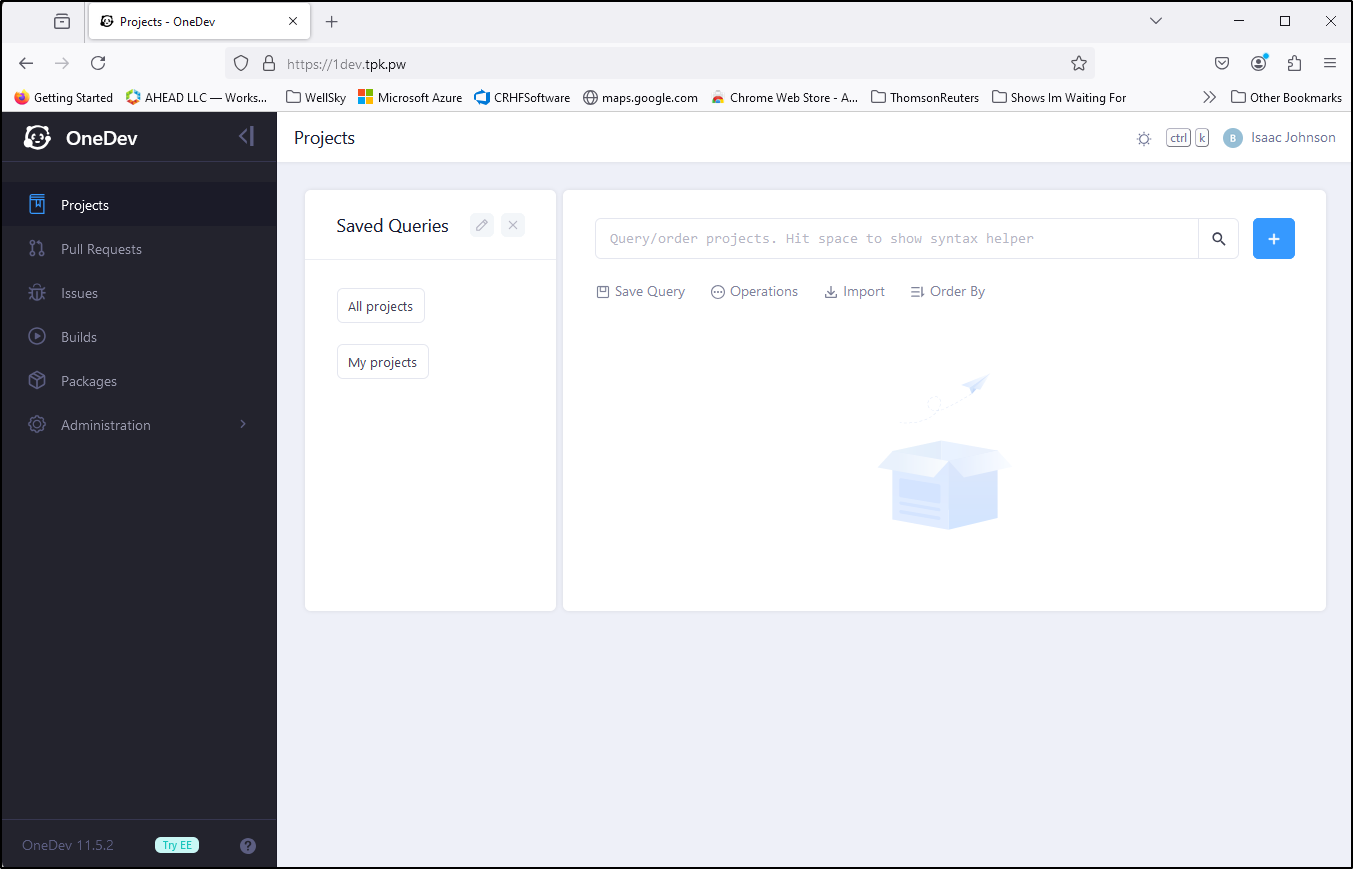
At this point I pivoted to Firefox and using the DNS name
It was interesting how compact OneDev is. It just fired up one statefulset with a PVC and service
$ kubectl get pvc -n onedev
NAME            STATUS   VOLUME                                     CAPACITY   ACCESS MODES   STORAGECLASS   AGE
data-onedev-0   Bound    pvc-a86b22bc-f10f-4faa-8dd5-28554eefd2c4   100Gi      RWO            local-path     178m

$ kubectl get pods -n onedev
NAME       READY   STATUS    RESTARTS   AGE
onedev-0   1/1     Running   0          178m

$ kubectl get sts -n onedev
NAME     READY   AGE
onedev   1/1     178m

$ kubectl get svc -n onedev
NAME     TYPE        CLUSTER-IP     EXTERNAL-IP   PORT(S)         AGE
onedev   ClusterIP   10.43.62.251   <none>        80/TCP,22/TCP   178m
Projects
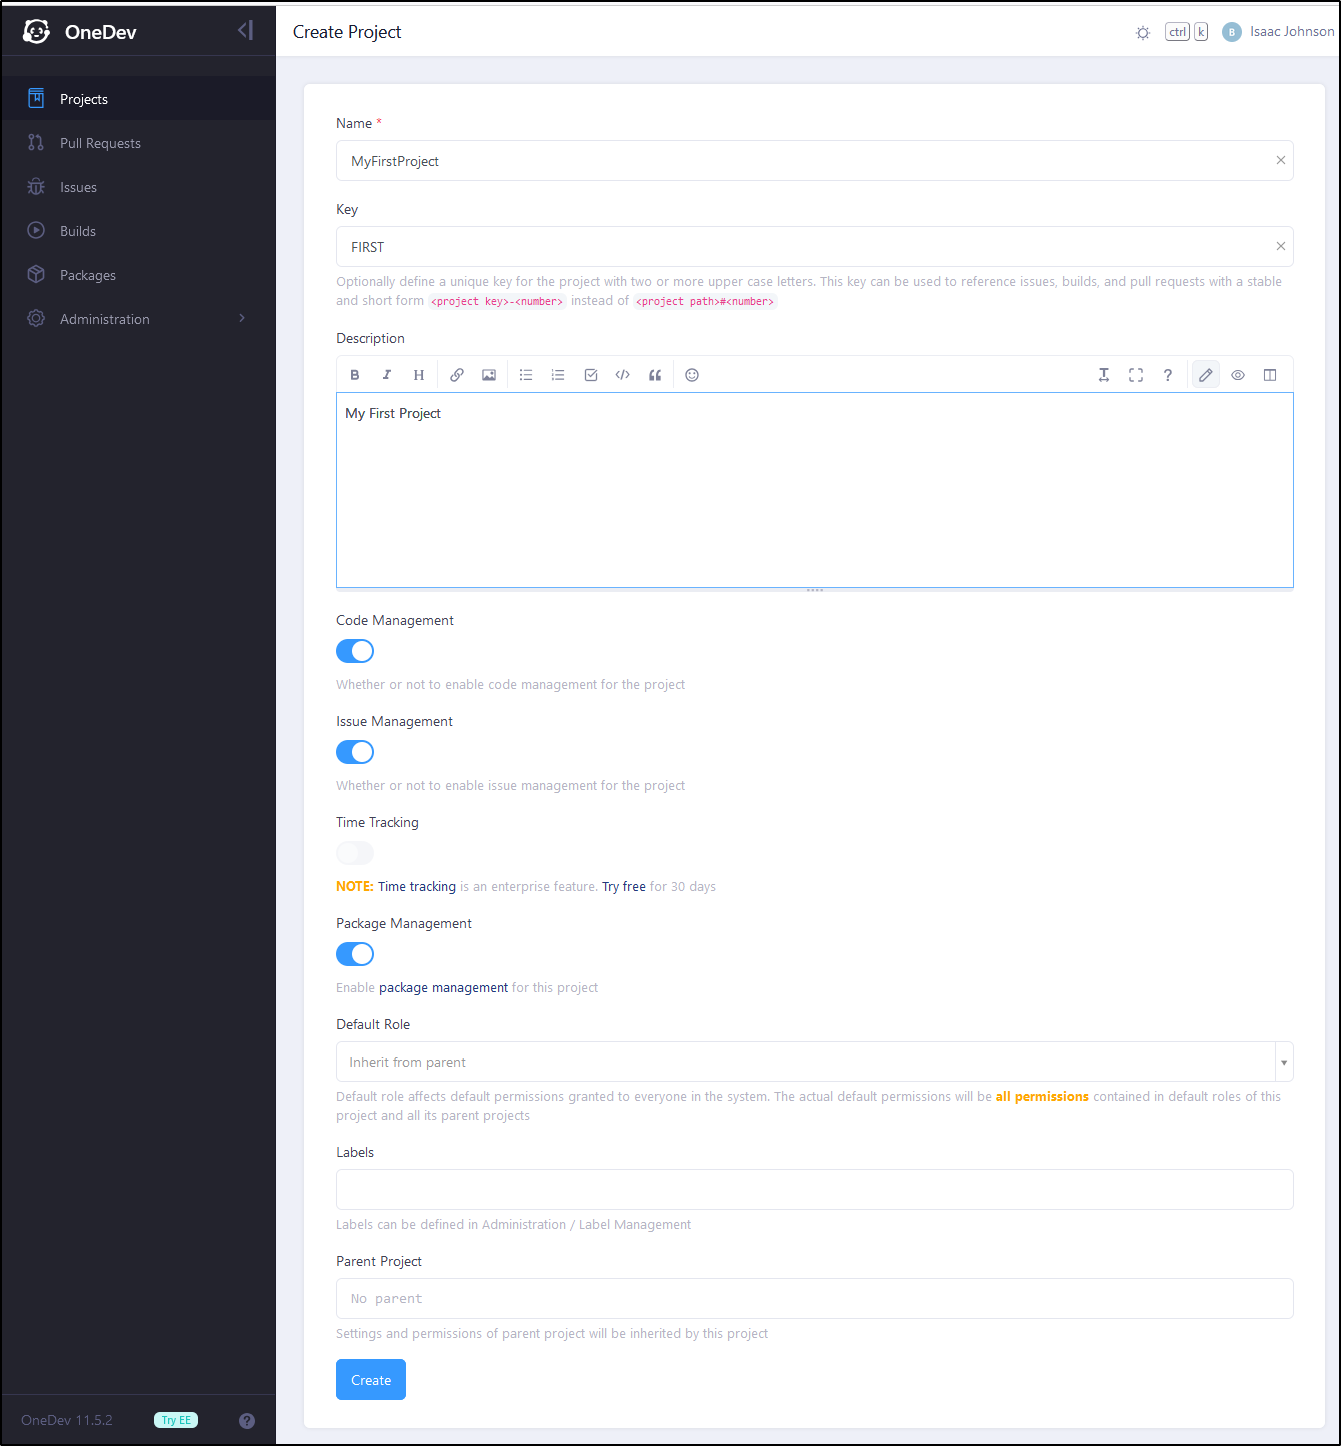
I next went to create a project
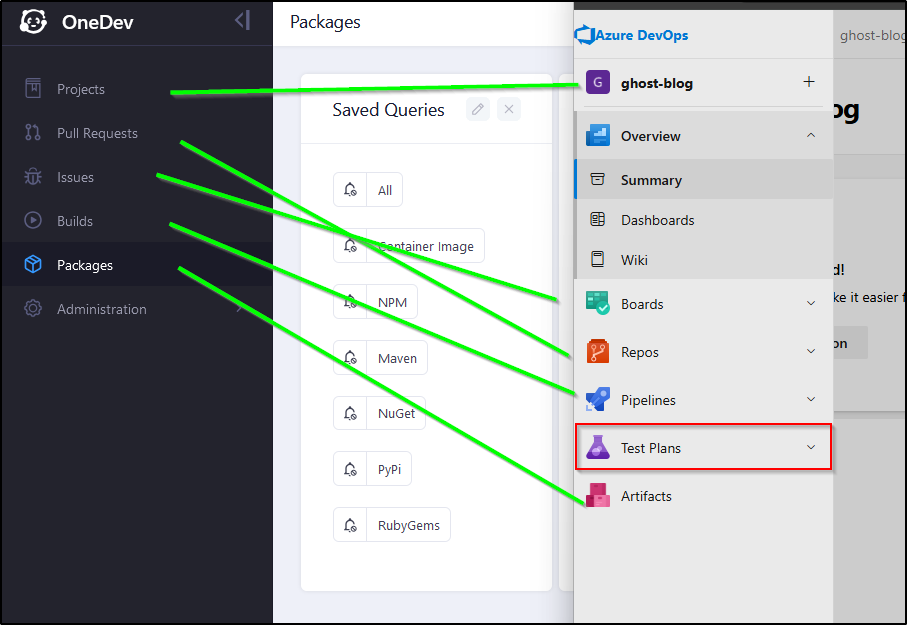
I am getting some real Azure DevOps vibes here - we have Code Management (akin to Repos), Issue Management (akin to Work Items), and Package Management (akin to Artifacts)
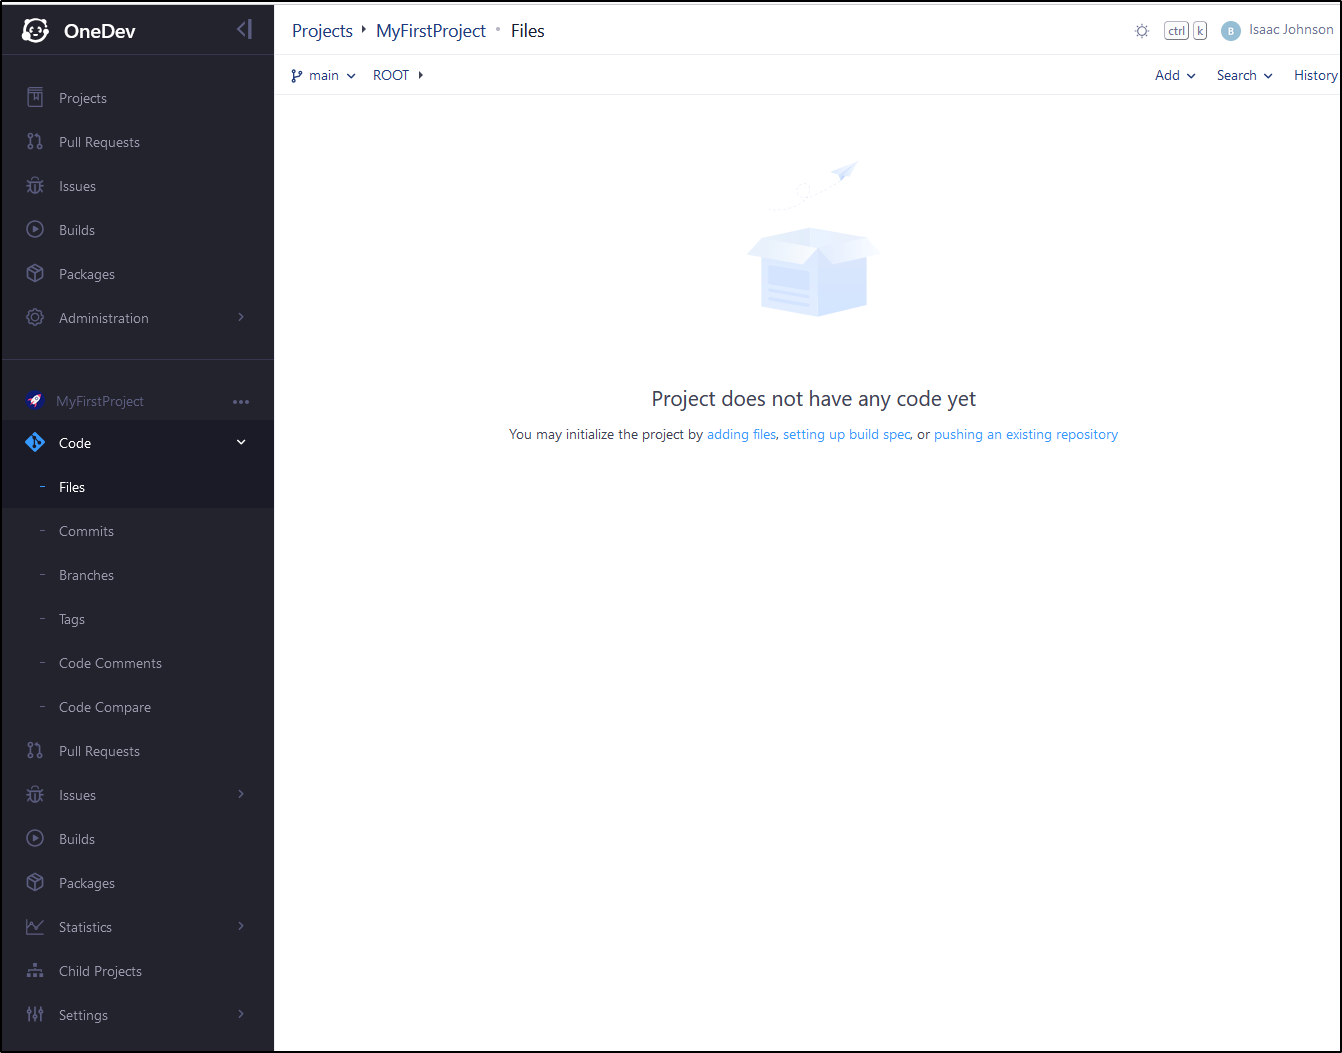
The project starts us out with an empty GIT repo
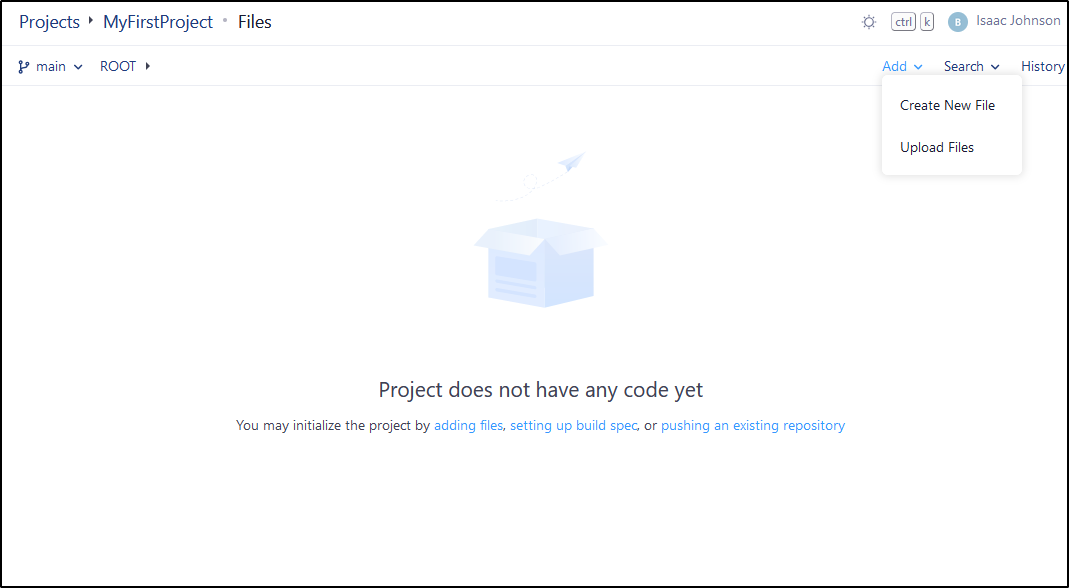
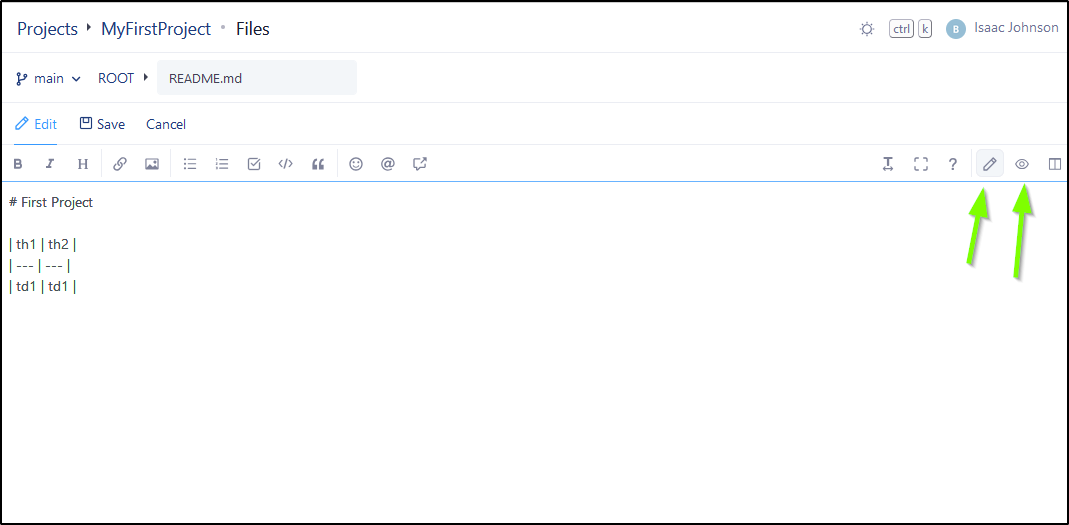
Let’s start with just adding some files interactively
As you can see we have two modes - edit
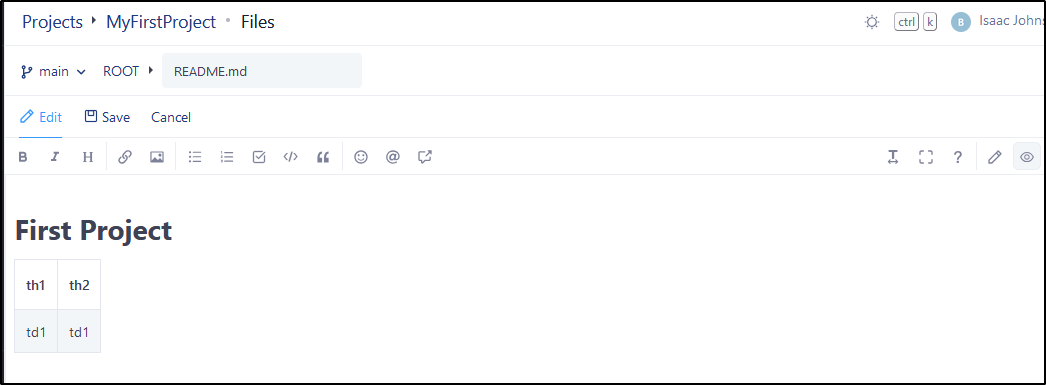
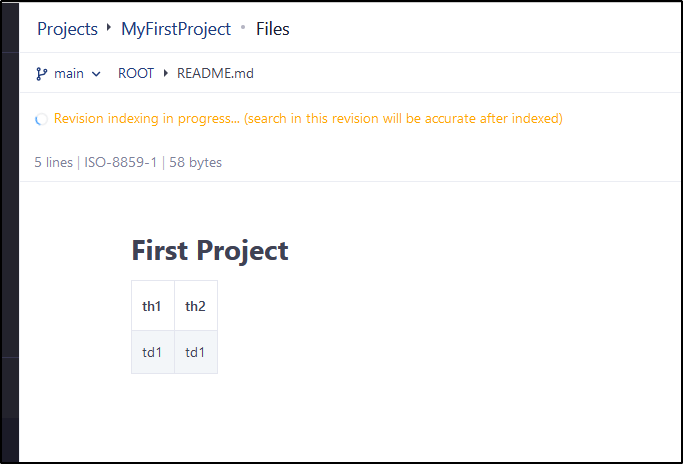
and preview
I saved the file and saw it had to trigger some reindexing
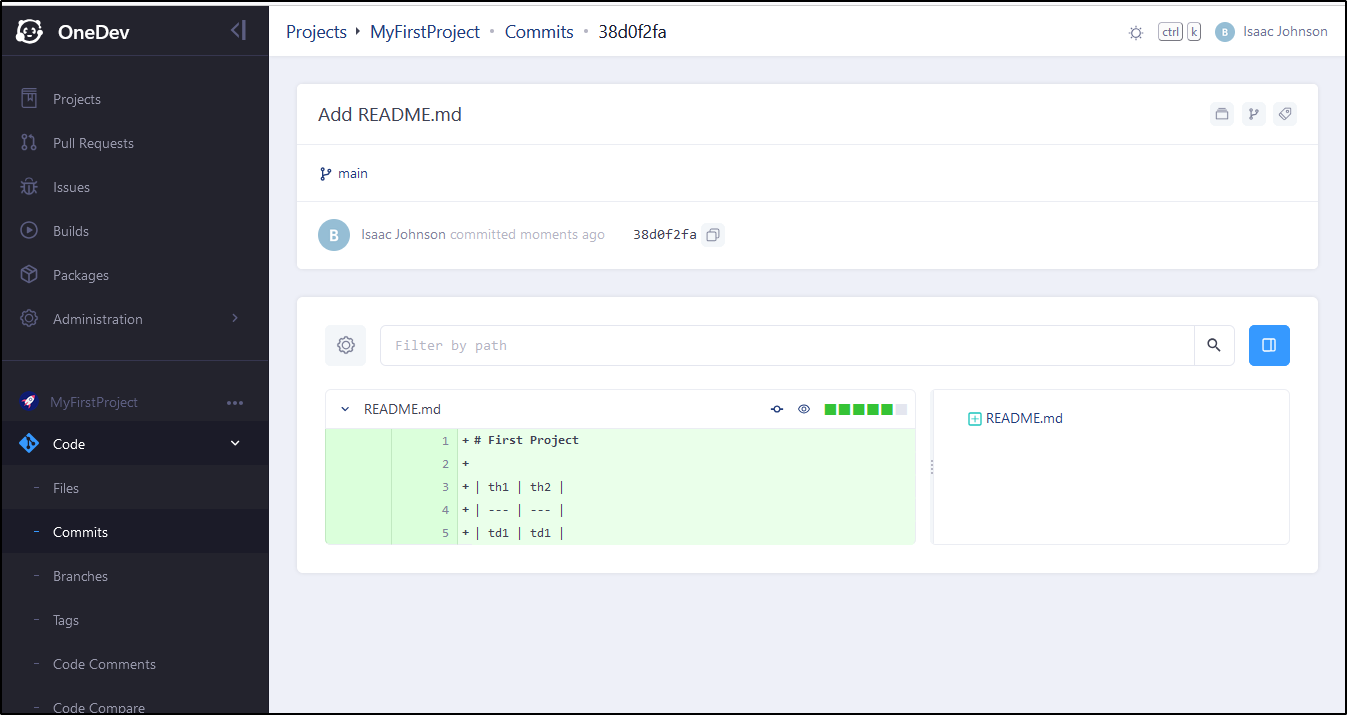
That said, I can view the GIT SHA and history at https://1dev.tpk.pw/MyFirstProject/~commits/38d0f2fa05b3a1e6c83855e8bc1803309a85ddd9
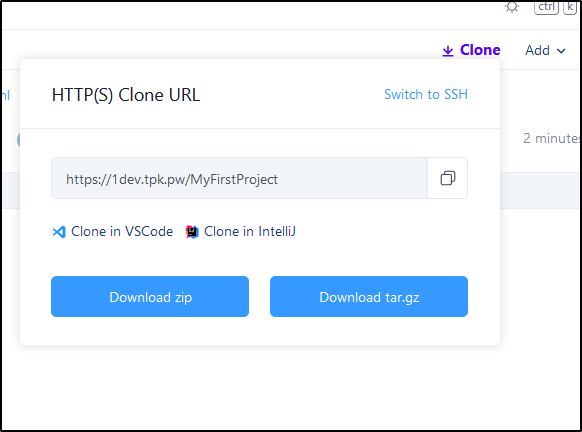
I can now clone the repo locally. While SSH is shown, my NGinx ingress won’t serve that
I should note that if I am in the network, i could use SSH
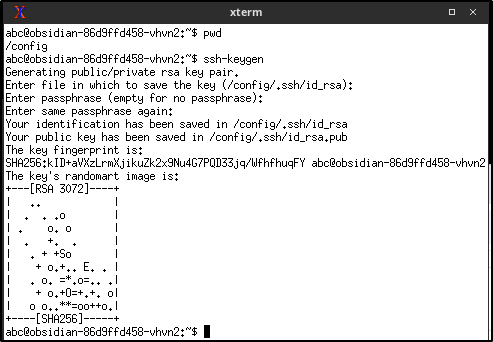
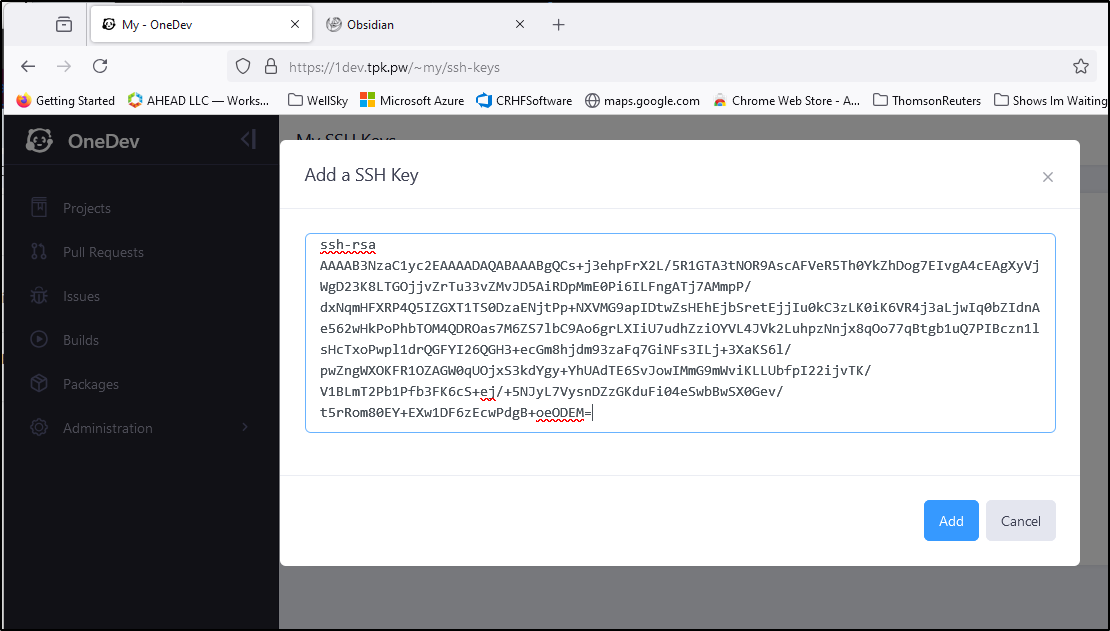
I would need to generate ssh keys if I haven’t already
Then add the pub key
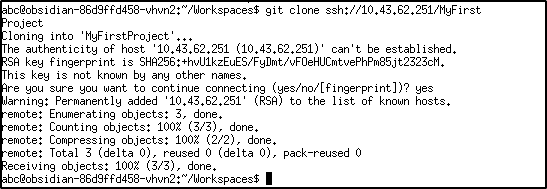
I can then clone in-cluster with the Cluster IP for the service
$ kubectl get svc -n onedev
NAME     TYPE        CLUSTER-IP     EXTERNAL-IP   PORT(S)         AGE
onedev   ClusterIP   10.43.62.251   <none>        80/TCP,22/TCP   57m
I could punch a whole through my Firewall to forward some obscure high numbered port to a matching nodeport, but I think HTTPS would be sufficient - but it is an option for external SSH connectivity.
Build Spec
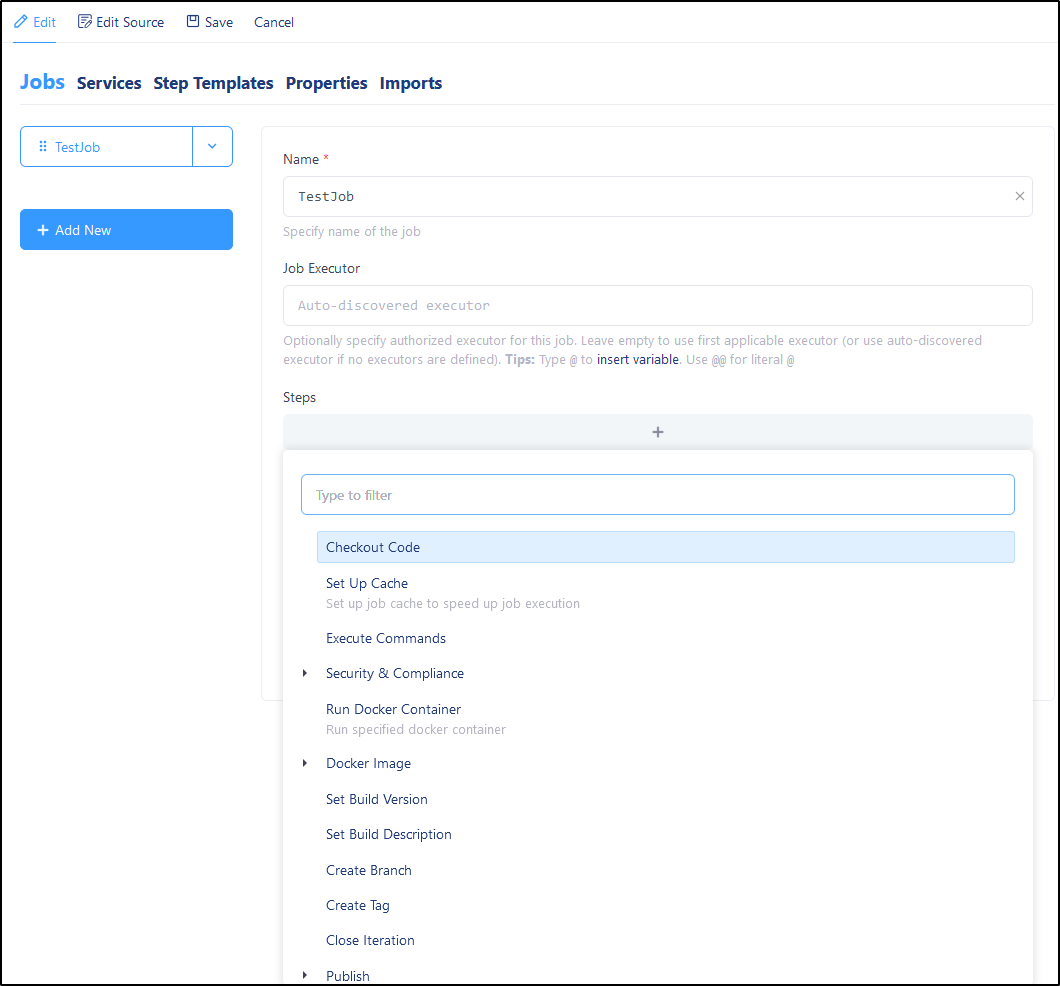
Let’s add a Build Spec and the first thing we’ll do is add a Job
I can give it a name and choose which type of step to add
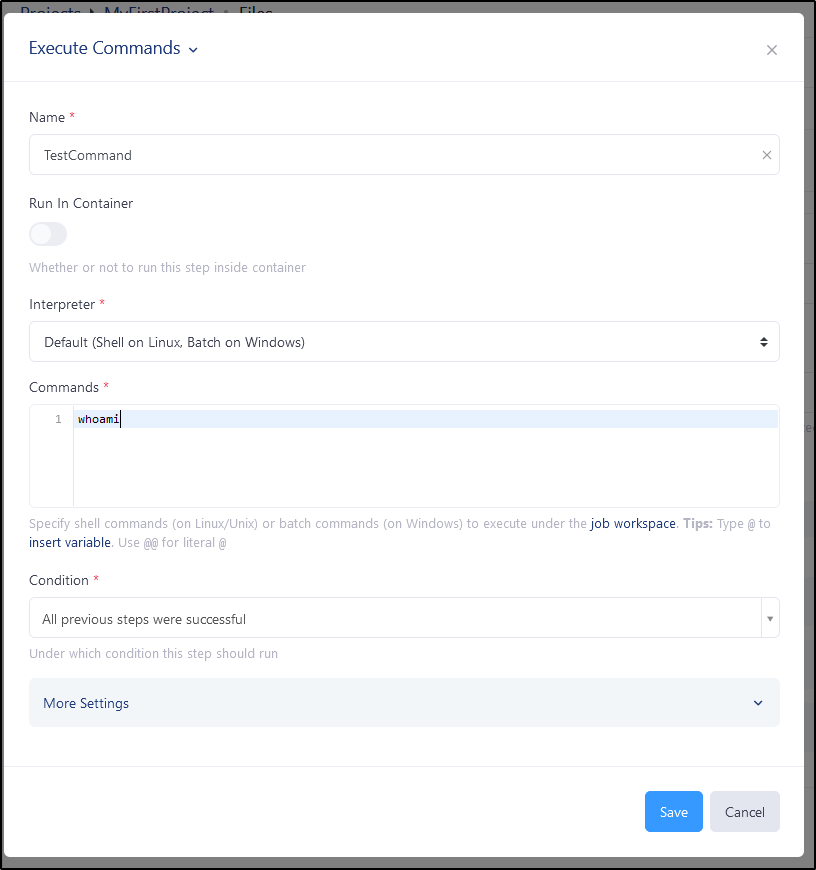
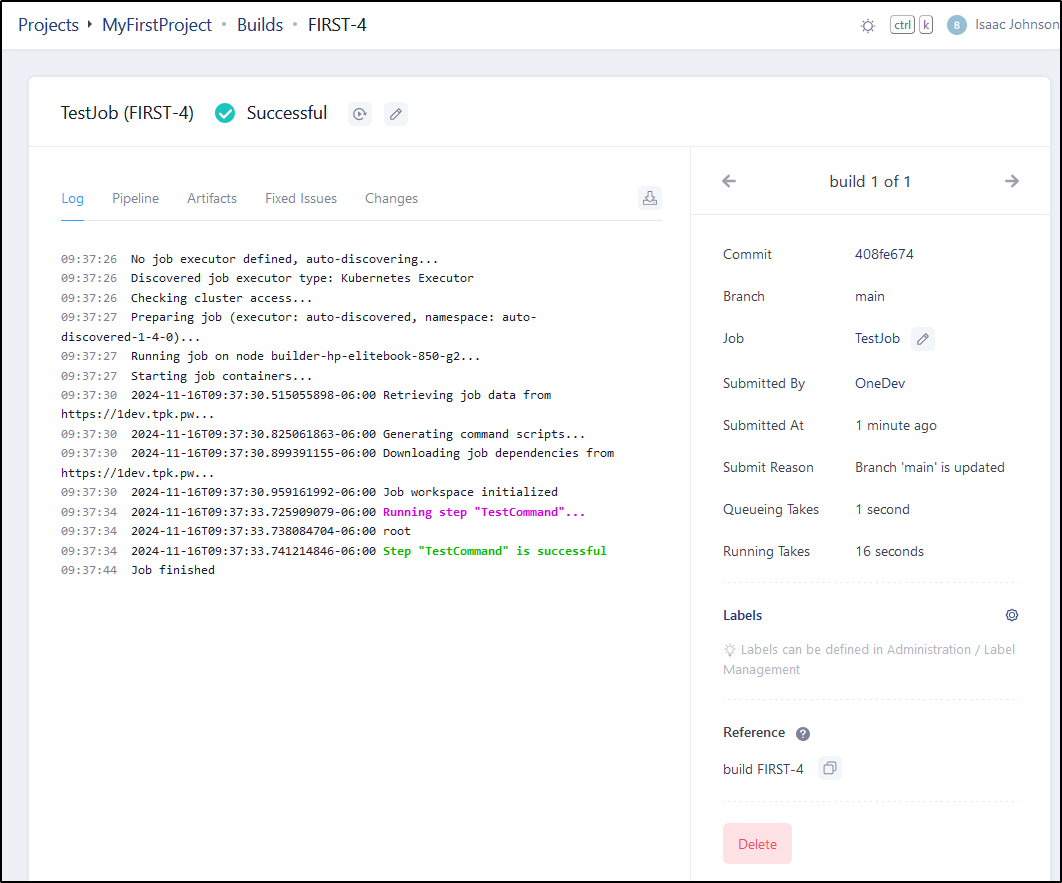
I’ll choose to not run in a container this time and just do a whoami
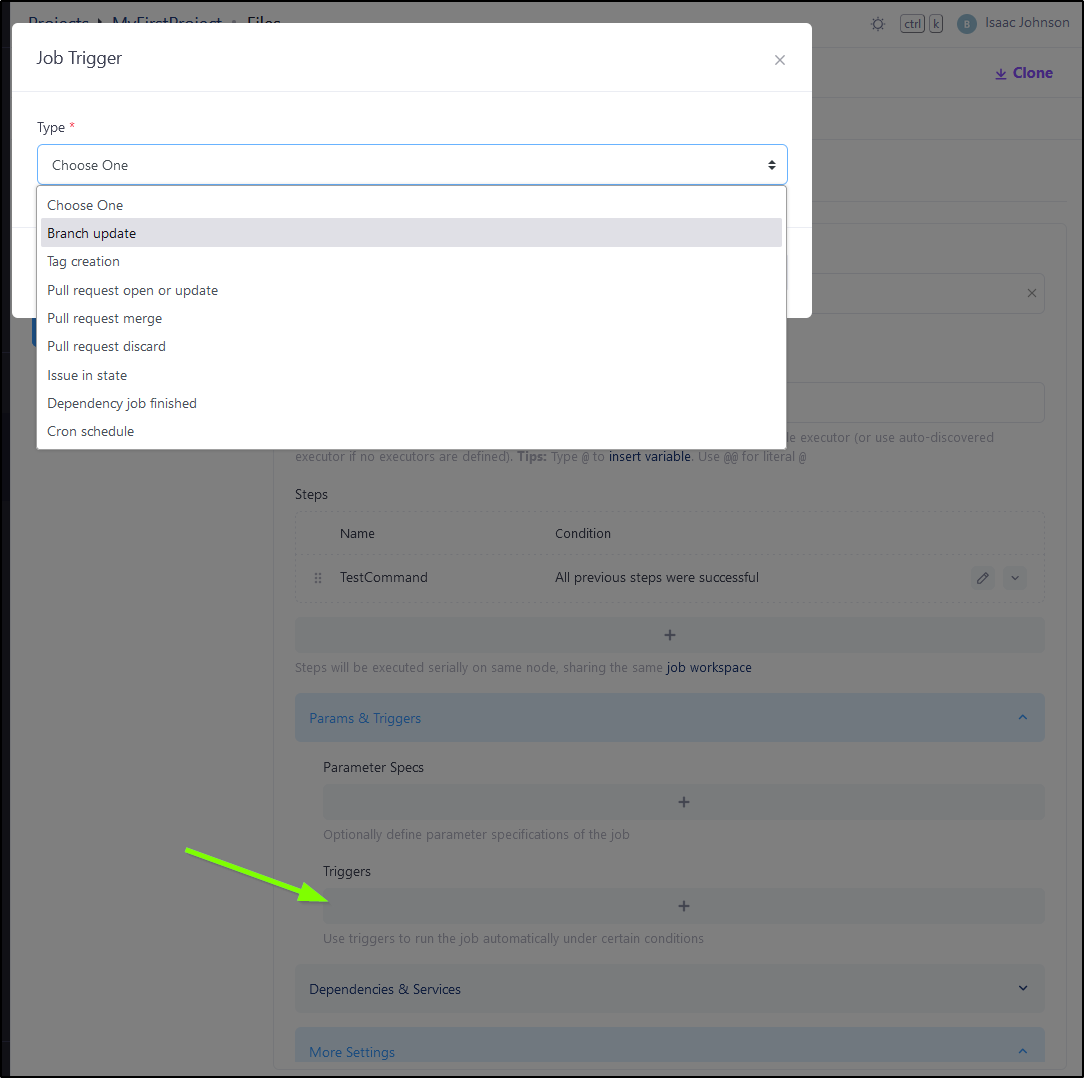
My last step for CI is to create a branch trigger to have this run when we push changes
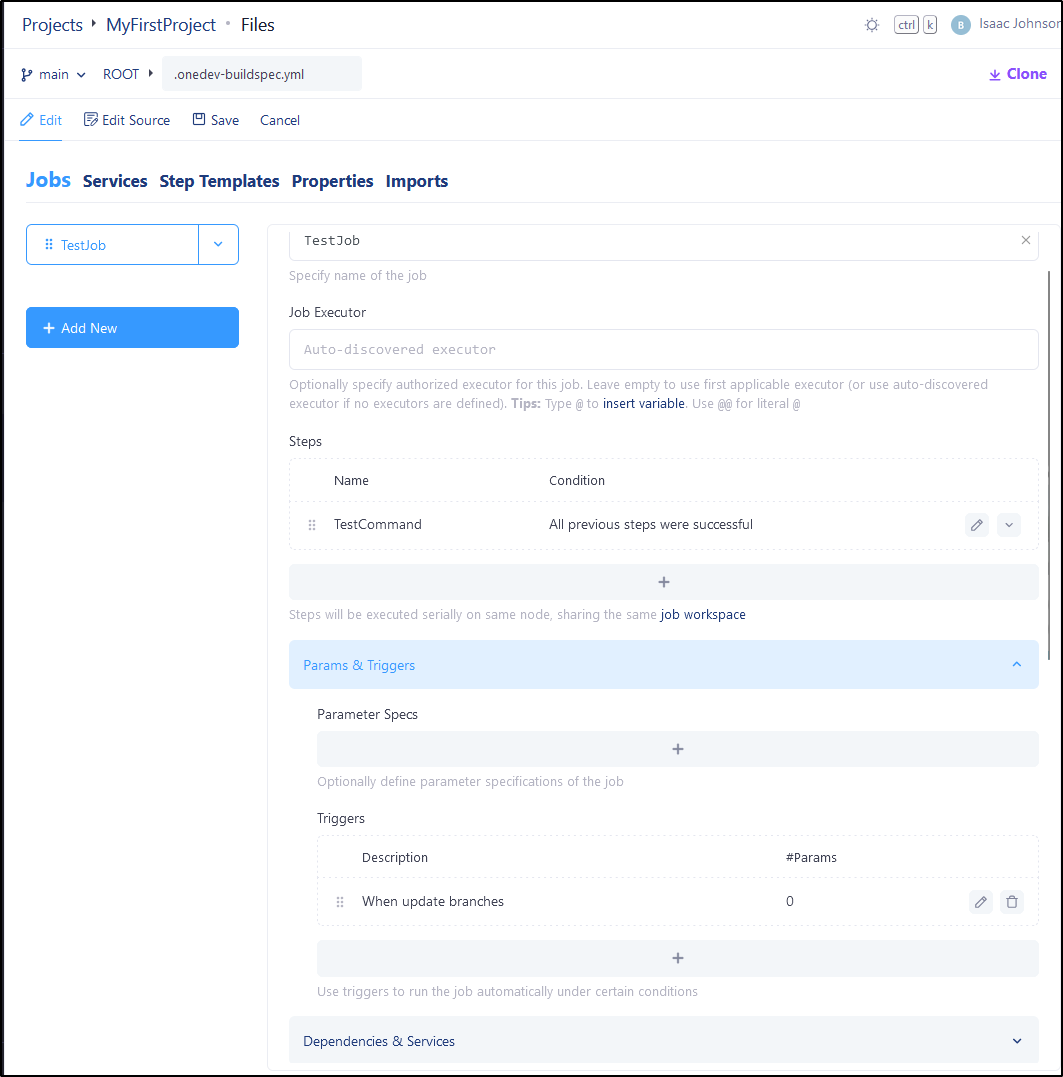
I can now save it
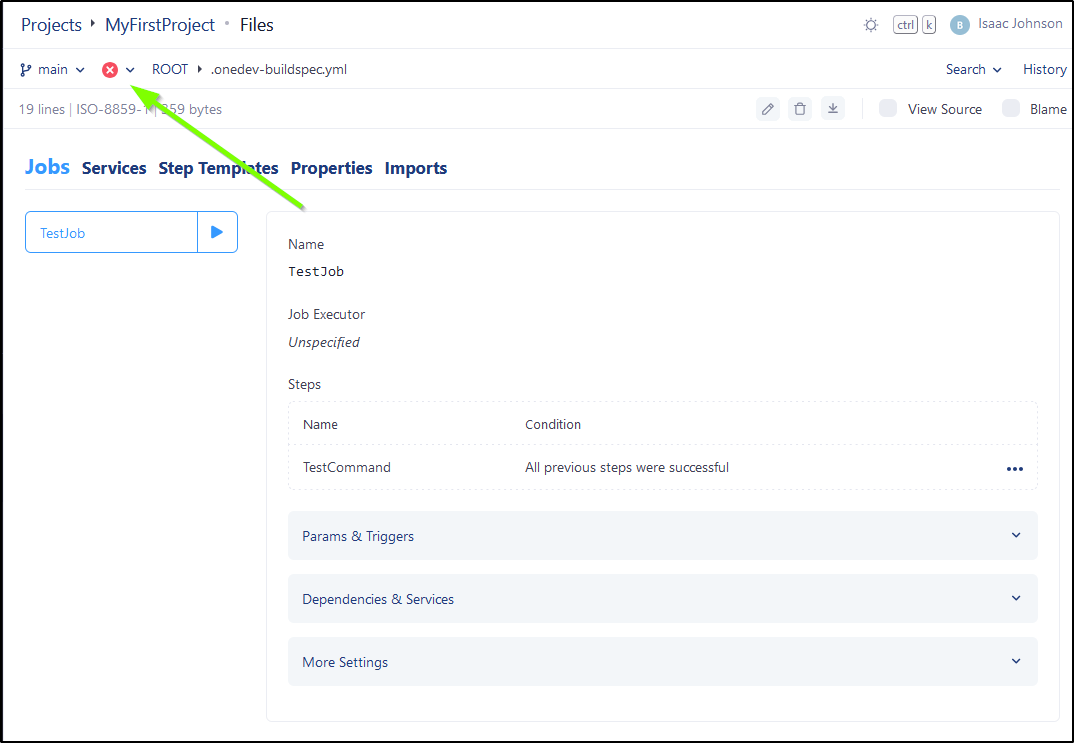
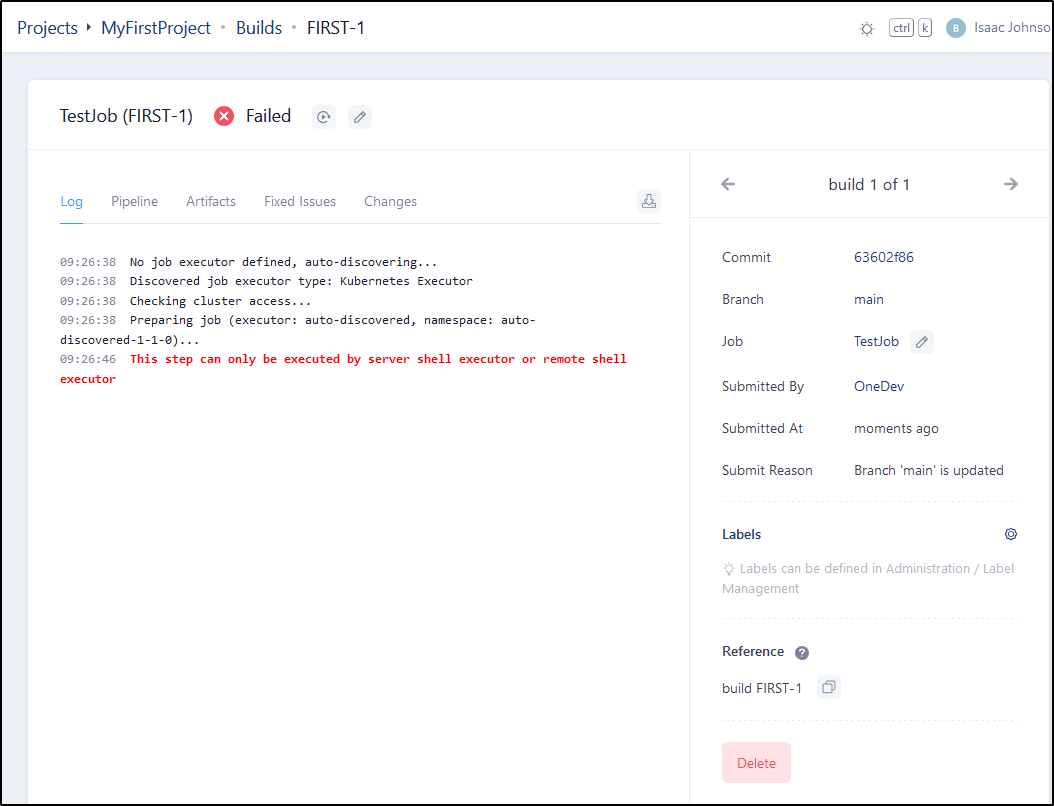
It did save it, but I can see the first run failed
I think it doesn’t like the prepare job step
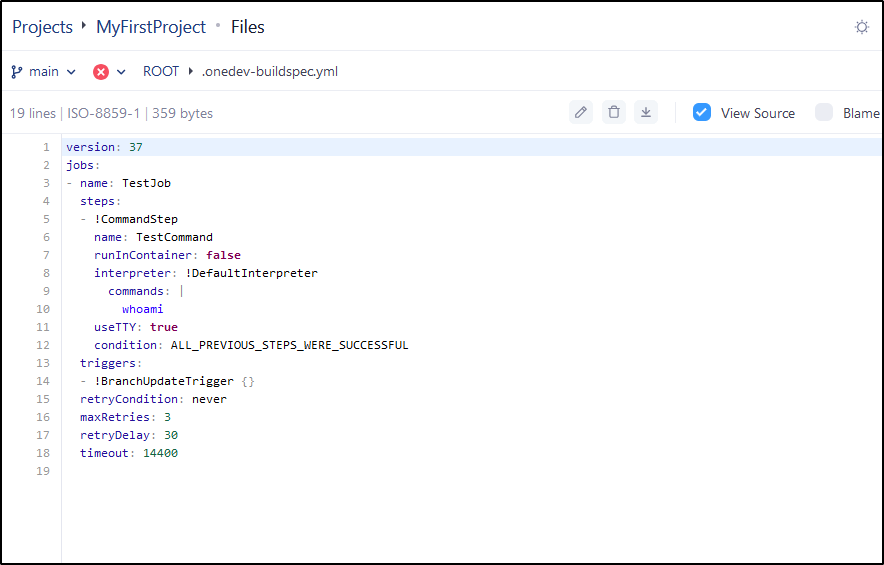
I should note that while we can live in the GUI’ed pipeline builder, we can also just view the buildspec file as code
version: 37
jobs:
- name: TestJob
  steps:
  - !CommandStep
    name: TestCommand
    runInContainer: false
    interpreter: !DefaultInterpreter
      commands: |
        whoami
    useTTY: true
    condition: ALL_PREVIOUS_STEPS_WERE_SUCCESSFUL
  triggers:
  - !BranchUpdateTrigger {}
  retryCondition: never
  maxRetries: 3
  retryDelay: 30
  timeout: 14400
However, I was able to get it to work in a container
I just needed to use Alpine with the default shell (sh)
$ cat .onedev-buildspec.yml
version: 37
jobs:
- name: TestJob
  steps:
  - !CommandStep
    name: TestCommand
    runInContainer: true
    image: alpine:latest
    interpreter: !ShellInterpreter
      shell: /bin/sh
      commands: |
        whoami
    useTTY: true
    condition: ALL_PREVIOUS_STEPS_WERE_SUCCESSFUL
  triggers:
  - !BranchUpdateTrigger {}
  retryCondition: never
  maxRetries: 3
  retryDelay: 30
  timeout: 14400
Issue Management
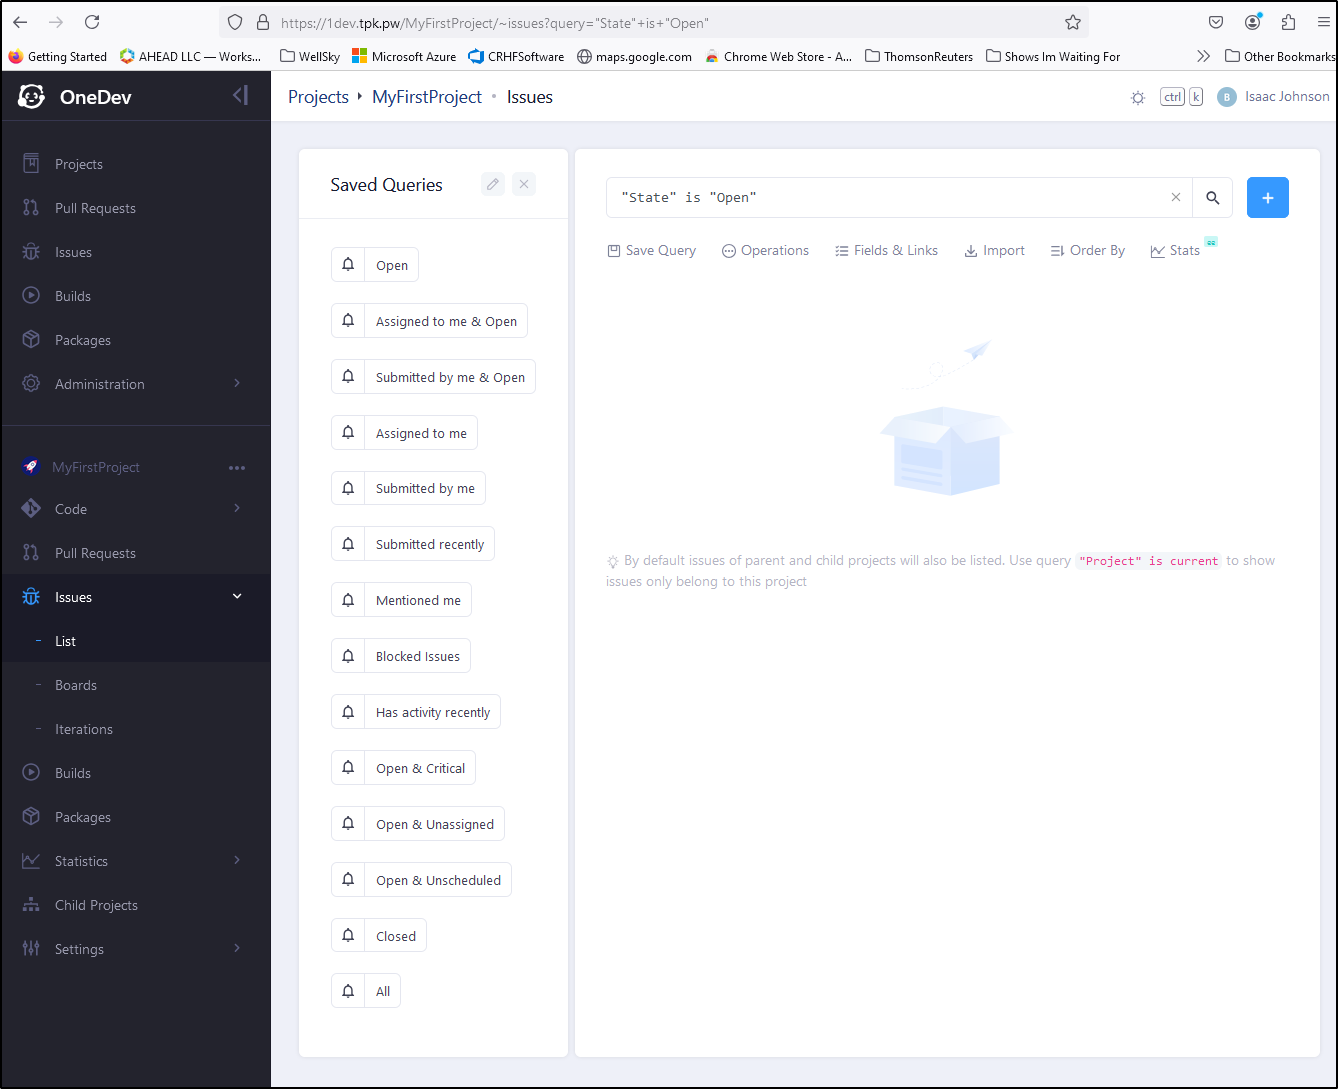
In issues, we start out with a basic Issue query and as you would expect, it shows no issues
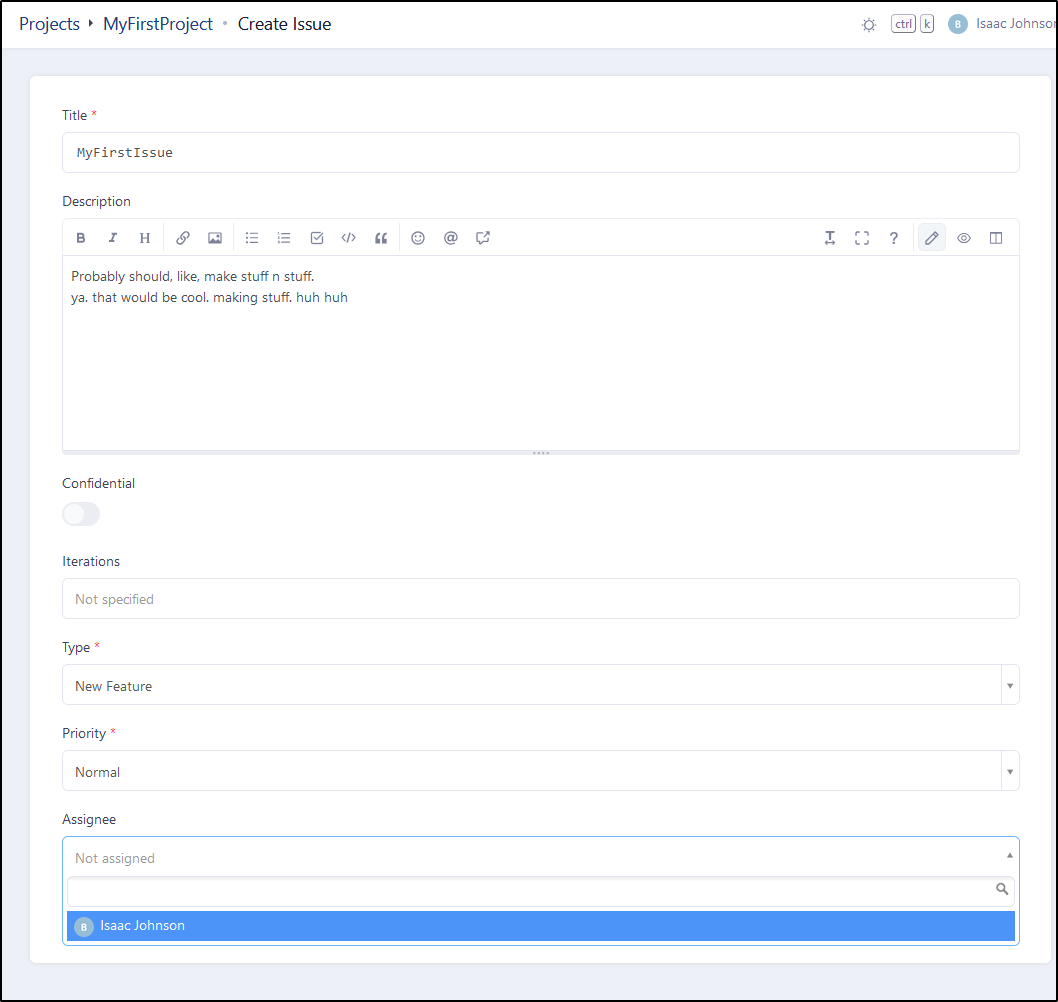
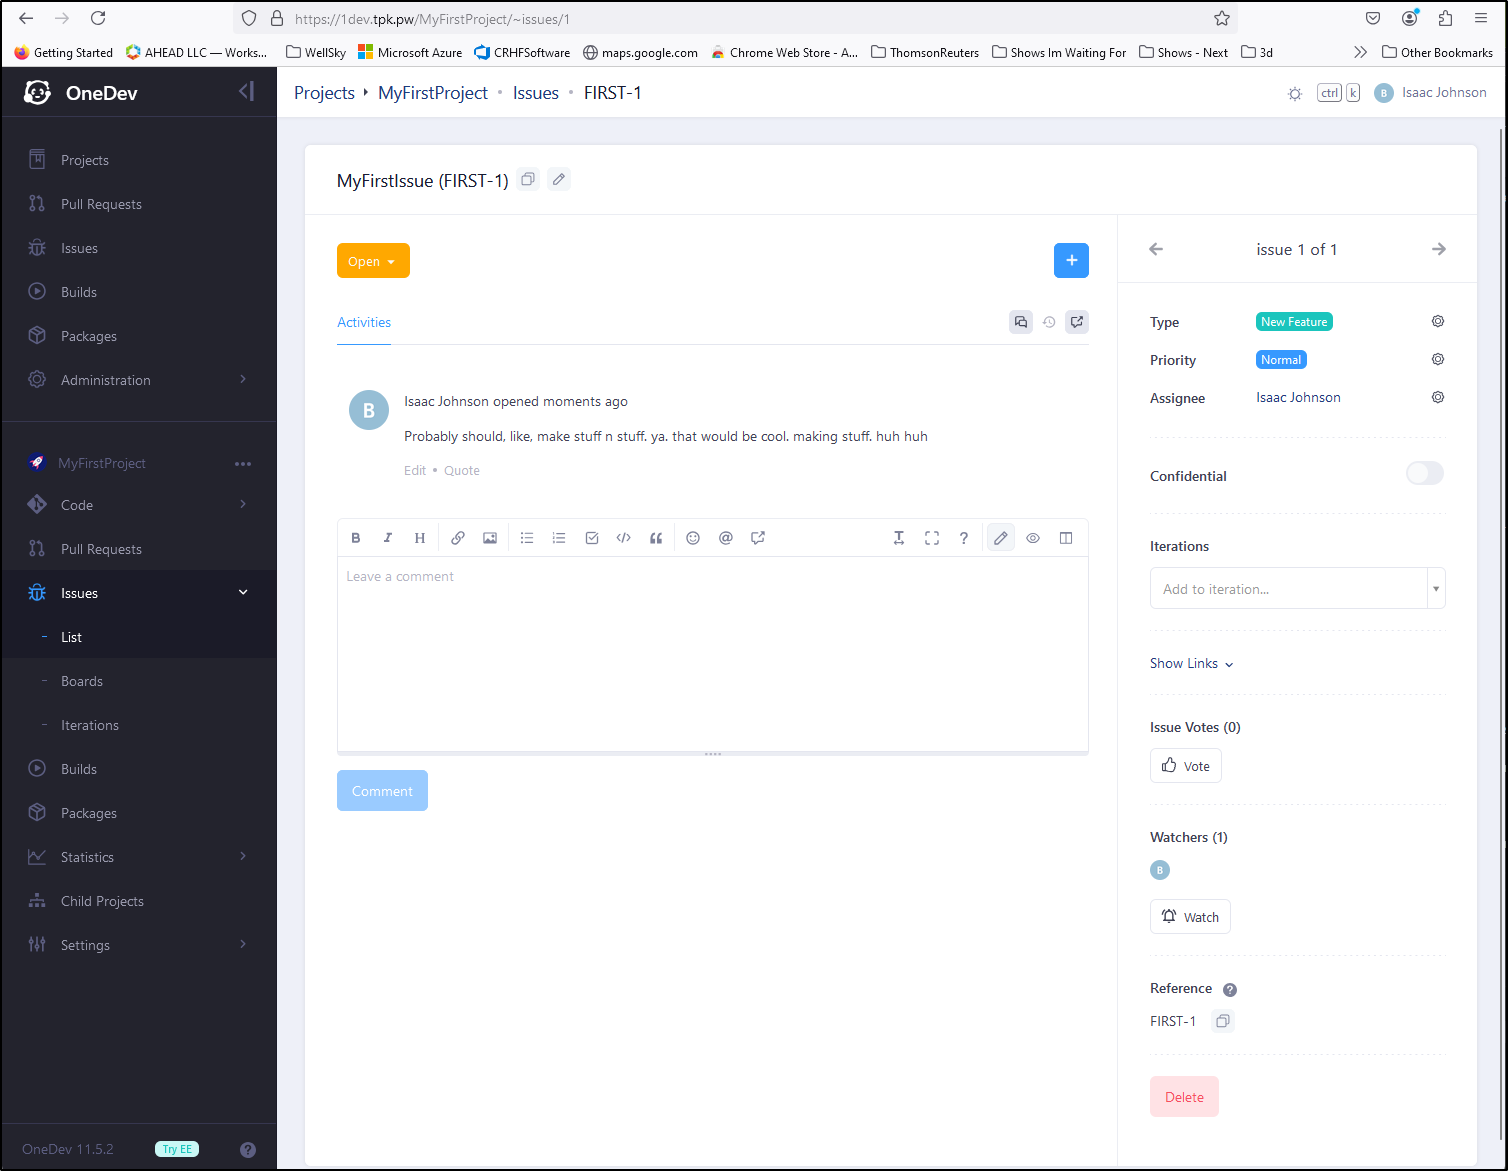
I can click the + to add a new issue and optionally add an assignee
I think my only issue with issues is that the reporter is only shown in the Activity stream
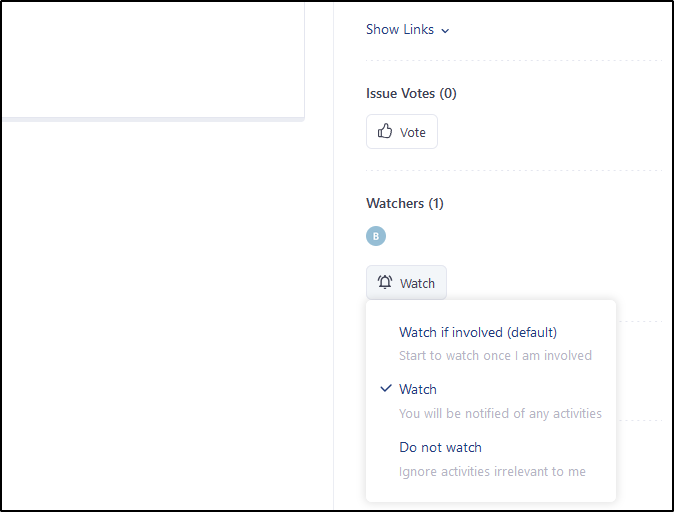
I did notice the Watch options had some interesting choices such as “Watch, but only once I get involved”
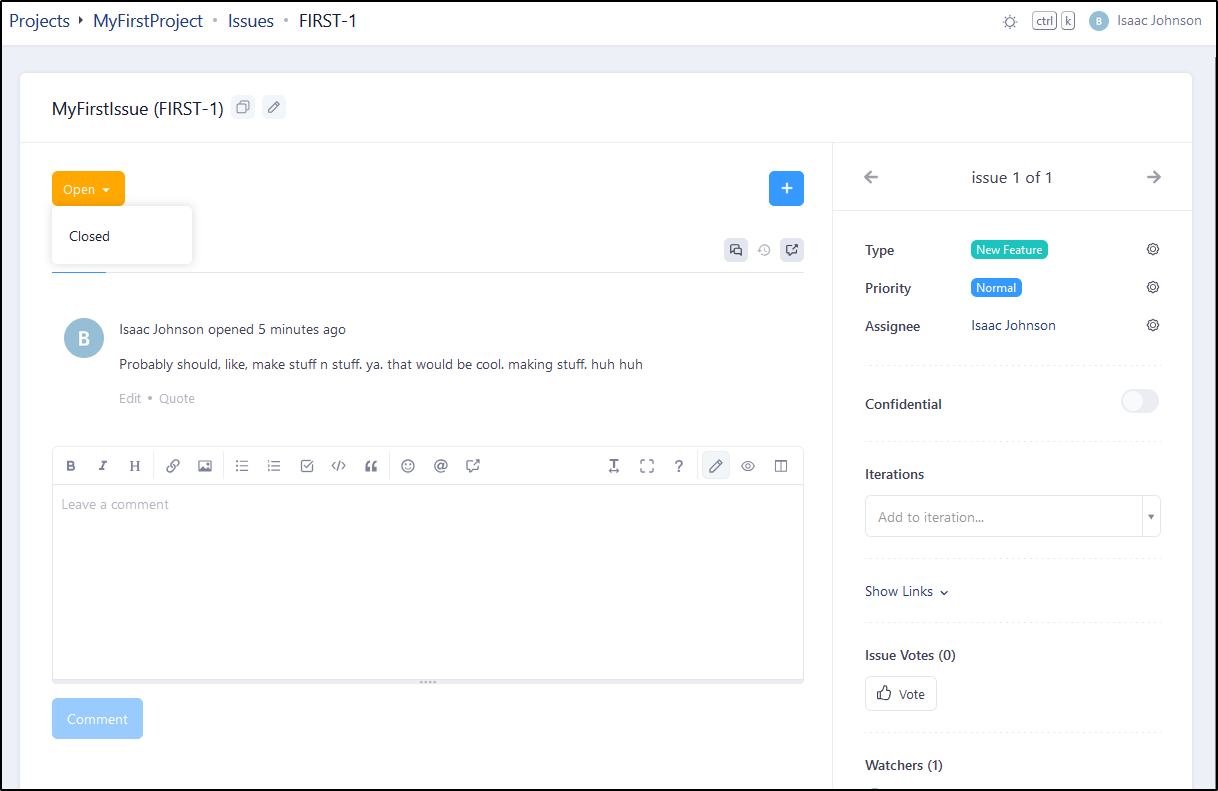
It looks like the OOTB states are just Open and Closed
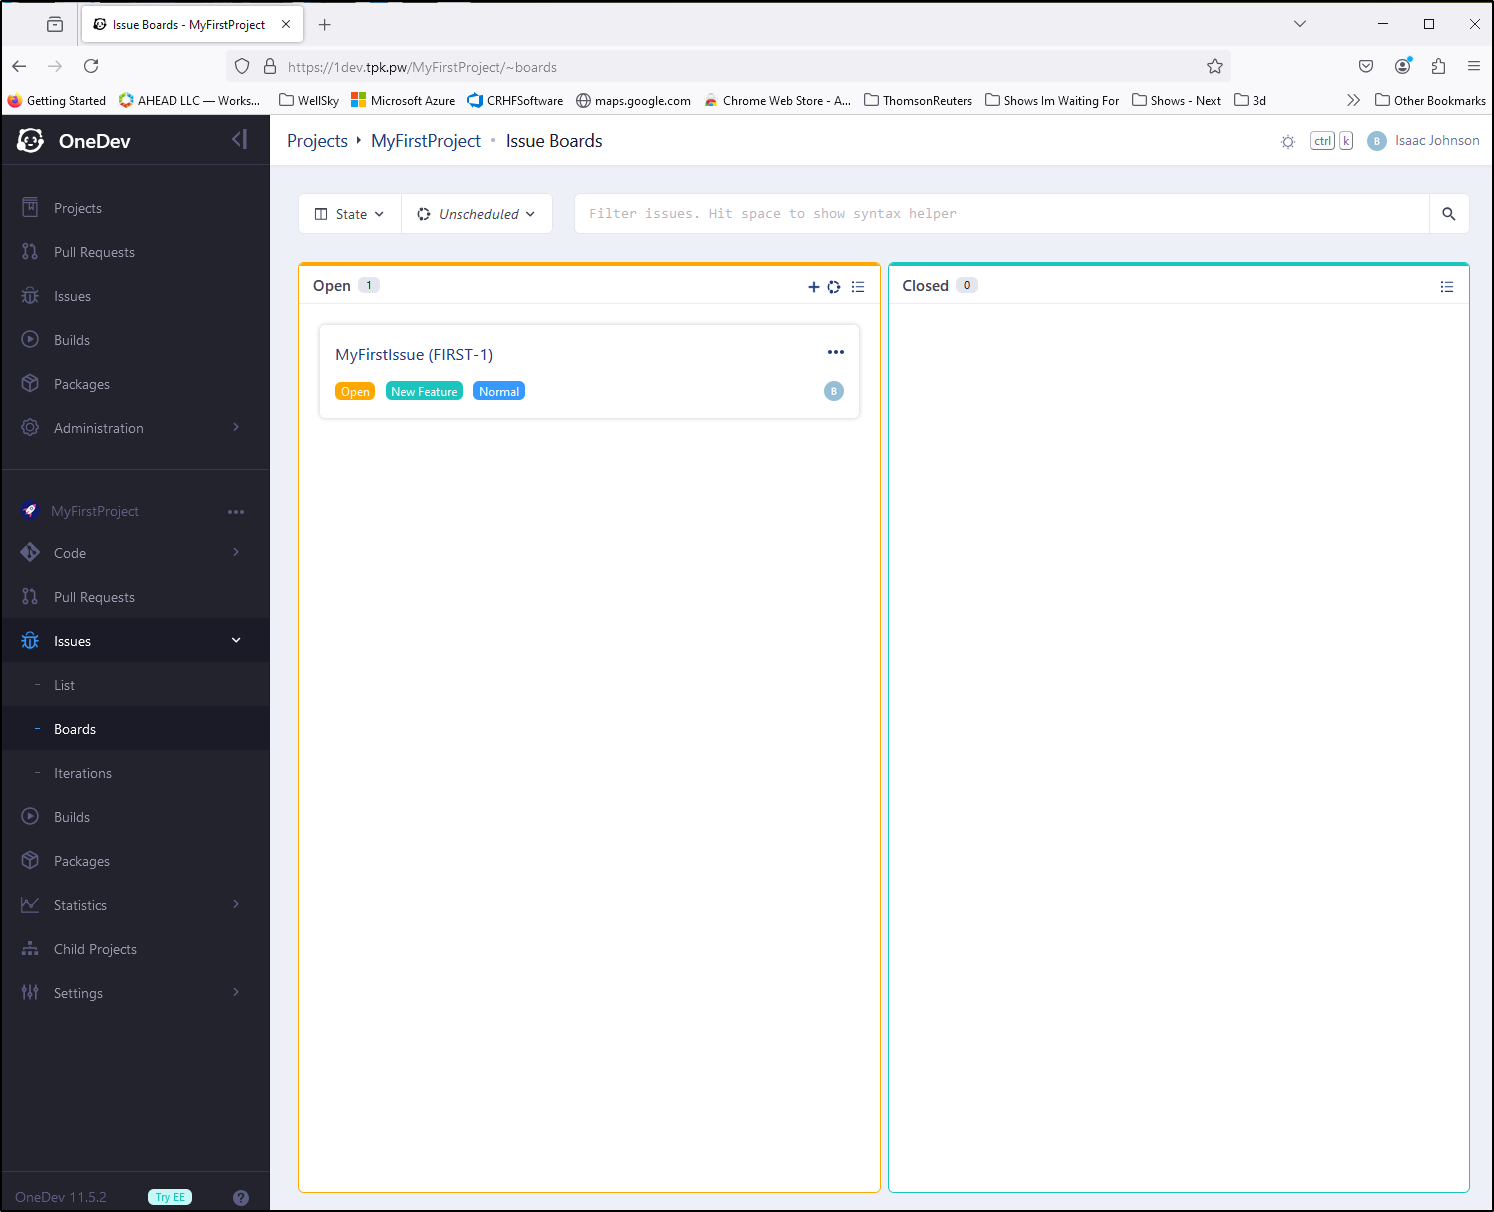
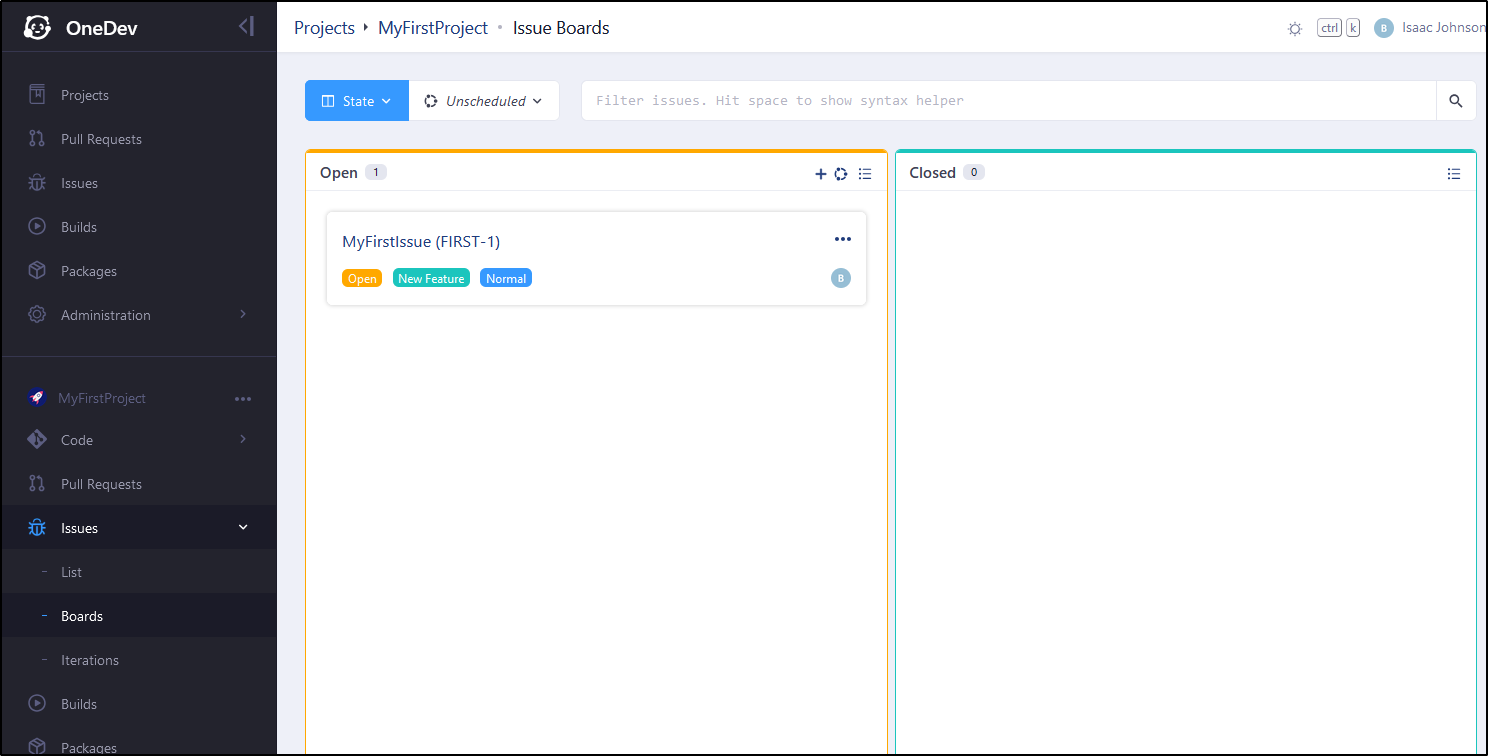
This was confirmed once I looked at Boards
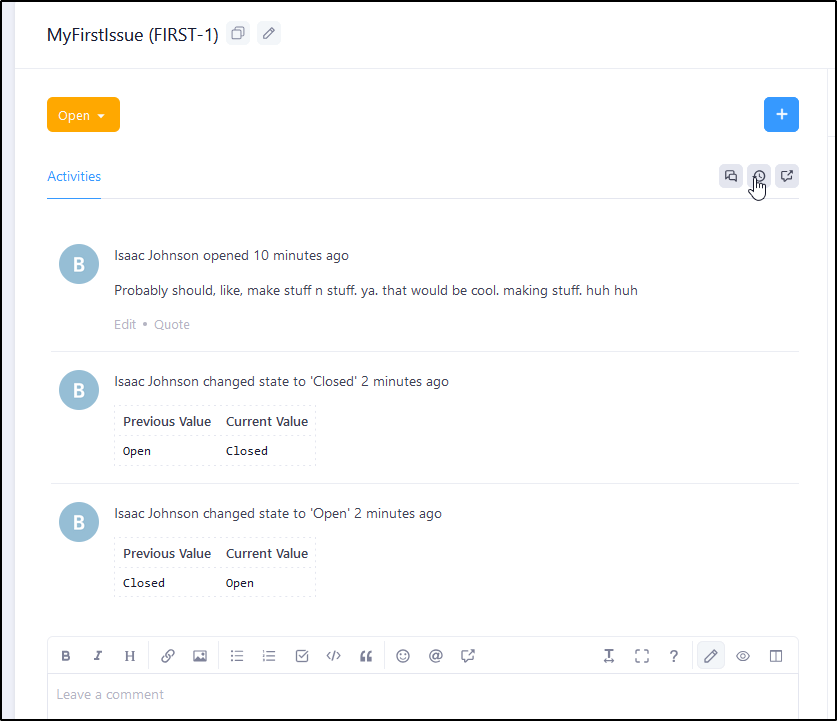
We can easily move issues to closed and back again in the UI
If I turn on “change history” in Issue Activities I can see those state changes reflected
Adding states
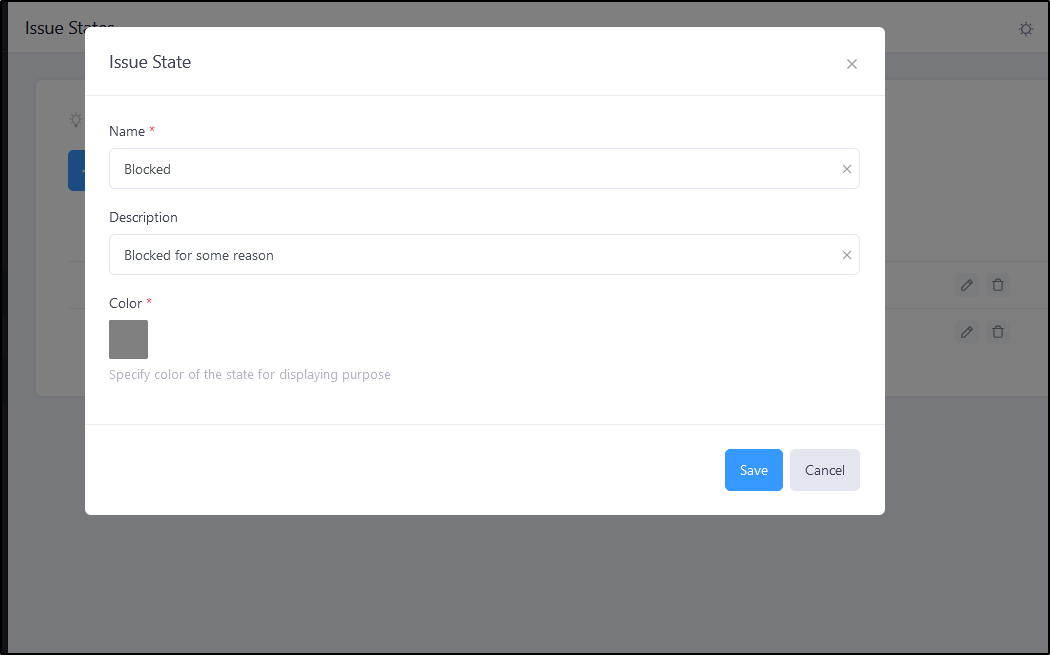
But what if I wanted more states? We can do that in “Administration/Issues Settings/States”
Perhaps I want to add a Blocked state
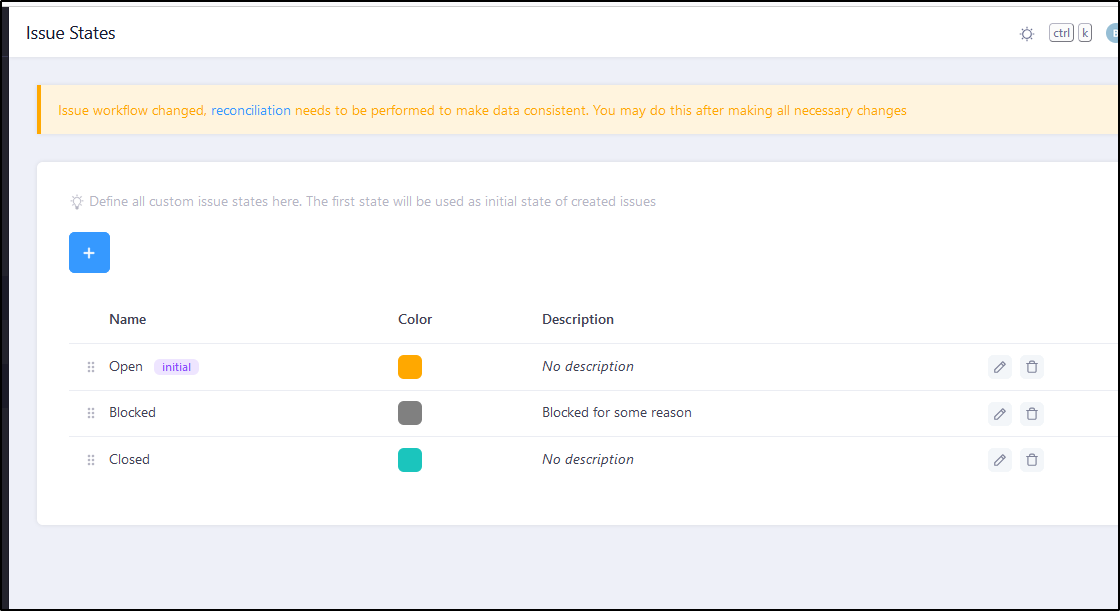
Once added and moved, I am prompted to do “reconciliation”
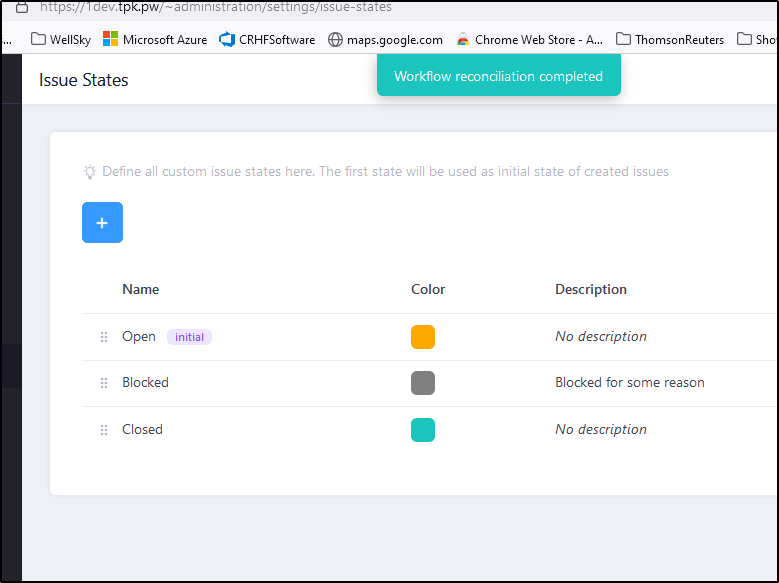
This just took a quick moment to complete
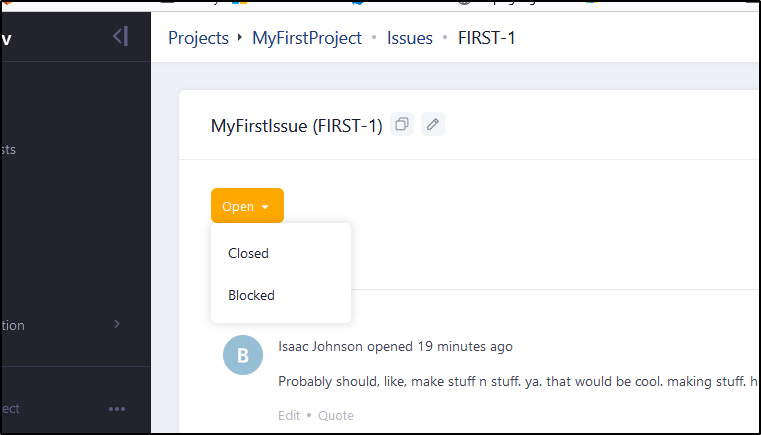
I can now see the new state in my Issue state picker
However, this is not reflected on the default issue board
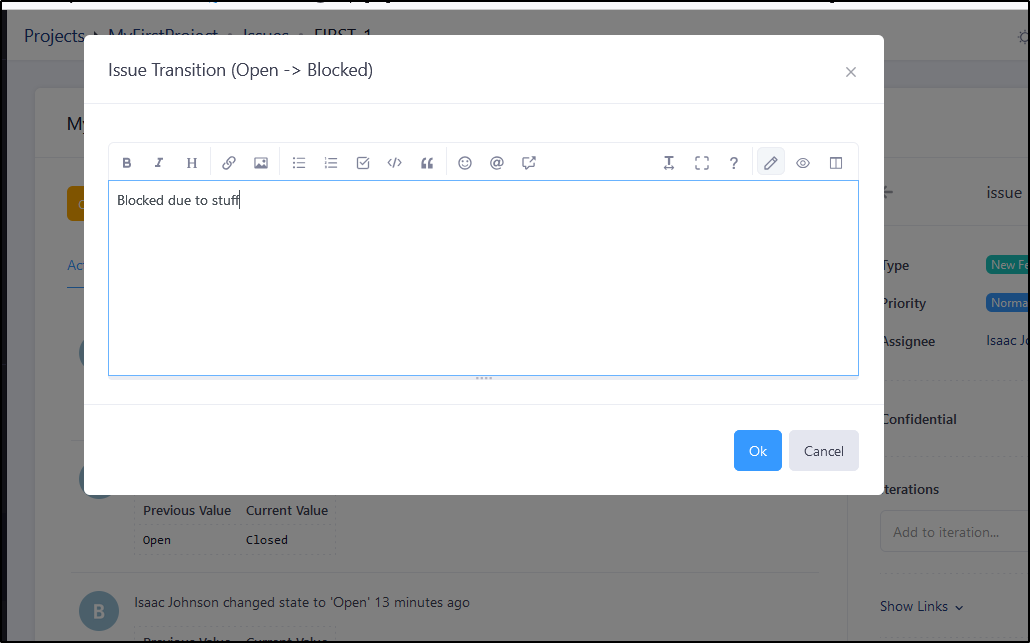
If I move my issue to Blocked
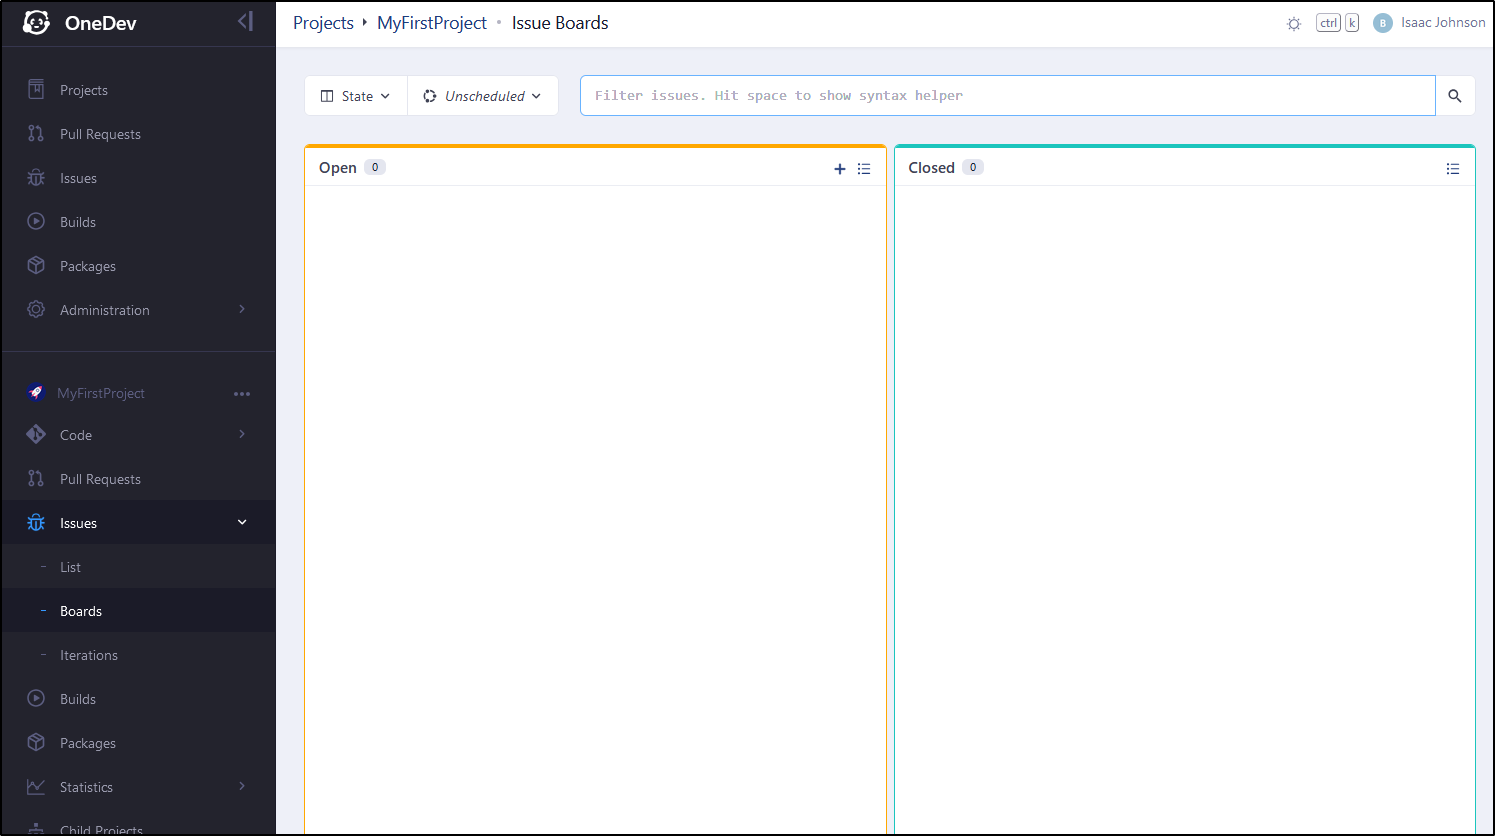
It disappears from the Board
This is what I hoped - it tells me that these new states are full entities and not just display names over existing states in the flow (For instance, in Azure DevOps I would likely still see in Open as it has to derive from base states).
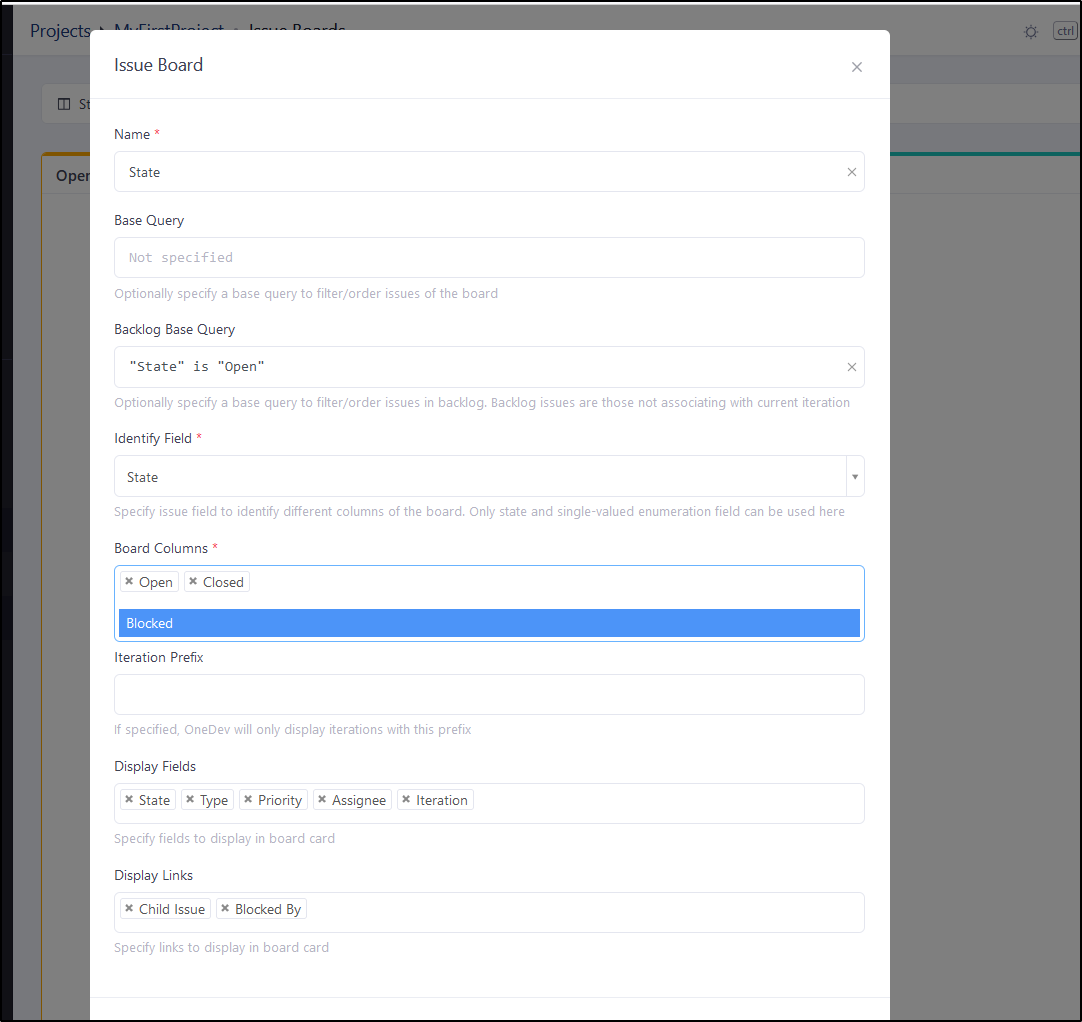
Now, I can edit the board and add the Blocked state
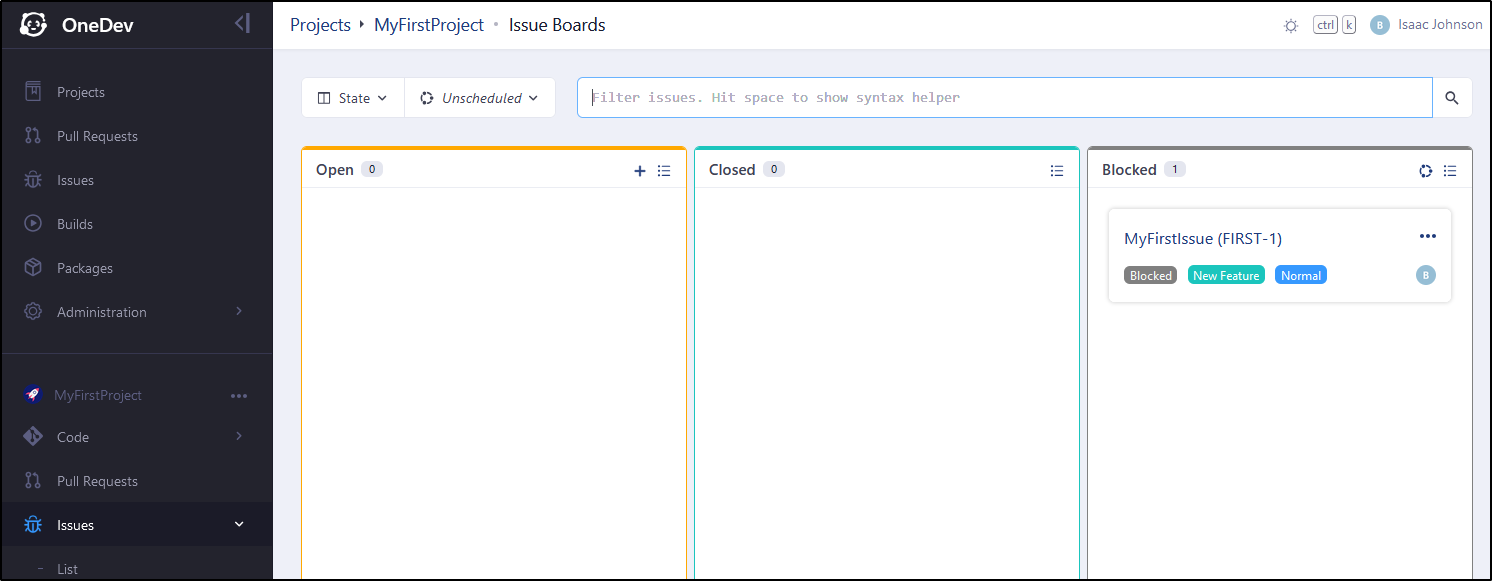
and now I can see that Issue
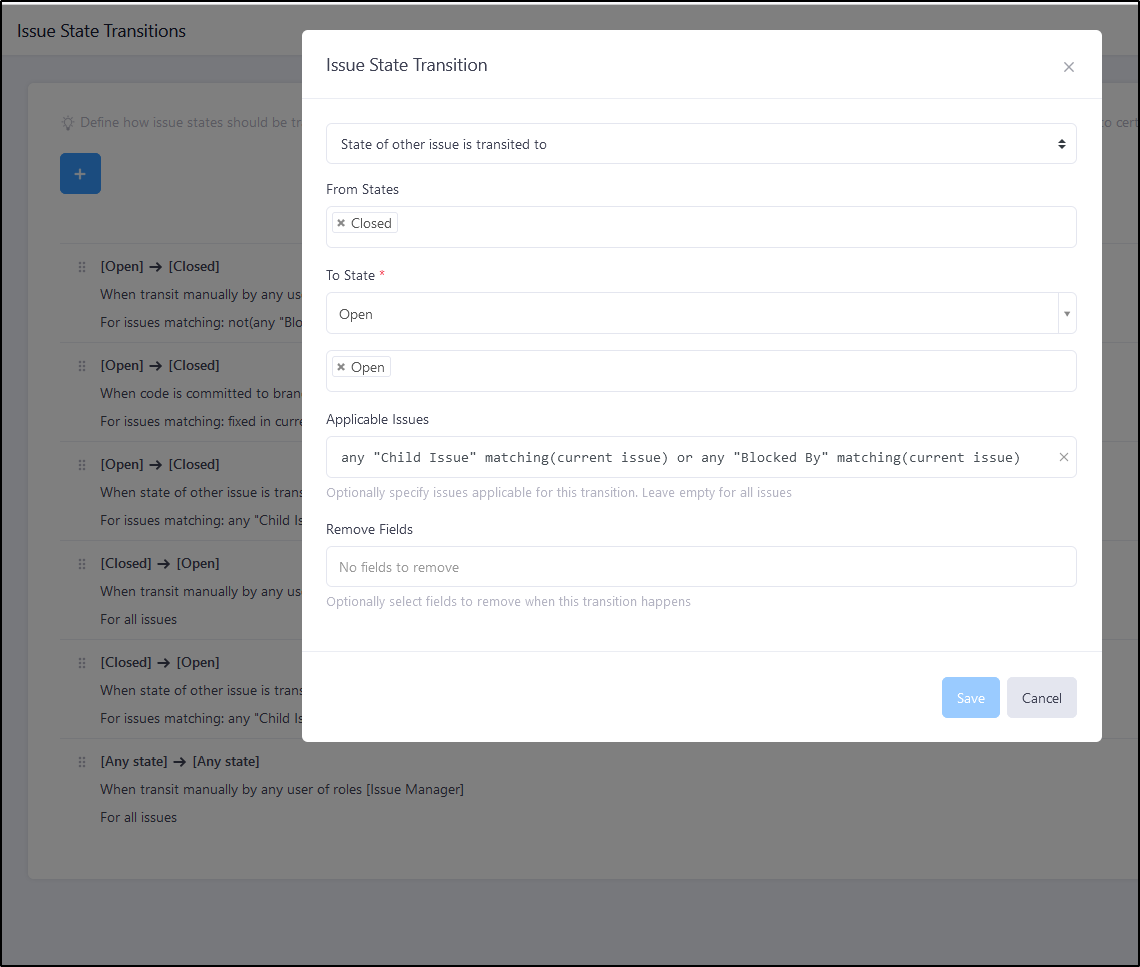
Actually, there is a lot more to Issue States we will save for an advanced overview.
Essentially, we can set any flow conditions and choose to remove fields or block flows based on queries
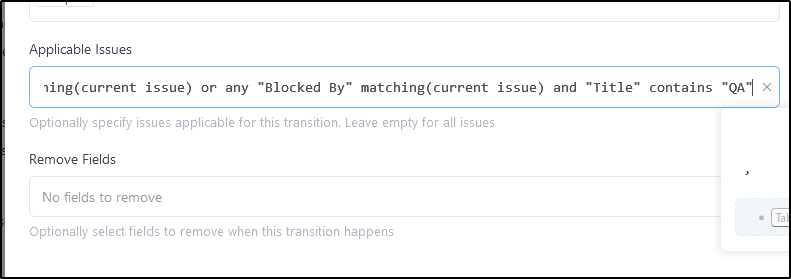
For instance, we could have QA review if a title includes QA
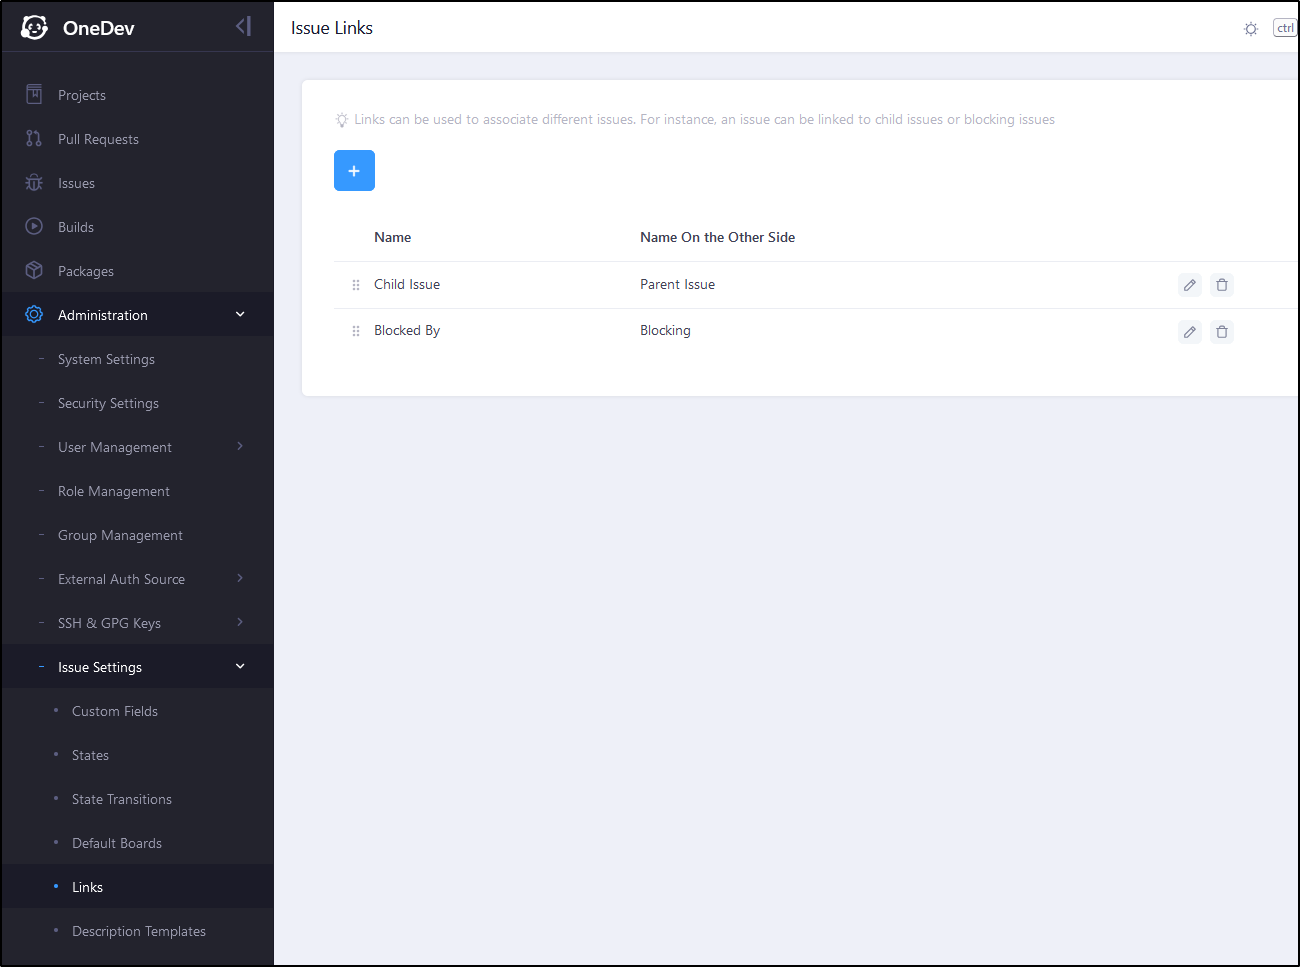
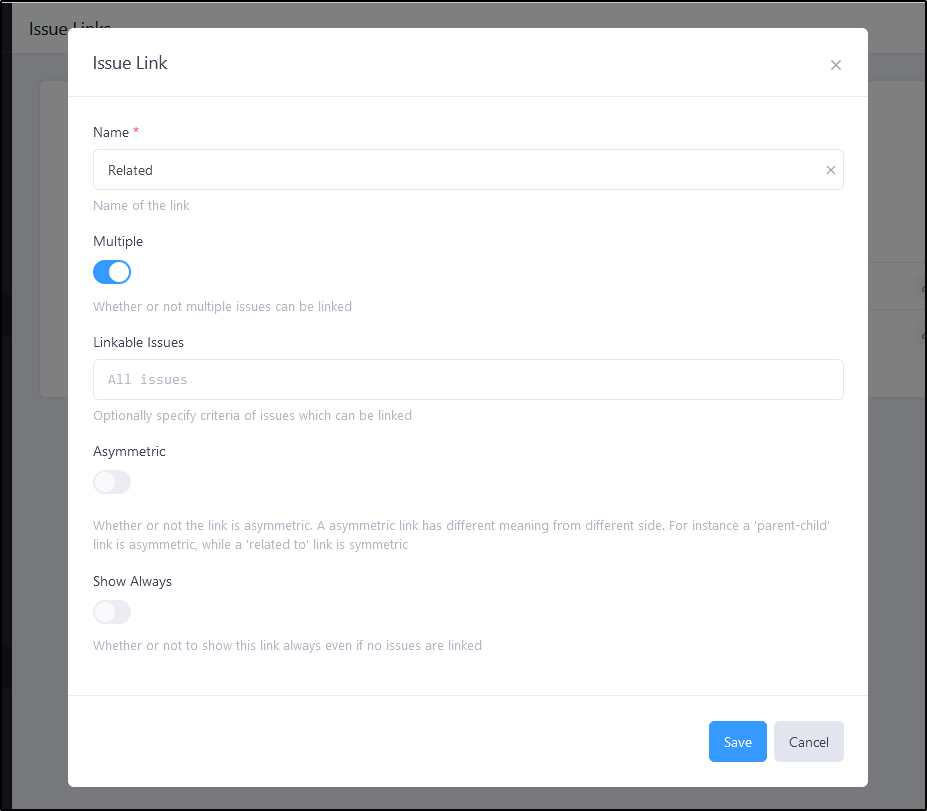
Another interesting feature is to define link types
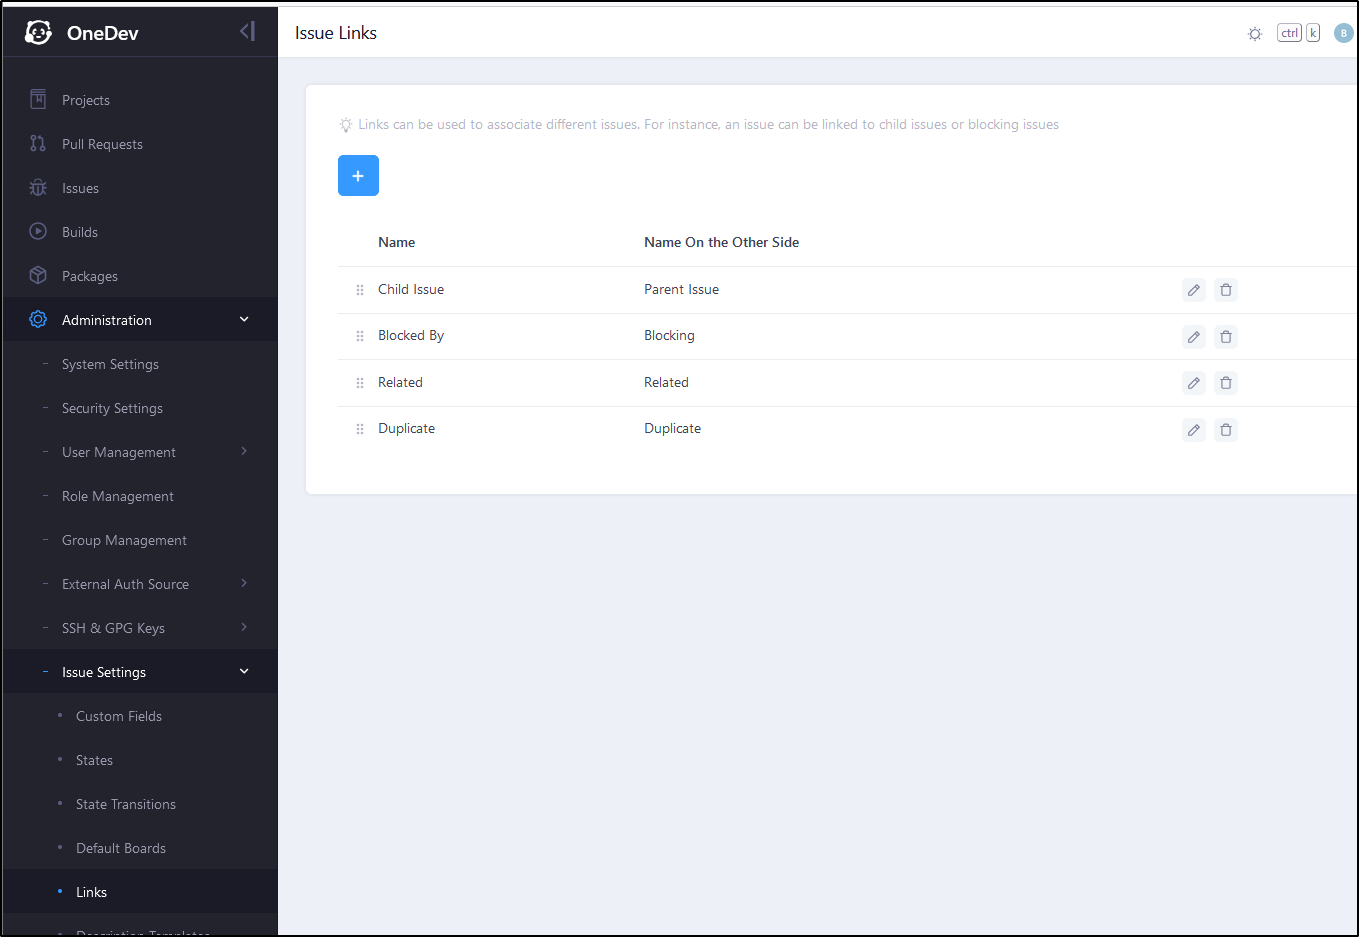
One I tend to like is “related to” and “duplicate of”
And now I can see those types
Notifications
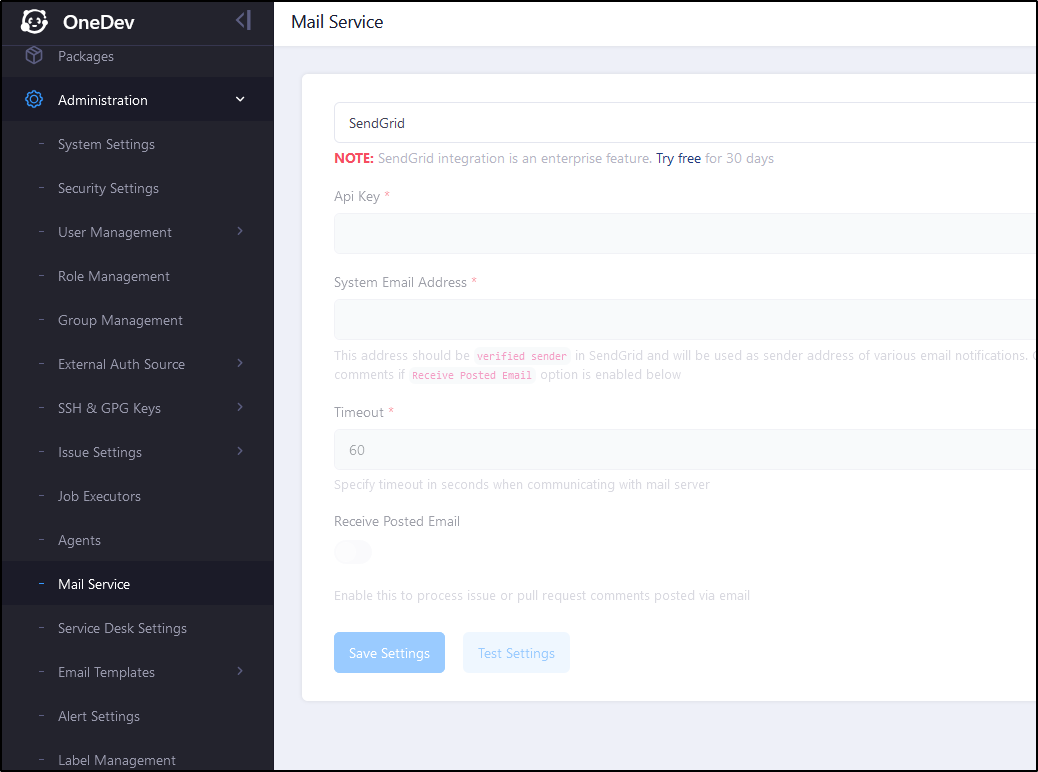
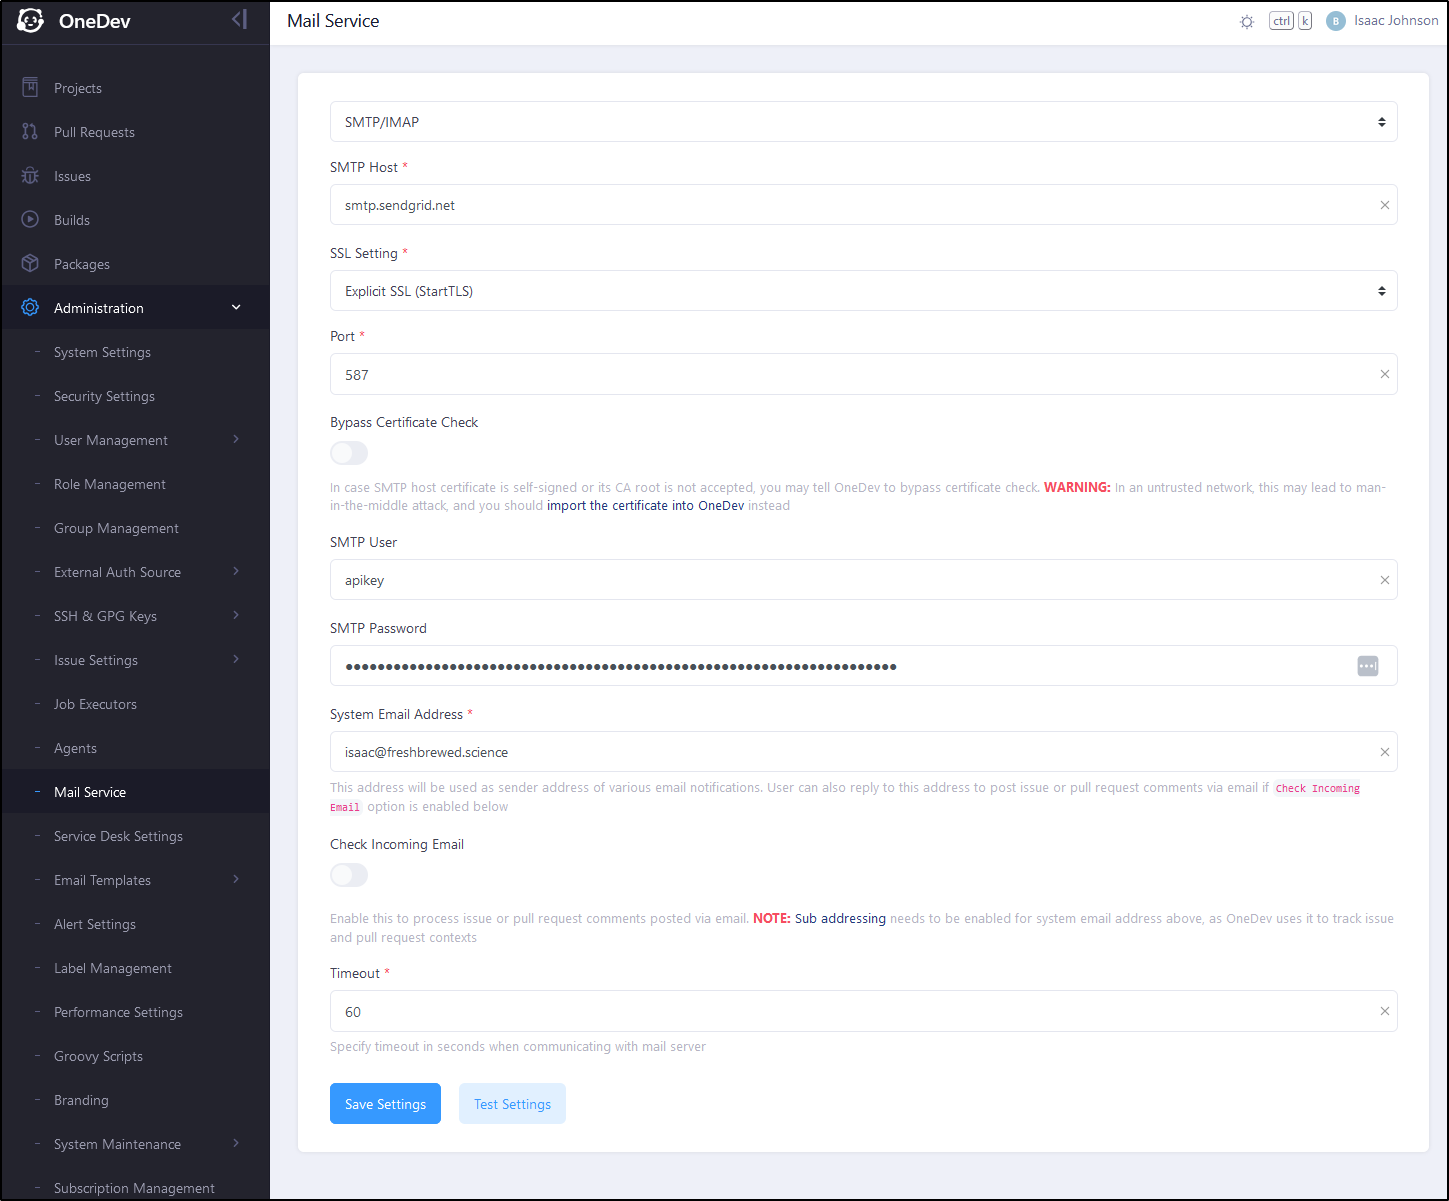
What I thought I might be stuck behind a paywall feature to use Sendgrid
But then one can just use SMTP with Sendgrid so perhaps it is a convenience thing?
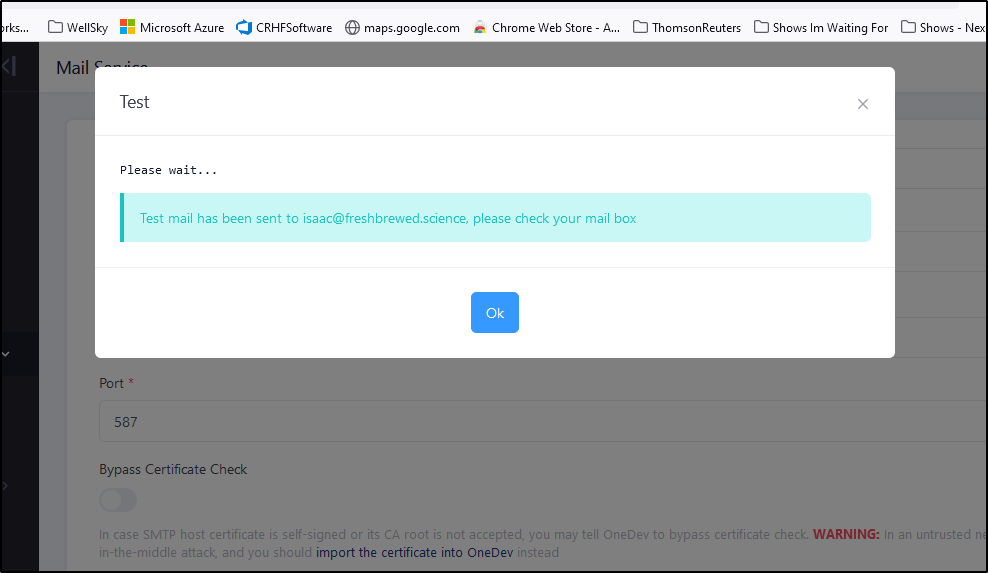
To be certain, I fired off a test mail
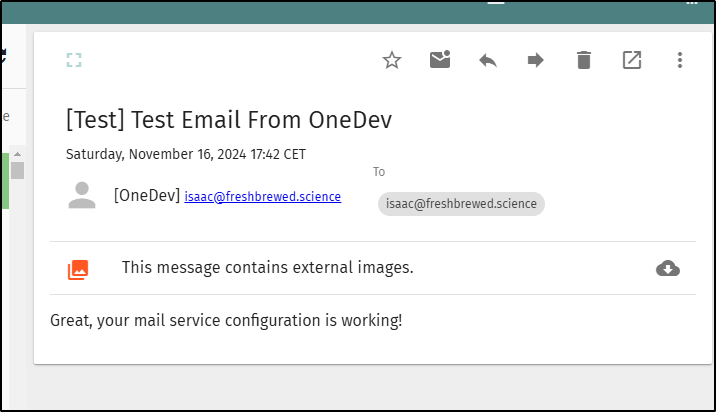
And saw it come through
Summary
In this first pass of OneDev we looked at the self-hosted option which was easy to setup in Kubernetes using the helm chart.
We covered Project creation, GIT Repos, initial Pipelines, Issues and Issue state modifications. We also touched on notifications and issue links.
I really am quite surprised how complete this offering is. I didn’t tackle Artifacts yet (Packages), but in comparing, again, to AzDO, we see quite the feature parity
Honestly, I think the only exception is Test Plans which, due to costs, I never ever use.


