

Published: Oct 3, 2023 by Isaac Johnson
Pulumi is a Seattle-based company whose Open Source SDK is in the same Infrastructure as Code space as Ansible and Terraform. However, I might argue their product is more extensible with many languages natively supported.
The company is still privately held but has been around since 2018, formed by two Microsoft alum with a passion for code and Open-Source.
Today we’ll get started with Pulumi and create a basic stack on GCP.
Bit of history
It was created by Joe Duffy (CEO) and Eric Rudder (Chairman). Prior to Pulumi, Joe was a leader in Microsoft’s Developer Division, OS Group and Microsoft Research. He was Director of Engineering and Technical Strategy for developer tools where he managed groups building C#, C++, VB and F# languages. He was a driver in Microsoft’s Open-Source transformation and it’s no suprise that he partnered with another Microsoft alum, Eric Rudder who was at one time the Microsoft Chief Technical Strategy Officer.
It was clear from an interview they gave before the C19 pandemic they enjoyed working together:
Eric R: Yeah, I think you know, for Microsoft, we just literally decided let’s work together and see how it goes. Let’s build something. We built little things that looked at Twitter streams and lit up light bulbs. Joe remembers that.
Joe D: I do! During the Superbowl one year detecting who was talking about Beyoncé versus the actual game? Yeah.
They spoke on Open-Source at the core of the company. Joe noted
“we knew from day one, it was really important that, you know, the core of the platform we’re building needs to be open source for a number of reasons. One, it encouraged contributions. It encourages, you know, people just want to understand how it works. It gives people confidence that we’re some part of the company to change, they still got the project, they know the project, they’ve got the source code for the project. It’s table stakes, right? For developers, that core technology they’re using, especially to author your own software needs to be open source. So we knew that going in.”
He said similar in a Medium article, about Open-Source being at the core.
“We have approximately 100,000 users at this point. The first step to getting there was betting on open source. The fact that we were open source — and when we open sourced it, that was a huge — gave us a big boost when we launched. People were like, “Hey, this thing’s open source, it’s on GitHub,” and there was a community instantly around Pulumi. I think we did it the right way, which was that it was genuine open source. We didn’t — there’s no funny business, we didn’t license it in a weird way, we didn’t hold anything back. We are truly open source. We invested in the community and we always have been, so I think that was the first critical step.”
Installation
From the getting started page we can see the commands for Mac, Windows and Linux.
$ curl -fsSL https://get.pulumi.com | sh
=== Installing Pulumi v3.86.0 ===
+ Downloading https://github.com/pulumi/pulumi/releases/download/v3.86.0/pulumi-v3.86.0-linux-x64.tar.gz...
  % Total    % Received % Xferd  Average Speed   Time    Time     Time  Current
                                 Dload  Upload   Total   Spent    Left  Speed
  0     0    0     0    0     0      0      0 --:--:-- --:--:-- --:--:--     0
100  155M  100  155M    0     0  4539k      0  0:00:35  0:00:35 --:--:-- 7419k
+ Extracting to /home/builder/.pulumi/bin
+ Adding $HOME/.pulumi/bin to $PATH in /home/builder/.bashrc

=== Pulumi is now installed! 🍹 ===
+ Please restart your shell or add /home/builder/.pulumi/bin to your $PATH
+ Get started with Pulumi: https://www.pulumi.com/docs/quickstart
Since I don’t want to restart my shell, I’ll just do as it suggests and add Pulumi to my PATH
builder@LuiGi17:~/Workspaces/pulumi$ export PATH=/home/builder/.pulumi/bin:$PATH
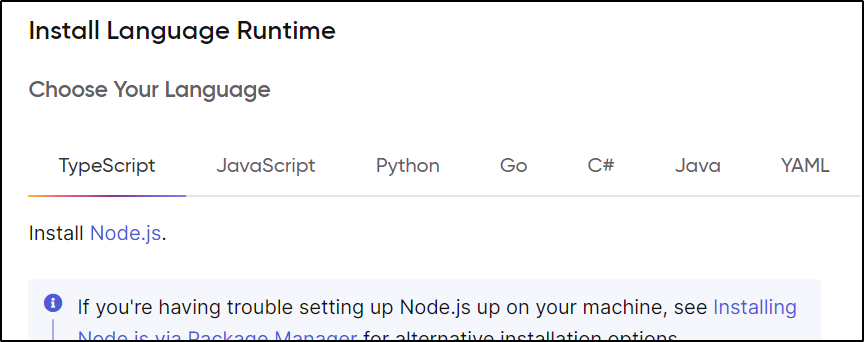
Since I want to compare some like for like, I’ll stick in YAML, but it’s worth pointing out they have a Getting Started guide for TS, JS, Py, Go, C# and YAML
Our next step is to auth to Google cloud (similar to what we did for the GCP Infra Manager last week).
builder@LuiGi17:~/Workspaces/pulumi$ gcloud auth login
Go to the following link in your browser:

    https://accounts.google.com/o/oauth2/auth?response_type=code&client_id=..................&redirect_uri=https%3A%2F%2Fsdk.cloud.google.com%2Fauthcode.html&scope=openid+https%3A%2F%2Fwww.googleapis.com%2Fauth%2Fuserinfo.email+https%3A%2F%2Fwww.googleapis.com%2Fauth%2Fcloud-platform+https%3A%2F%2Fwww.googleapis.com%2Fauth%2Fappengine.admin+https%3A%2F%2Fwww.googleapis.com%2Fauth%2Fsqlservice.login+https%3A%2F%2Fwww.googleapis.com%2Fauth%2Fcompute+https%3A%2F%2Fwww.googleapis.com%2Fauth%2Faccounts.reauth&state=oSA8jS6pcNnEhe3gkM8AV69eXQ6FUF&prompt=consent&access_type=offline&code_challenge=...................code_challenge_method=S256

Enter authorization code: ......................

You are now logged in as [isaac.johnson@gmail.com].
Your current project is [myanthosproject2].  You can change this setting by running:
  $ gcloud config set project PROJECT_ID


builder@LuiGi17:~/Workspaces/pulumi$ gcloud config set project myanthosproject2
Updated property [core/project].
The next bit is to enable access to the auth library. Similar to the login, we’ll do some authentication and authorization in the browser before coming back to the WSL terminal
builder@LuiGi17:~/Workspaces/pulumi$ gcloud auth application-default login
Go to the following link in your browser:

    https://accounts.google.com/o/oauth2/auth?response_type=code&client_id=........................apps.googleusercontent.com&redirect_uri=https%3A%2F%2Fsdk.cloud.google.com%2Fapplicationdefaultauthcode.html&scope=openid+https%3A%2F%2Fwww.googleapis.com%2Fauth%2Fuserinfo.email+https%3A%2F%2Fwww.googleapis.com%2Fauth%2Fcloud-platform+https%3A%2F%2Fwww.googleapis.com%2Fauth%2Fsqlservice.login&state=vyRiG7WjYDVdv5YQQexAakomlwjChZ&prompt=consent&access_type=offline&code_challenge=.................&code_challenge_method=S256

Enter authorization code: .........................

Credentials saved to file: [/home/builder/.config/gcloud/application_default_credentials.json]

These credentials will be used by any library that requests Application Default Credentials (ADC).

Quota project "myanthosproject2" was added to ADC which can be used by Google client libraries for billing and quota. Note that some services may still bill the project owning the resource.
Creating the Pulumi project
When building with YAML, we put things into a “project”. It’s easiest to store this all in a folder.
Before we continue, we may want to setup our Pulumi Cloud account. It’s free and gives an API key the installer will want soon
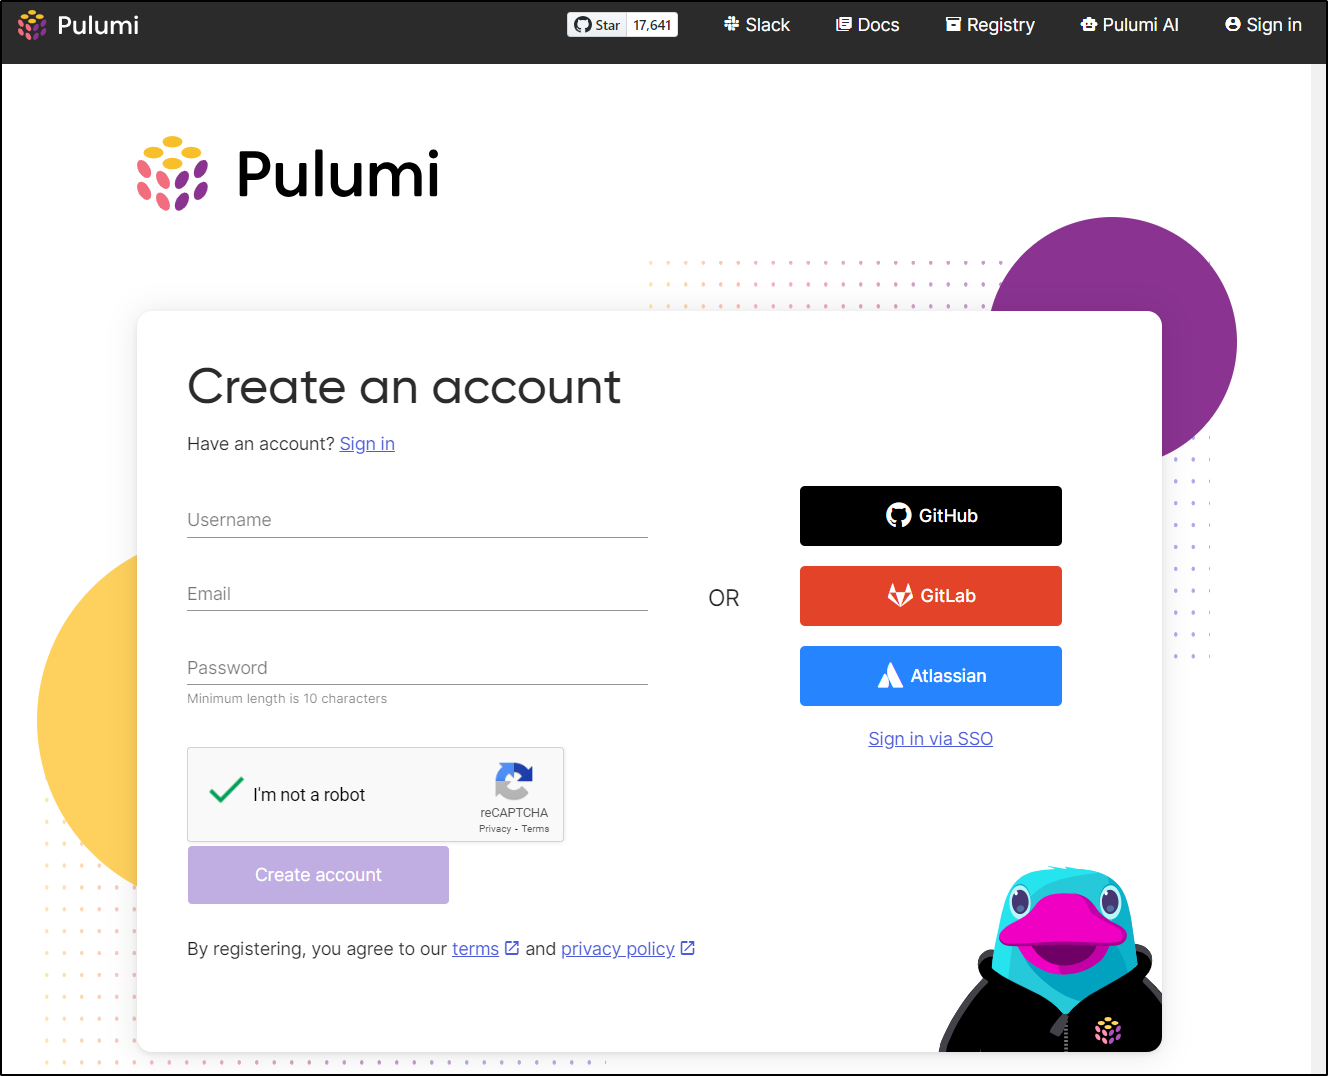
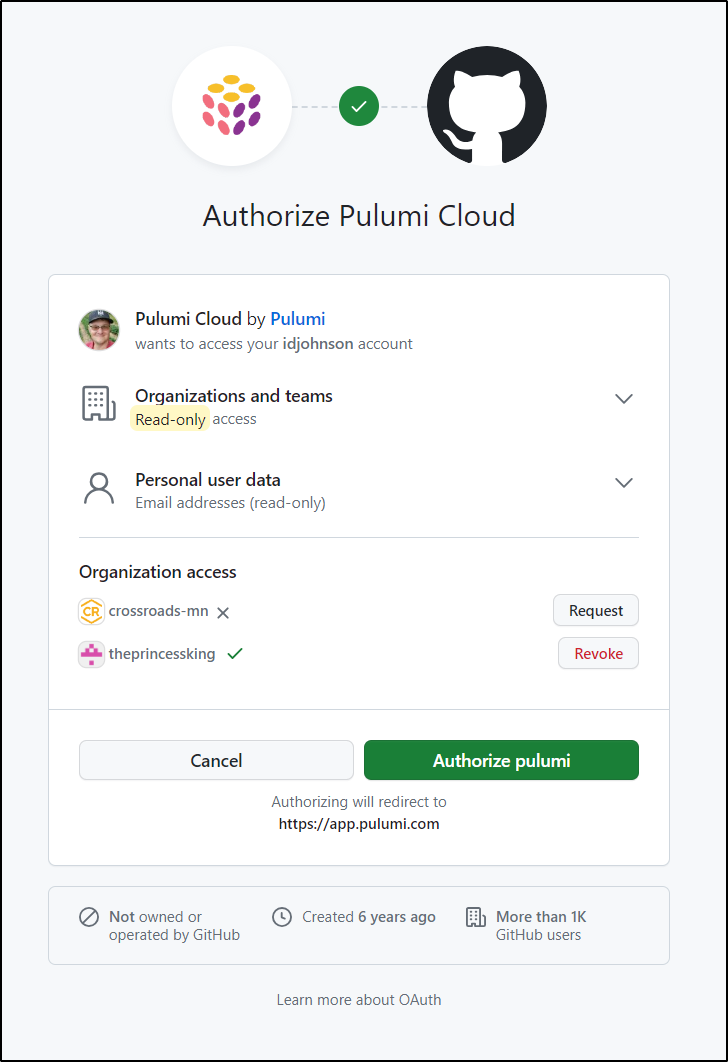
Since I have enough logins in my life, I’ll federate to GH and Authorize Pulumi to get some personal data
I’ll now create a project
builder@LuiGi17:~/Workspaces/pulumi$ pulumi new gcp-yaml
Manage your Pulumi stacks by logging in.
Run `pulumi --help` for alternative login options.
Enter your access token from https://app.pulumi.com/account/tokens
    or hit <ENTER> to log in using your browser                   :
We couldn't launch your web browser for some reason. Please visit:...
I did and logged in resulting in
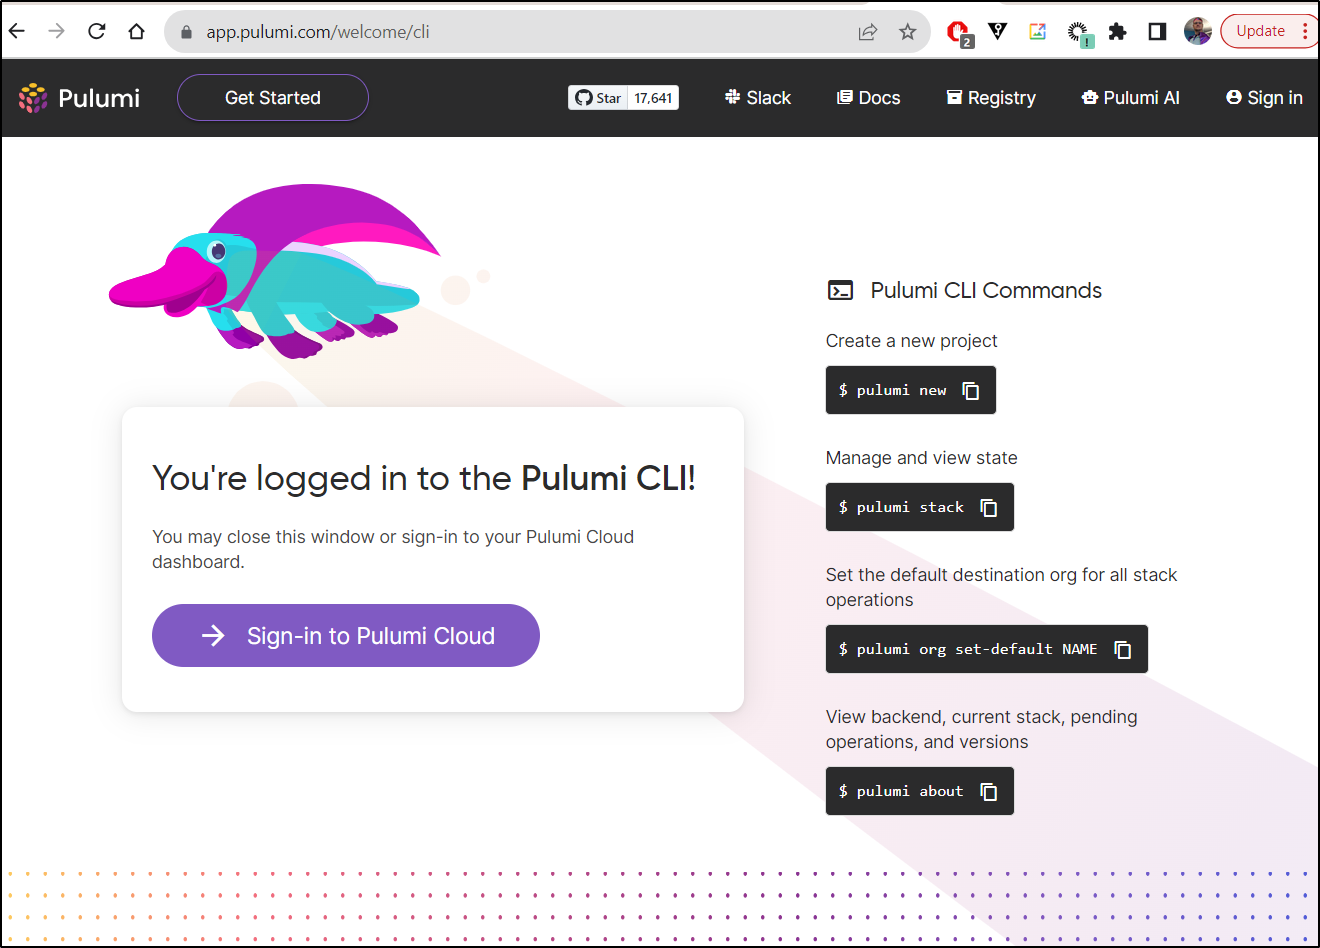
I’ll now give it a project name
builder@LuiGi17:~/Workspaces/pulumi$ pulumi new gcp-yaml
Manage your Pulumi stacks by logging in.
Run `pulumi --help` for alternative login options.
Enter your access token from https://app.pulumi.com/account/tokens
    or hit <ENTER> to log in using your browser                   :
We couldn't launch your web browser for some reason. Please visit:

https://app.pulumi.com/cli-login?cliSessionDescription=Generated+by+pulumi+xxxxxxxxxxxxxxxxxxxxxxxxxxxxxxx

to finish the login process.
Waiting for login to complete...


  Welcome to Pulumi!

  Pulumi helps you create, deploy, and manage infrastructure on any cloud using
  your favorite language. You can get started today with Pulumi at:

      https://www.pulumi.com/docs/get-started/

  Tip: Resources you create with Pulumi are given unique names (a randomly
  generated suffix) by default. To learn more about auto-naming or customizing resource
  names see https://www.pulumi.com/docs/intro/concepts/resources/#autonaming.


This command will walk you through creating a new Pulumi project.

Enter a value or leave blank to accept the (default), and press <ENTER>.
Press ^C at any time to quit.

project name (project): gcpbuckettest
I gave it a few more values before it was ready for a ‘pulumi up’
project name (project): gcpbuckettest
project description (A minimal Google Cloud Pulumi YAML program): A minimal GCP Bucket Example
Created project 'gcpbuckettest'

Please enter your desired stack name.
To create a stack in an organization, use the format <org-name>/<stack-name> (e.g. `acmecorp/dev`).
stack name (dev):
Created stack 'dev'

gcp:project: The Google Cloud project to deploy into: myanthosproject2
Saved config

Your new project is ready to go!

To perform an initial deployment, run `pulumi up`
What we end up with is two YAML files - one for the dev environment,which logically lines up to a GCP project, and the Infra YAML
builder@LuiGi17:~/Workspaces/pulumi$ ls
Pulumi.dev.yaml  Pulumi.yaml


builder@LuiGi17:~/Workspaces/pulumi$ cat Pulumi.dev.yaml
config:
  gcp:project: myanthosproject2


builder@LuiGi17:~/Workspaces/pulumi$ cat Pulumi.yaml
name: gcpbuckettest
runtime: yaml
description: A minimal GCP Bucket Example
outputs:
  # Export the DNS name of the bucket
  bucketName: ${my-bucket.url}
resources:
  # Create a GCP resource (Storage Bucket)
  my-bucket:
    properties:
      location: US
    type: gcp:storage:Bucket
Deploying
We have all we need to now deploy our bucket
After I confirm, I can see the output indicates it created the resources
builder@LuiGi17:~/Workspaces/pulumi$ pulumi up
Previewing update (dev)

View in Browser (Ctrl+O): https://app.pulumi.com/idjohnson/gcpbuckettest/dev/previews/e513a370-b580-4e2f-b878-9e1489715e1a

Downloading plugin: 59.09 MiB / 59.09 MiB [=========================] 100.00% 6s
                                                                                [resource plugin gcp-6.66.0] installing
     Type                   Name               Plan
 +   pulumi:pulumi:Stack    gcpbuckettest-dev  create
 +   └─ gcp:storage:Bucket  my-bucket          create


Outputs:
    bucketName: output<string>

Resources:
    + 2 to create

Do you want to perform this update? yes
Updating (dev)

View in Browser (Ctrl+O): https://app.pulumi.com/idjohnson/gcpbuckettest/dev/updates/1

     Type                   Name               Status
 +   pulumi:pulumi:Stack    gcpbuckettest-dev  created (3s)
 +   └─ gcp:storage:Bucket  my-bucket          created (1s)


Outputs:
    bucketName: "gs://my-bucket-f2cab0b"

Resources:
    + 2 created

Duration: 5s
I can also see a stack as been created in the Pulumi website
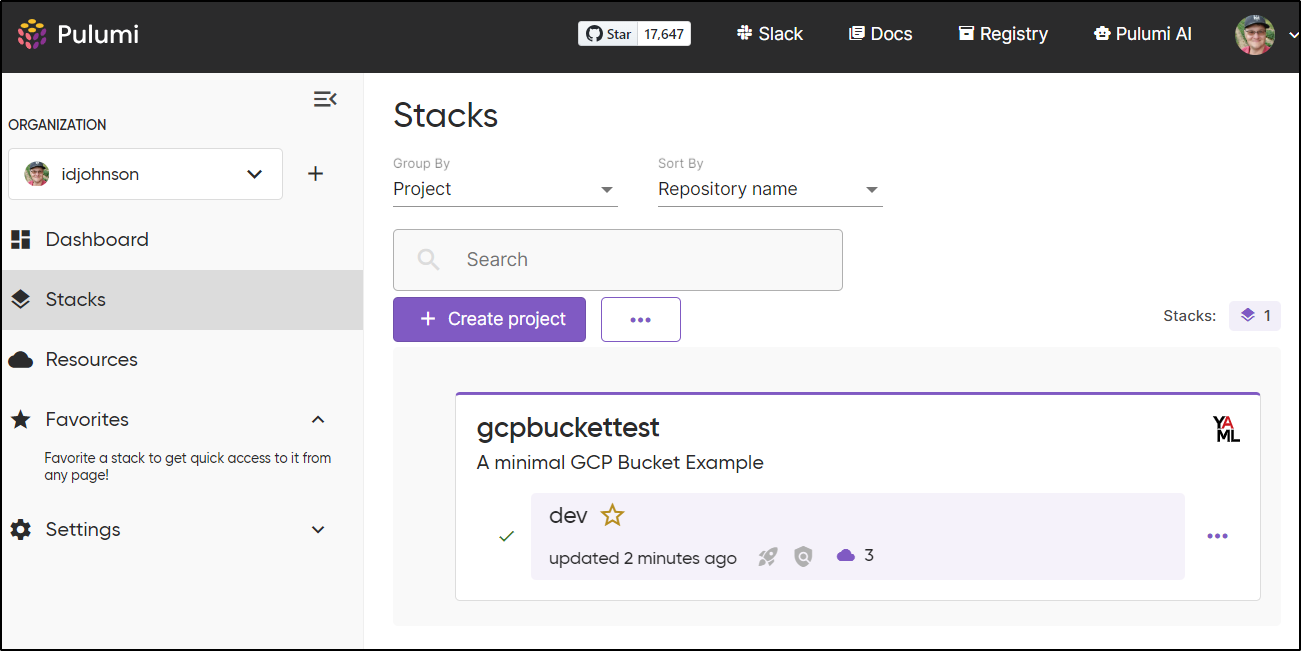
Pulumi Cloud
Let’s check out what we can see in the Pulumi cloud backend.
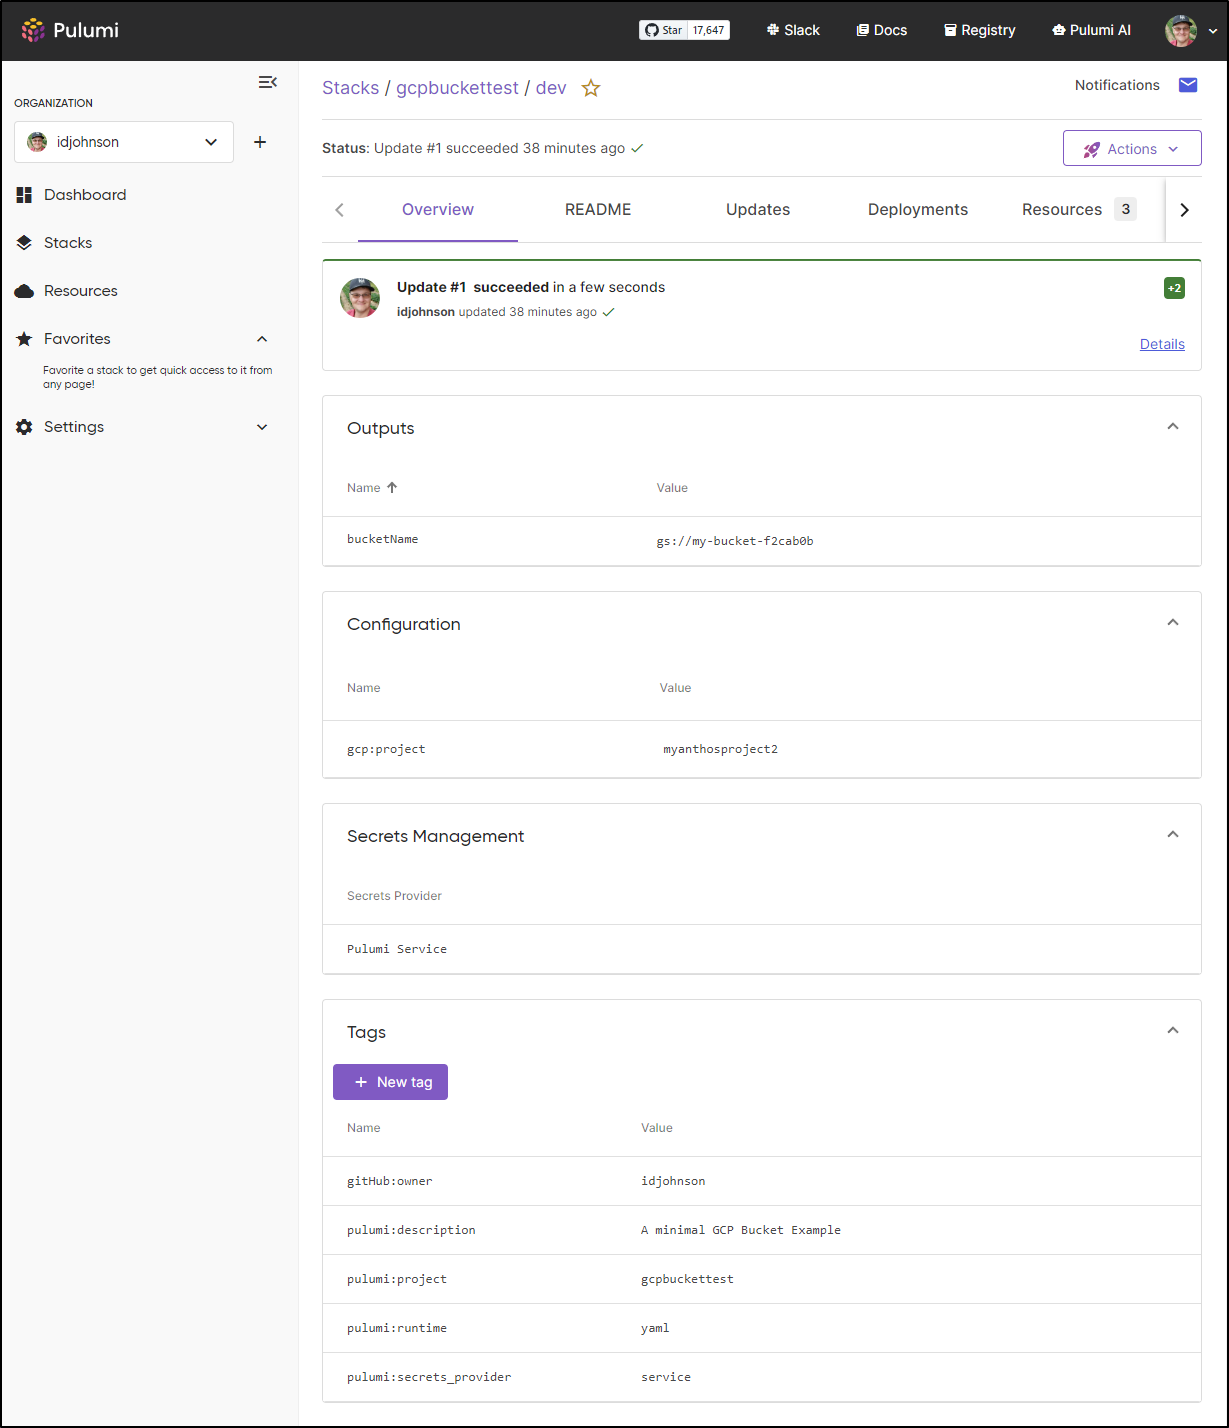
I can get the details of deployment, including any tags
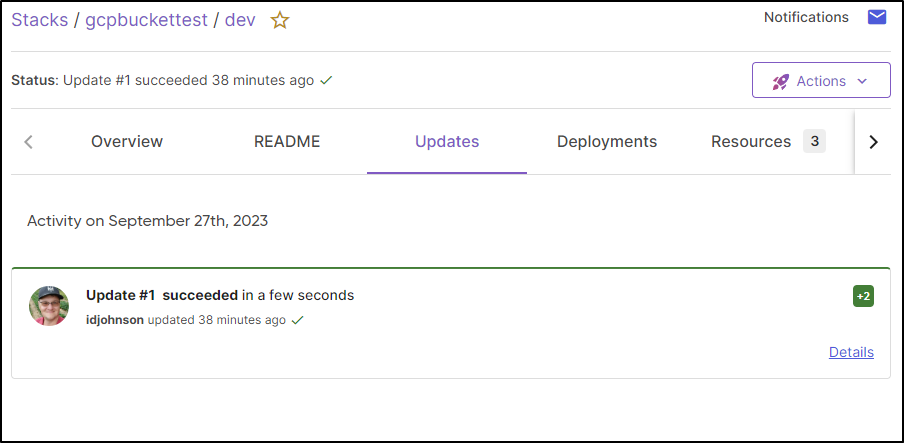
Activity, such as deployments
and resources
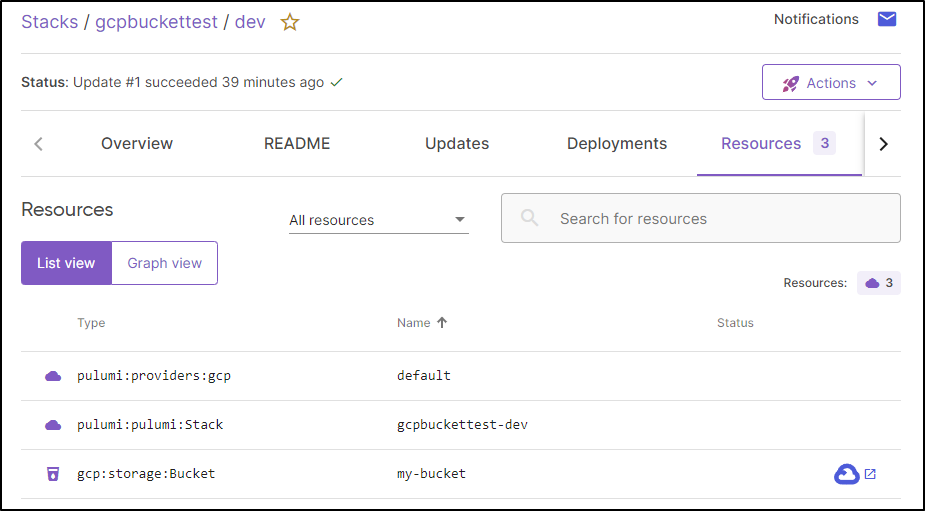
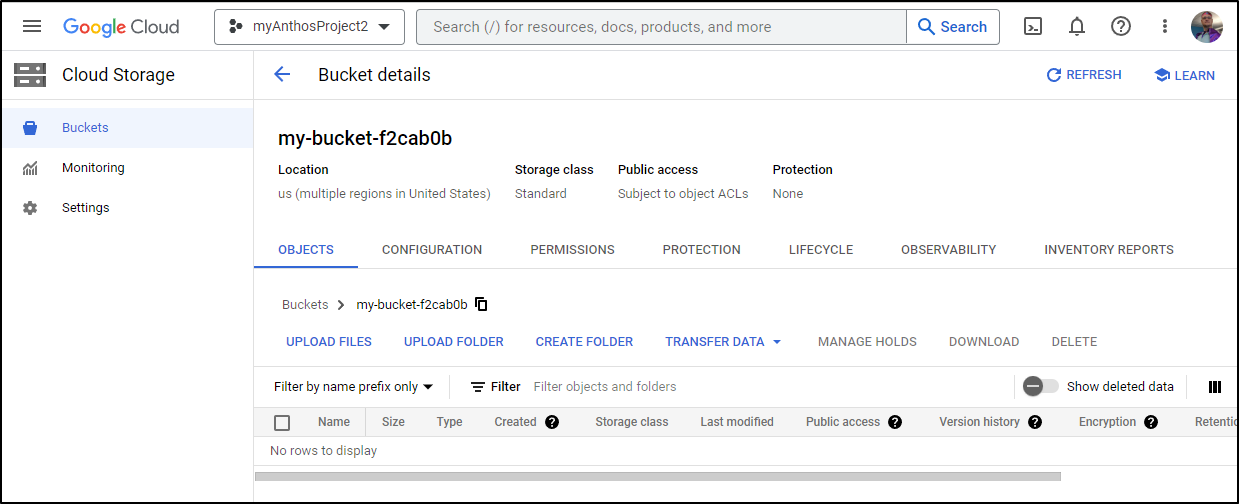
That purple cloud link in the bottom right then takes me to my GCP resource (provided I’m logged into the GCP console for that account)
The part that had me real curios was in the “Settings” which suggested I might be able to pull back my whole stack if I lose the configuration.
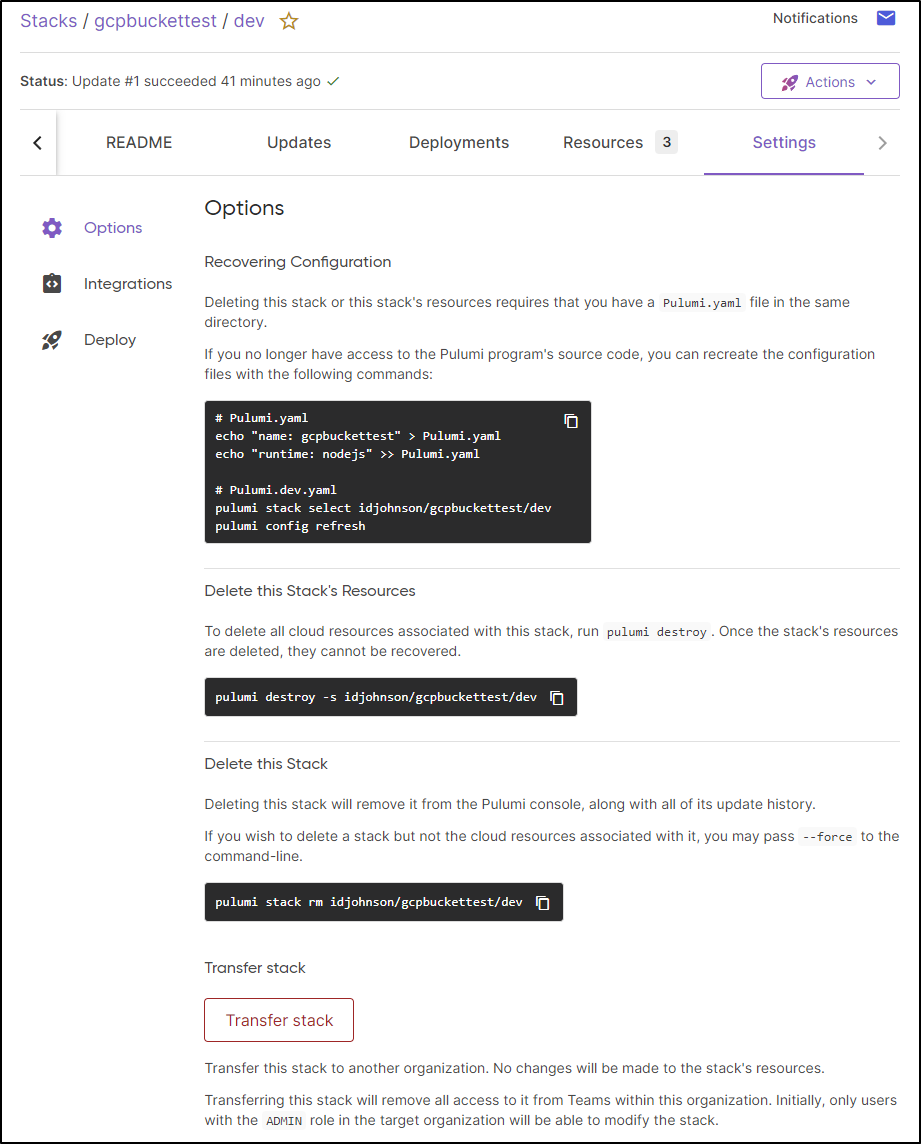
I’m now on a different host, let’s try that.
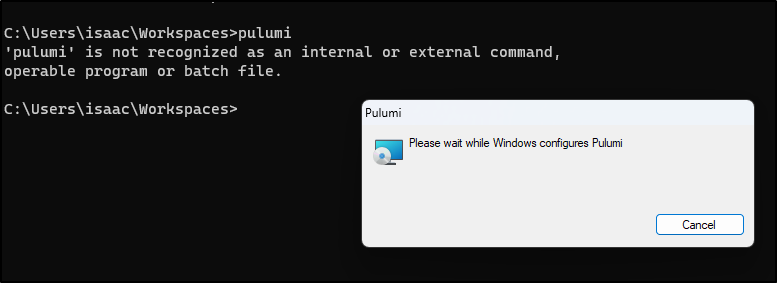
To be real different, I’ll even break from WSL to use Windows to test
I’ll want to create an API token to use, if I havent already

I’ll create the file and login to Pulumi
C:\Users\isaac\Workspaces\Pulumi>echo name: gcpbuckettest > Pulumi.yaml

C:\Users\isaac\Workspaces\Pulumi>echo runtime: yaml >> Pulumi.yaml

C:\Users\isaac\Workspaces\Pulumi>Pulumi login
Manage your Pulumi stacks by logging in.
Run `pulumi --help` for alternative login options.
Enter your access token from https://app.pulumi.com/account/tokens
    or hit <ENTER> to log in using your browser                   :


  Welcome to Pulumi!

  Pulumi helps you create, deploy, and manage infrastructure on any cloud using
  your favorite language. You can get started today with Pulumi at:

      https://www.pulumi.com/docs/get-started/

  Tip: Resources you create with Pulumi are given unique names (a randomly
  generated suffix) by default. To learn more about auto-naming or customizing resource
  names see https://www.pulumi.com/docs/intro/concepts/resources/#autonaming.


Logged in to pulumi.com as idjohnson (https://app.pulumi.com/idjohnson)
Note: if you do the commands as written with double quotes on the echo, the Windows command prompt will add them to the YAML making a bad YAML file and you’ll see an error such as
C:\Users\isaac\Workspaces\Pulumi>Pulumi login
error: could not validate 'C:\Users\isaac\Workspaces\Pulumi\Pulumi.yaml': expected project to be an object, was 'string'

C:\Users\isaac\Workspaces\Pulumi>type Pulumi.yaml
"name: gcpbuckettest"
"runtime: yaml"
I can now pull the config but not the actual stack YAML
C:\Users\isaac\Workspaces\Pulumi>pulumi stack select idjohnson/gcpbuckettest/dev

C:\Users\isaac\Workspaces\Pulumi>dir
 Volume in drive C is Windows
 Volume Serial Number is CCF2-2AB5

 Directory of C:\Users\isaac\Workspaces\Pulumi

09/27/2023  06:31 AM    <DIR>          .
09/27/2023  06:31 AM    <DIR>          ..
09/27/2023  06:37 AM                38 Pulumi.yaml
               1 File(s)             38 bytes
               2 Dir(s)  257,302,577,152 bytes free

C:\Users\isaac\Workspaces\Pulumi>pulumi config refresh

C:\Users\isaac\Workspaces\Pulumi>dir
 Volume in drive C is Windows
 Volume Serial Number is CCF2-2AB5

 Directory of C:\Users\isaac\Workspaces\Pulumi

09/27/2023  06:40 AM    <DIR>          .
09/27/2023  06:31 AM    <DIR>          ..
09/27/2023  06:40 AM                40 Pulumi.dev.yaml
09/27/2023  06:37 AM                38 Pulumi.yaml
               2 File(s)             78 bytes
               2 Dir(s)  257,299,701,760 bytes free

C:\Users\isaac\Workspaces\Pulumi>type Pulumi.dev.yaml
config:
  gcp:project: myanthosproject2

C:\Users\isaac\Workspaces\Pulumi>type Pulumi.yaml
name: gcpbuckettest
runtime: yaml
When logged in, we can also query for active stacks we could pull
C:\Users\isaac\Workspaces\Pulumi>pulumi stack ls
NAME  LAST UPDATE     RESOURCE COUNT  URL
dev*  56 minutes ago  3               https://app.pulumi.com/idjohnson/gcpbuckettest/dev
I can now cleanup from a wholly different host with no access to the original source using destroy (though, as we see, I do still need to login to GCP as there is no saved Auth in Pulumi cloud).
We can see in the UI where I ran it and it failed the first time (I wasn’t authed), then it succeeded the second time:
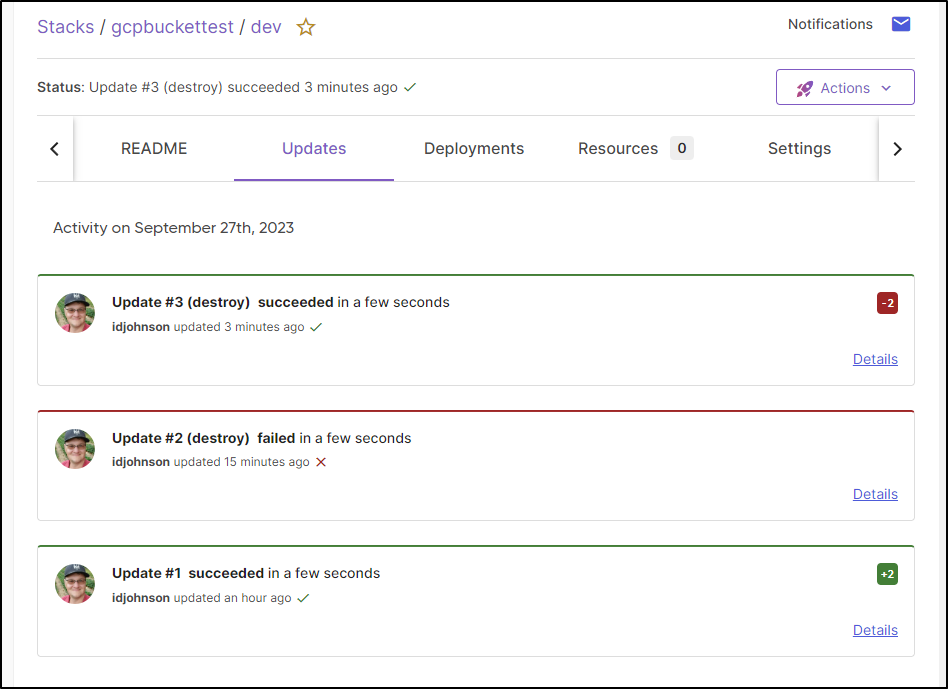
I can also confirm that Resources now show “0” as it cleaned everything up

What’s next
I’ve just scratched the surface here with Pulumi. There are a slew of integrations to explore
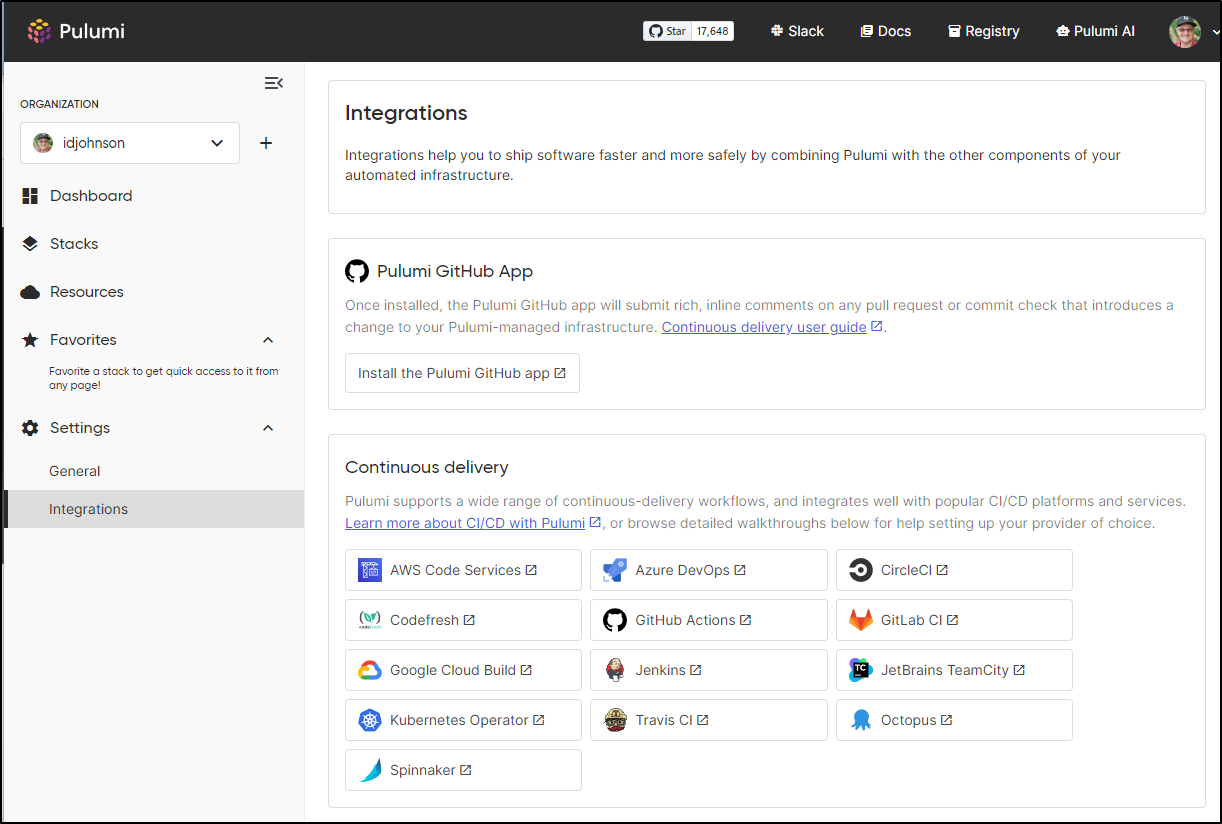
That includes a pretty cool Flux provider on Kubernetes I know I have to check out.
We haven’t even tried Pulumi as code (outside of YAML) yet.
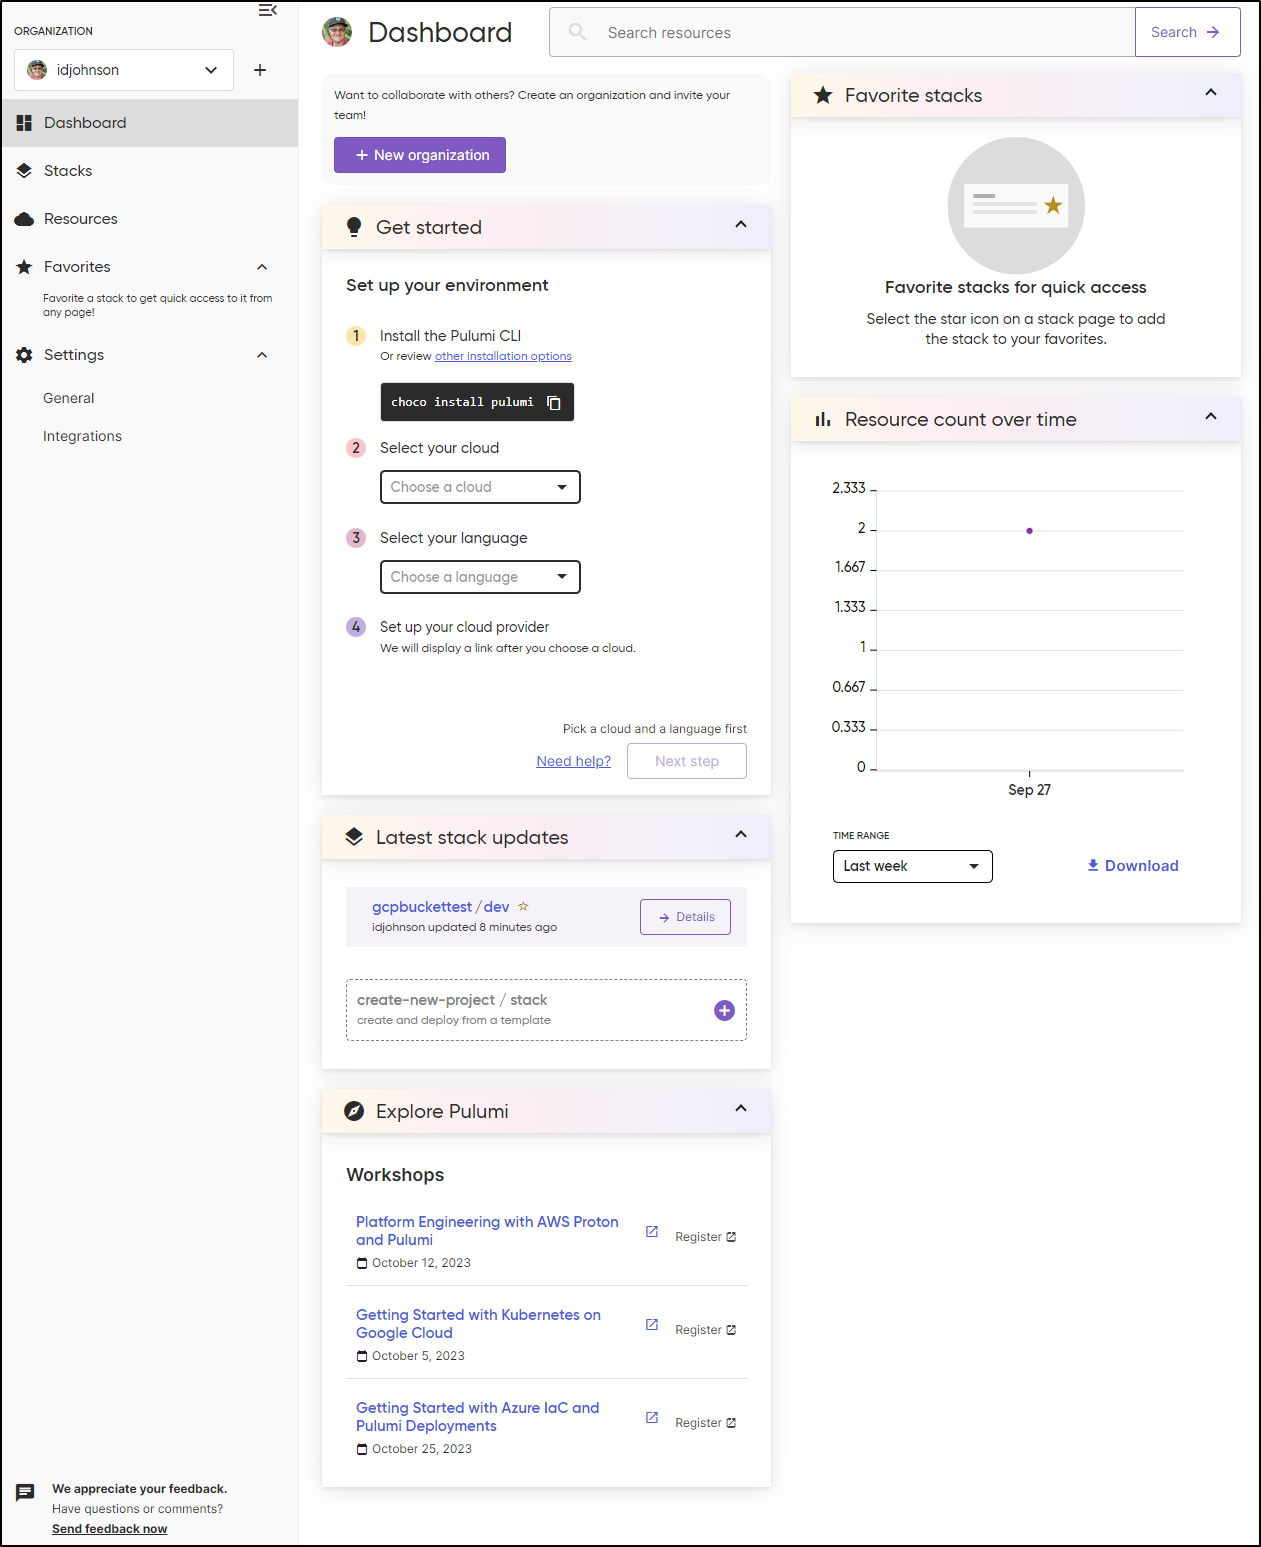
Dashboard
I’ll just touch on the dashboard at this point. We can see recent Resources creations, favourite stacks, updates and more from our primary Dashboard
Costs
They have a lot of details on their pricing page
But the brass tax is for 1 user, it’s free with a few parts removed.
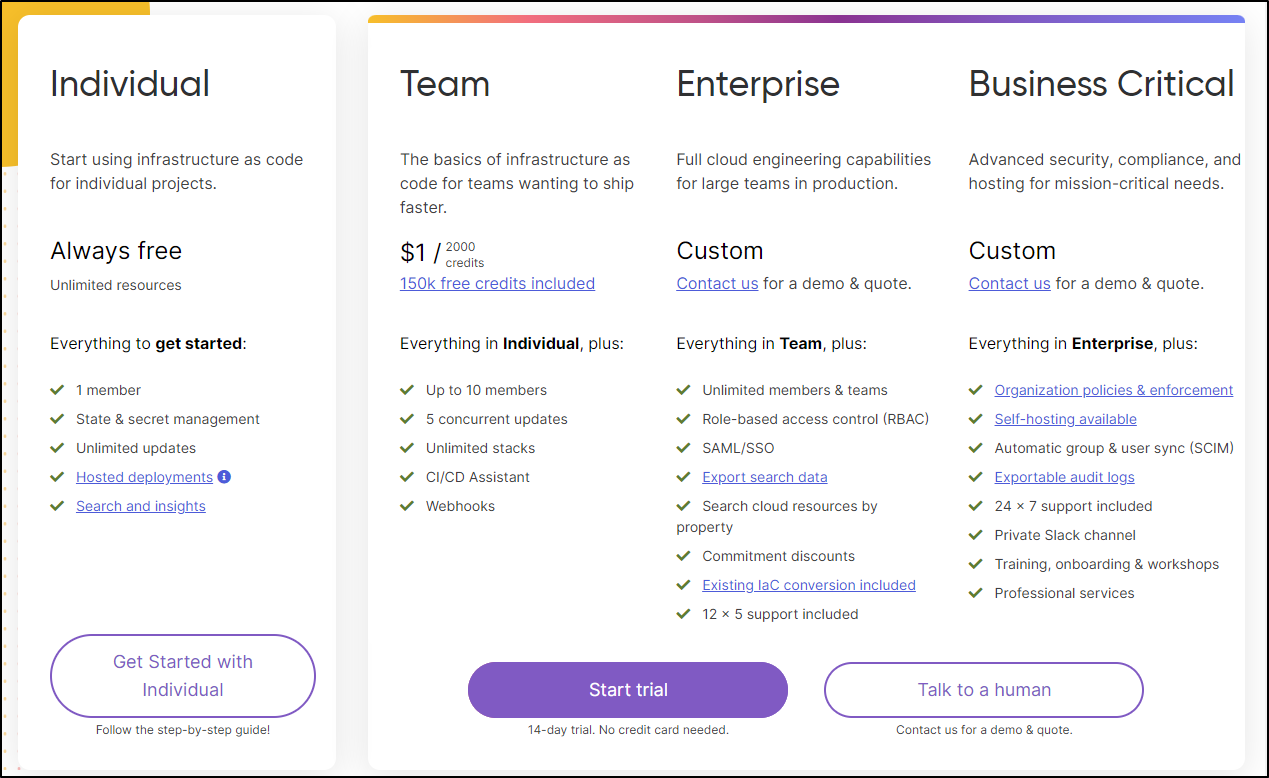
The only ones I might do a trial to check out are the CI/CD assistant and Webhooks
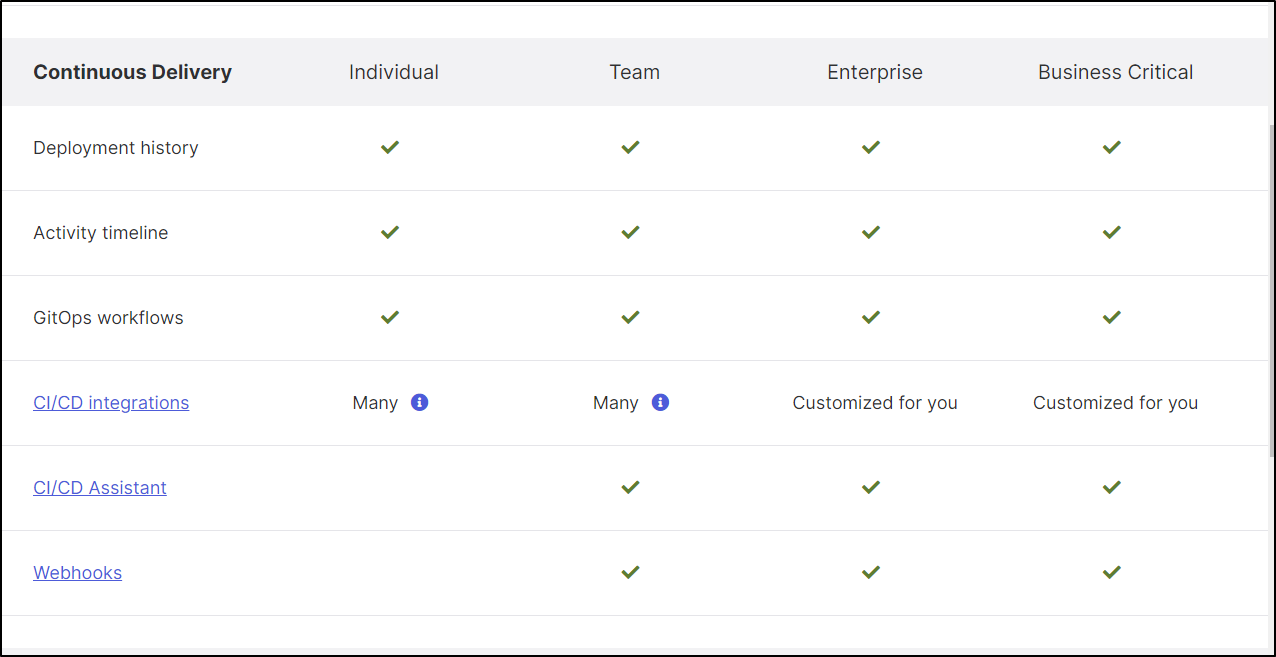
The pricing is “credit” based which seems to be about managing resources:
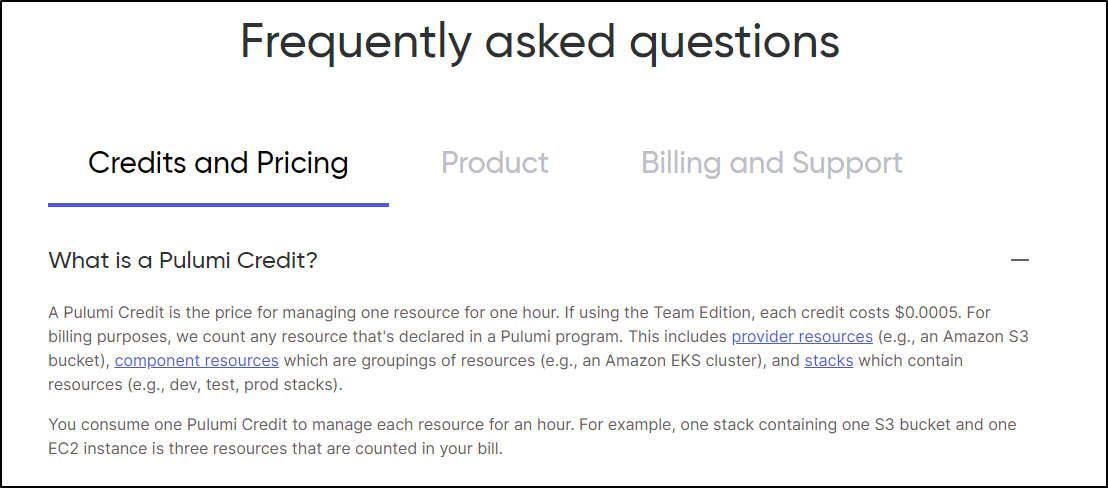
Since they have a 14d trial, one might be able to tease that out by makign some larger stacks and seeing how that affects credits.
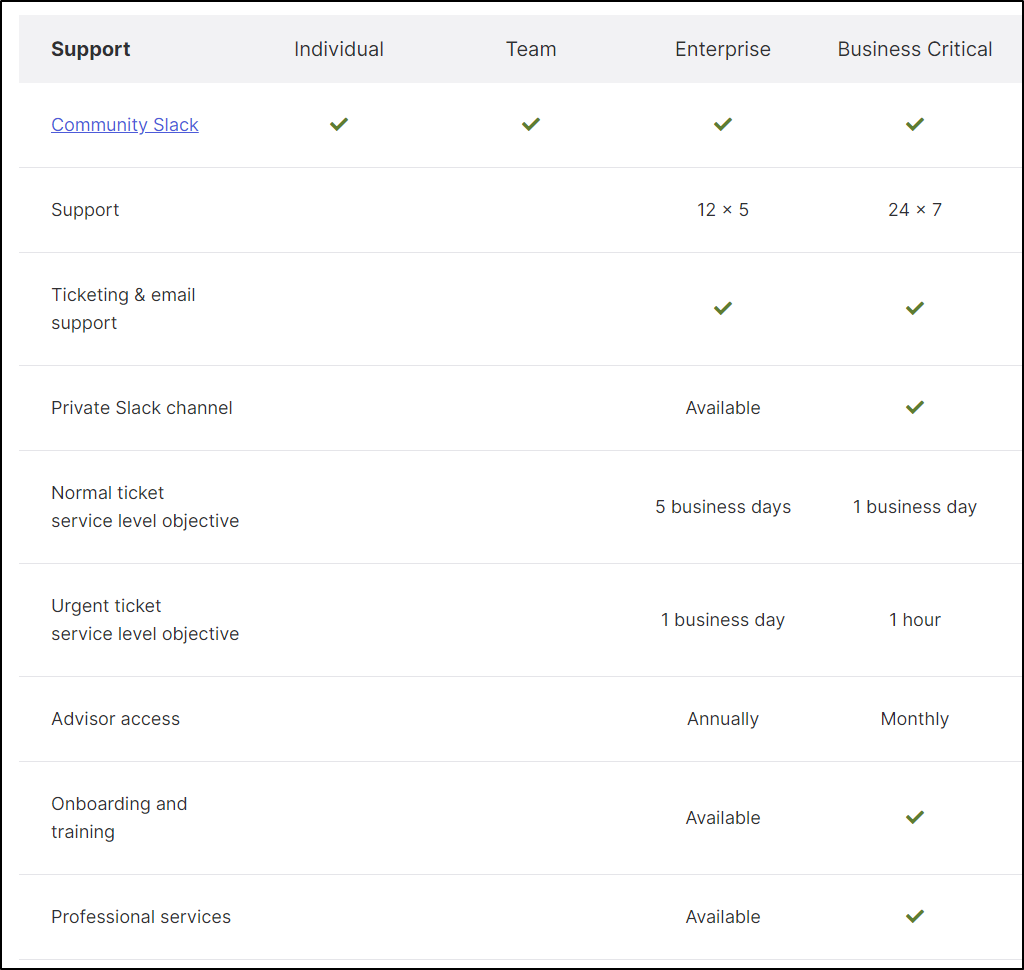
The other feature that caught my eye was the detailed support. I don’t get the same SLAs from my other vendor
Summary
We shows a basic GCP Stack that created a bucket in a GCP project. We used YAML so we might contrast with other tools. We also showed engaging with our stacks (listing and destroying) from a different host as well as touched on pricing.
In our next post, we’ll dig into CICD and more automations.