

Published: Aug 1, 2023 by Isaac Johnson
I saw a post last month about the new 1.20 release of Gitea. We haven’t really looked much outside of AzDO, Github and Gitlab. Gitea fits in the Github/Gitlab space, only self-hosted and open-source.
Today we will setup an initial Kubernetes-based instance, configure Orgs and Repositories and explore just some of the features of Repositories.
Installation
We can install Gitea many different ways. We’ll start with installing on Kubernetes.
We simply need to add the helm repo
$ helm repo add gitea-charts https://dl.gitea.com/charts/
"gitea-charts" has been added to your repositories
and install
$ helm install gitea gitea-charts/gitea
coalesce.go:175: warning: skipped value for memcached.initContainers: Not a table.
NAME: gitea
LAST DEPLOYED: Mon Jul 17 06:04:54 2023
NAMESPACE: default
STATUS: deployed
REVISION: 1
NOTES:
1. Get the application URL by running these commands:
  echo "Visit http://127.0.0.1:3000 to use your application"
  kubectl --namespace default port-forward svc/gitea-http 3000:3000
The pods have a bunch of work to do, so I needed to wait a couple minutes for them to come up
$ kubectl get pods
NAME                                                READY   STATUS     RESTARTS      AGE
nginx-78cc4c645b-lxpbc                              1/1     Running    0             4d22h
ngrok-669dd5fdd8-lxdkg                              1/1     Running    2 (20h ago)   6d22h
vote-front-azure-vote-1688994153-6fdc76bdd9-vk92z   1/1     Running    1 (20h ago)   4d22h
vote-back-azure-vote-1688994153-7b76fb69b9-xxzgc    1/1     Running    1 (20h ago)   6d22h
gitea-memcached-8666cf9db5-s2p4q                    1/1     Running    0             75s
gitea-postgresql-0                                  1/1     Running    0             75s
gitea-0                                             0/1     Init:2/3   3 (38s ago)   75s

$ kubectl get pods
NAME                                                READY   STATUS    RESTARTS      AGE
nginx-78cc4c645b-lxpbc                              1/1     Running   0             4d22h
ngrok-669dd5fdd8-lxdkg                              1/1     Running   2 (20h ago)   6d22h
vote-front-azure-vote-1688994153-6fdc76bdd9-vk92z   1/1     Running   1 (20h ago)   4d22h
vote-back-azure-vote-1688994153-7b76fb69b9-xxzgc    1/1     Running   1 (20h ago)   6d22h
gitea-memcached-8666cf9db5-s2p4q                    1/1     Running   0             2m59s
gitea-postgresql-0                                  1/1     Running   0             2m59s
gitea-0                                             1/1     Running   0             2m59s
I can now port-forward to the service
$ kubectl --namespace default port-forward svc/gitea-http 3000:3000
Forwarding from 127.0.0.1:3000 -> 3000
Forwarding from [::1]:3000 -> 3000
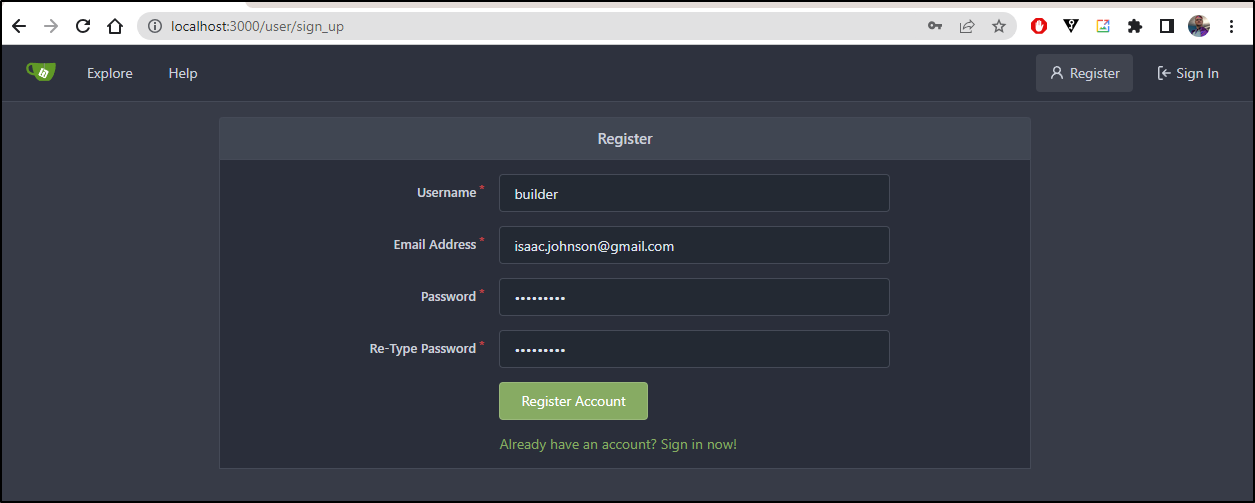
At this point we can create a new user and that user will have a lot of rights, but not full admin.
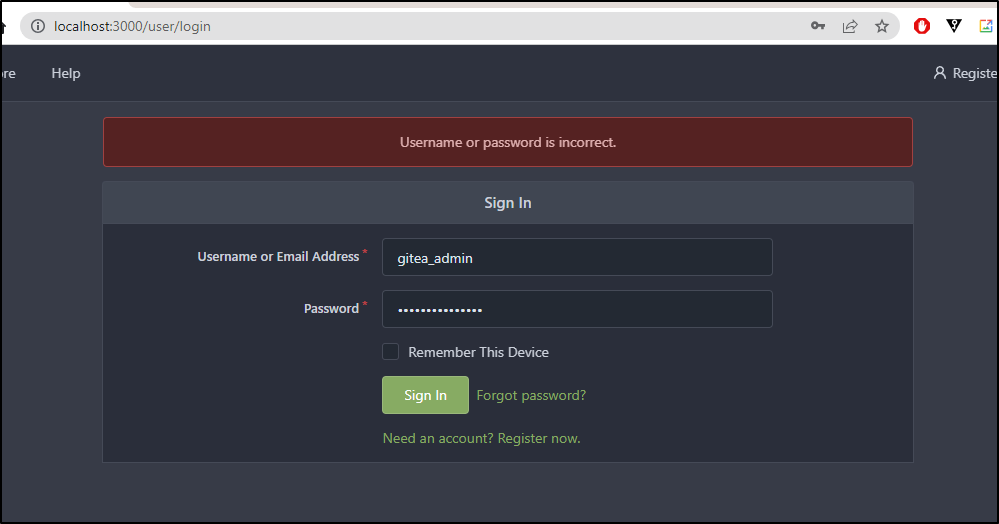
We can also look to the helm chart to see the determined password for this instance
$ helm get values --all gitea
COMPUTED VALUES:
affinity: {}
checkDeprecation: true
clusterDomain: cluster.local
containerSecurityContext: {}
dnsConfig: {}
extraContainerVolumeMounts: []
extraDeploy: []
extraInitVolumeMounts: []
extraVolumeMounts: []
extraVolumes: []
gitea:
  additionalConfigFromEnvs: []
  additionalConfigSources: []
  admin:
    email: gitea@local.domain
    existingSecret: null
    password: r8sA8CPHD9!bt6d
    username: gitea_admin
  config:
... snip ...
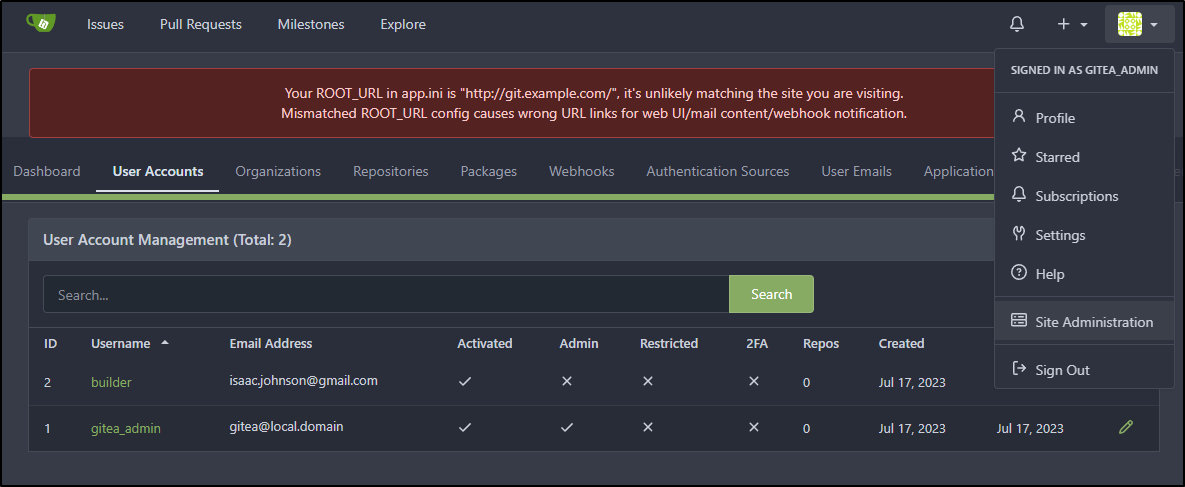
We can see our logged in user in the upper right
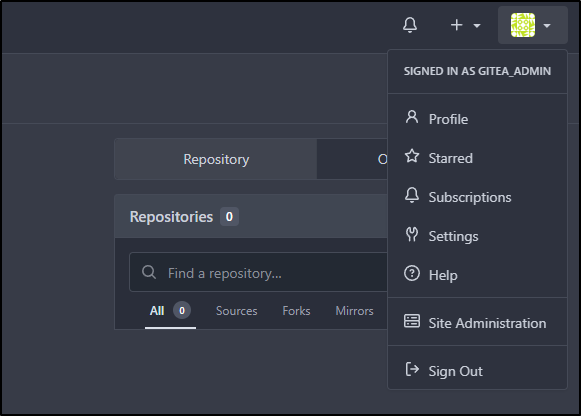
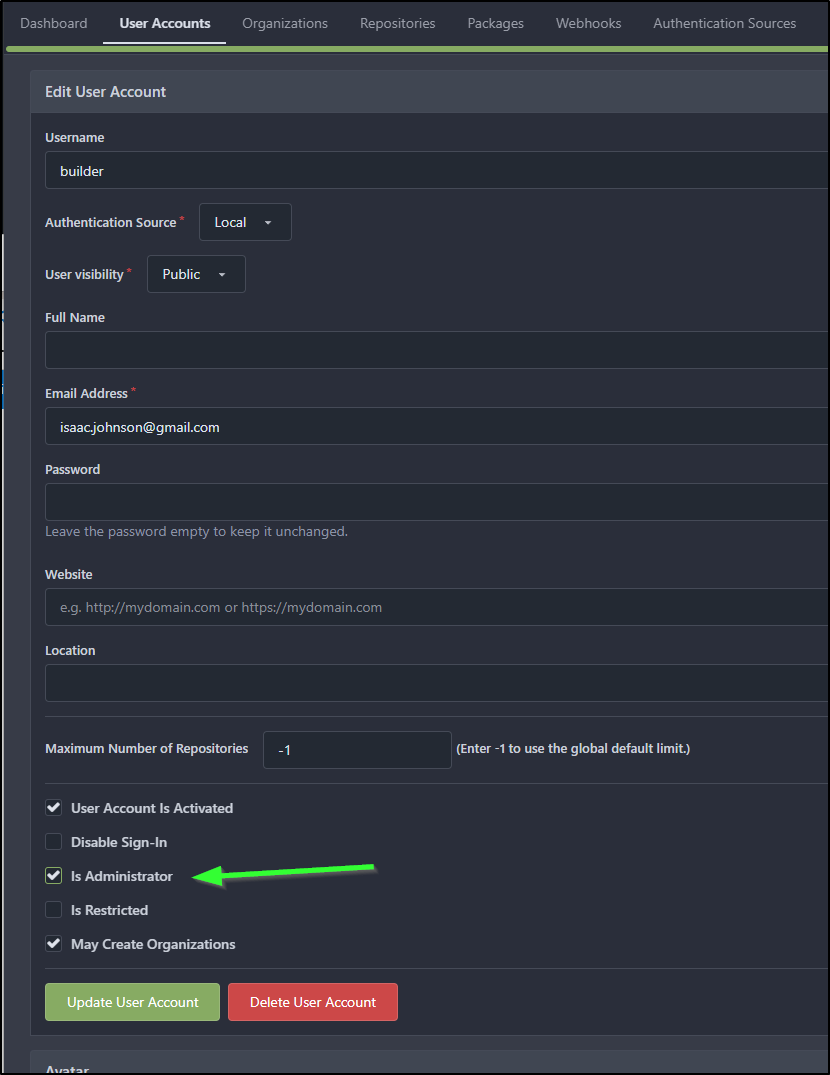
I’ll now make my ‘builder’ user the full admin under site administration, user accounts
I can click the pencil icon and give admin powers
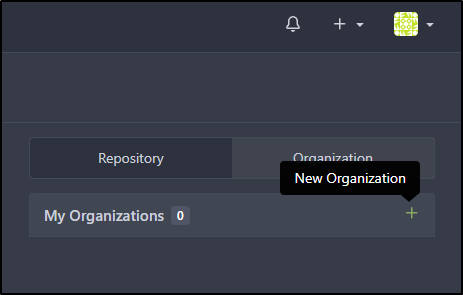
Organizations
My next step is to create an Organization. This is where we will home our repos, actions and more
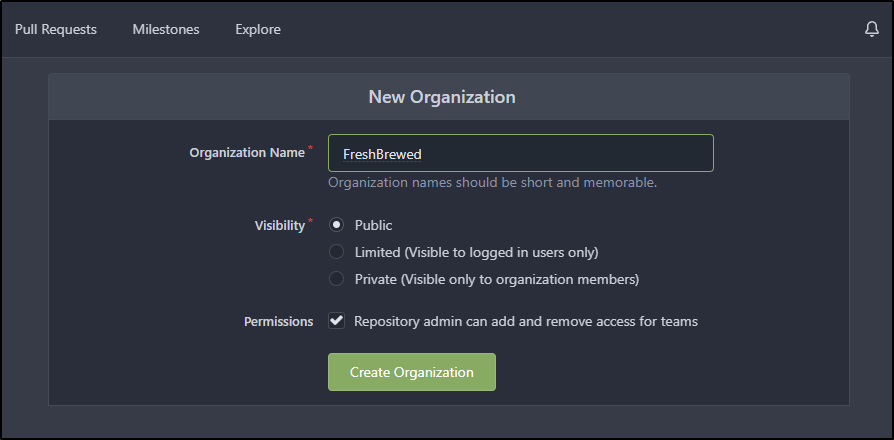
I’ll make a Public organization
A private org member only
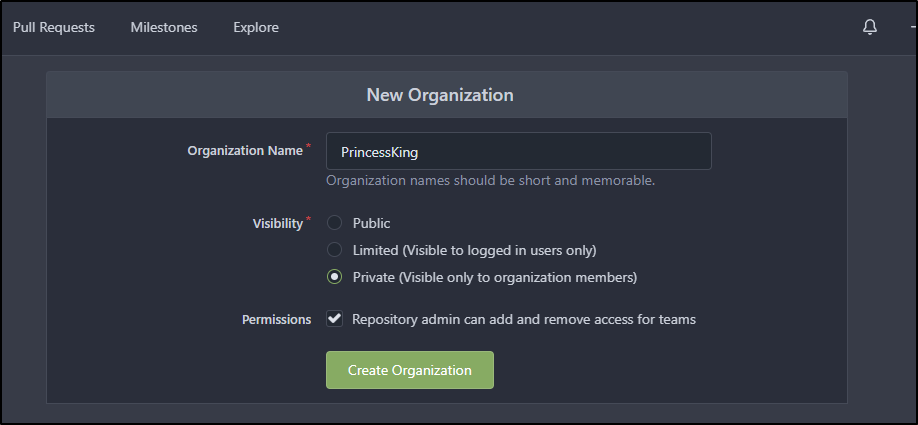
and lastly a private, logged in only

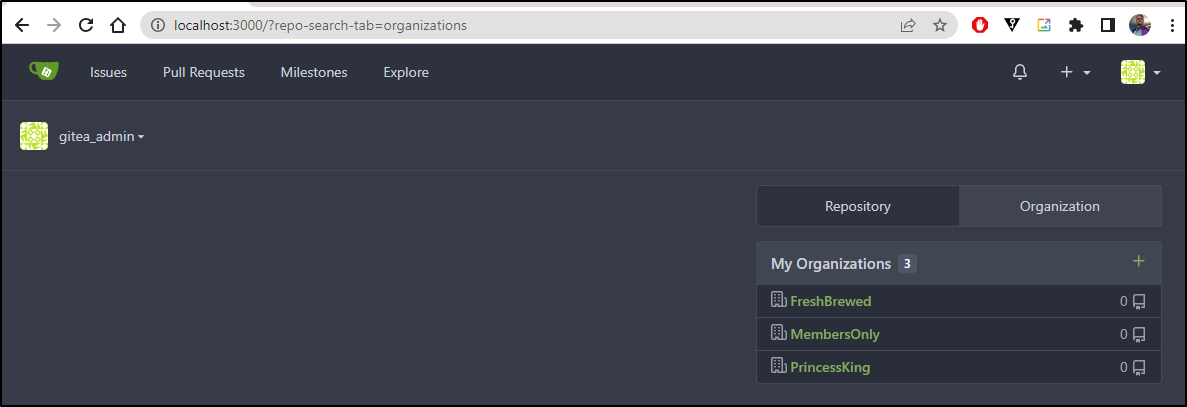
I can now see three organizations
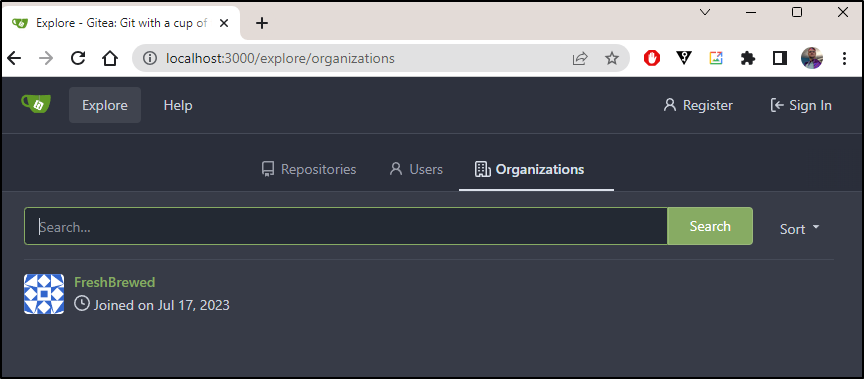
I logged out just to see what the public would see and as expected, we just see our pubic organization
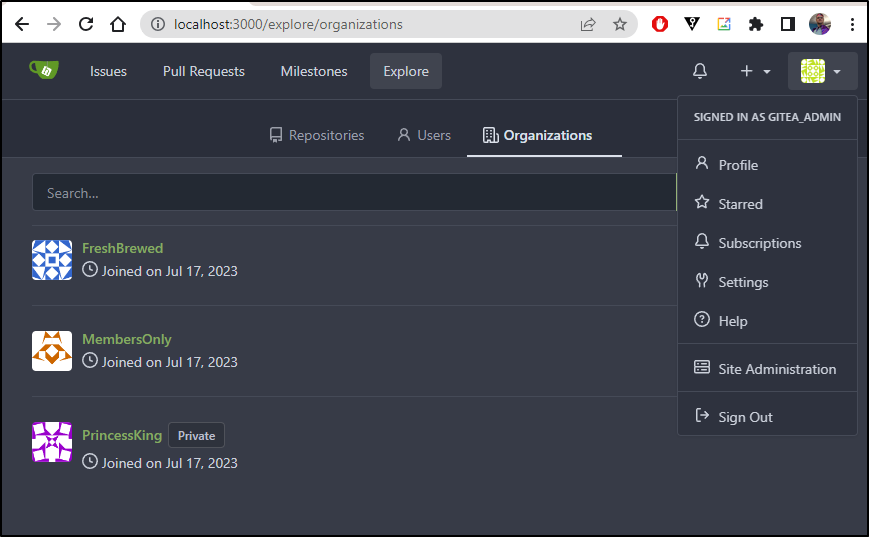
compared to logged in
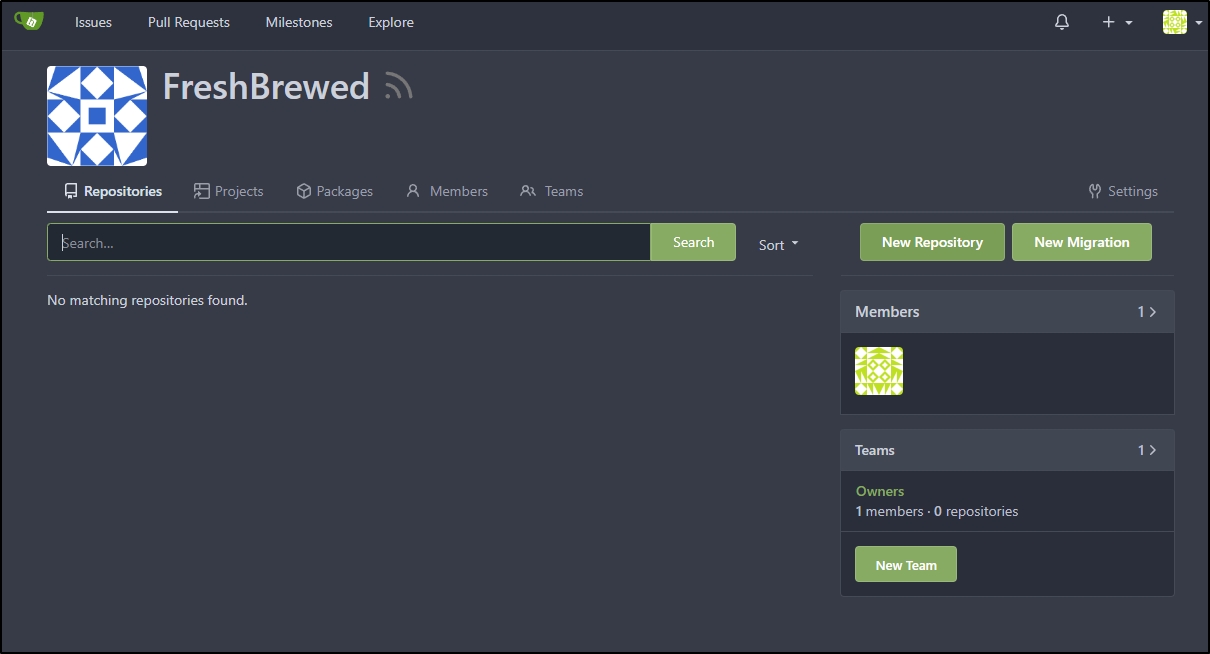
Repositories
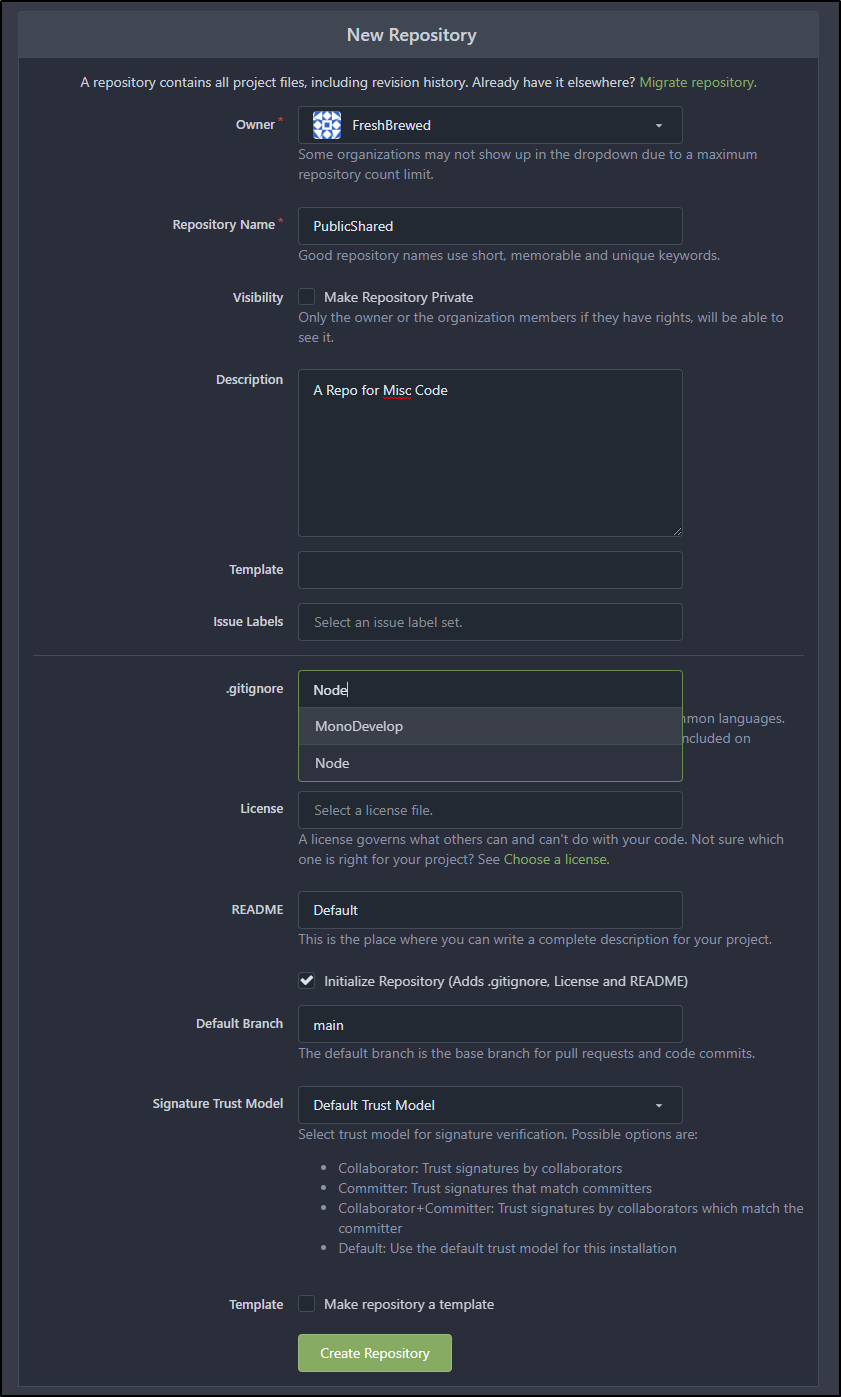
Under Repositories, we can create a new repository
I’ll give it a name and determine if it’s private. I can also set a description, gitignore and default Readme
I now have the first basic repo created
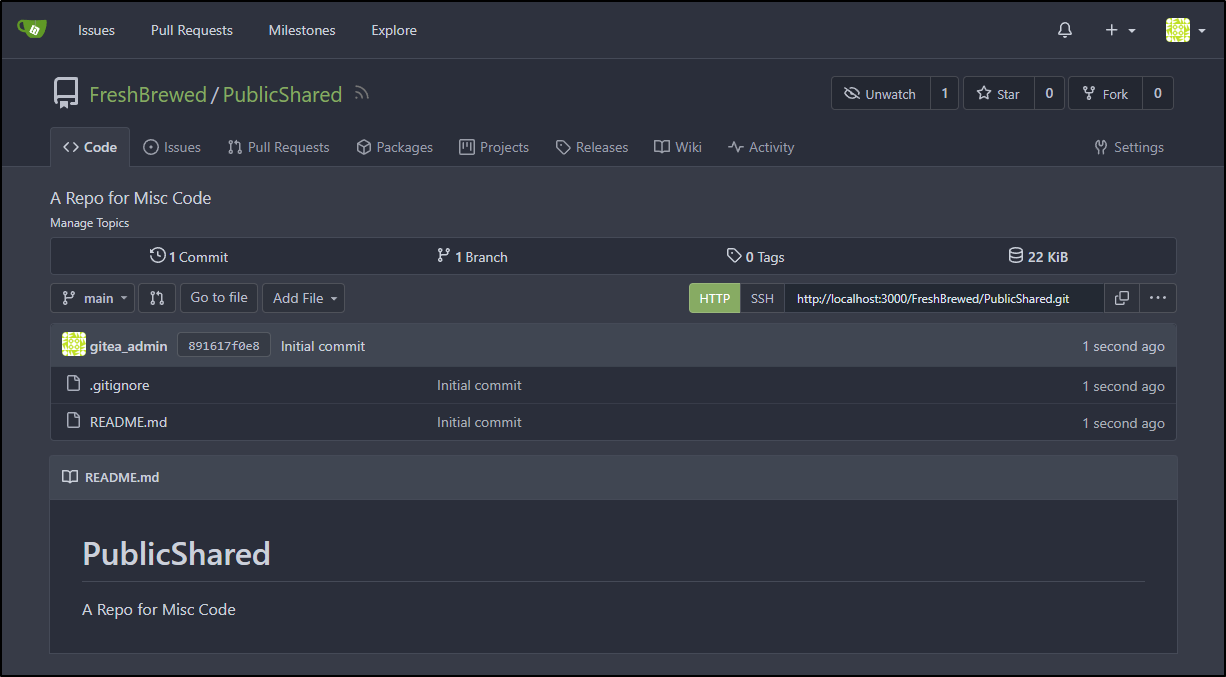
Since I’m still port-forwarding, I’ll try the clone URL
builder@DESKTOP-QADGF36:~/Workspaces$ git clone http://localhost:3000/FreshBrewed/PublicShared.git
Cloning into 'PublicShared'...
remote: Enumerating objects: 4, done.
remote: Counting objects: 100% (4/4), done.
remote: Compressing objects: 100% (3/3), done.
remote: Total 4 (delta 0), reused 0 (delta 0), pack-reused 0
Unpacking objects: 100% (4/4), 1.20 KiB | 1.20 MiB/s, done.
I’ll now hop in the repo and make a minor change
builder@DESKTOP-QADGF36:~/Workspaces$ cd PublicShared/
builder@DESKTOP-QADGF36:~/Workspaces/PublicShared$ ls
README.md
builder@DESKTOP-QADGF36:~/Workspaces/PublicShared$ echo -e "\n\n#Hello There" >> README.md
I can see the diff
builder@DESKTOP-QADGF36:~/Workspaces/PublicShared$ git diff
diff --git a/README.md b/README.md
index 233ab83..21cc1fa 100644
--- a/README.md
+++ b/README.md
@@ -1,3 +1,5 @@
 # PublicShared

-A Repo for Misc Code
\ No newline at end of file
+A Repo for Misc Code
+
+#Hello There
Then add it to a commit and push. On push, I’ll need to login
builder@DESKTOP-QADGF36:~/Workspaces/PublicShared$ git add README.md
builder@DESKTOP-QADGF36:~/Workspaces/PublicShared$ git commit -m "Test"
[main 4e71d4c] Test
 1 file changed, 3 insertions(+), 1 deletion(-)
builder@DESKTOP-QADGF36:~/Workspaces/PublicShared$ git push
Username for 'http://localhost:3000': builder
Password for 'http://builder@localhost:3000':
Enumerating objects: 5, done.
Counting objects: 100% (5/5), done.
Delta compression using up to 16 threads
Compressing objects: 100% (3/3), done.
Writing objects: 100% (3/3), 329 bytes | 329.00 KiB/s, done.
Total 3 (delta 0), reused 0 (delta 0)
remote: . Processing 1 references
remote: Processed 1 references in total
To http://localhost:3000/FreshBrewed/PublicShared.git
   891617f..4e71d4c  main -> main
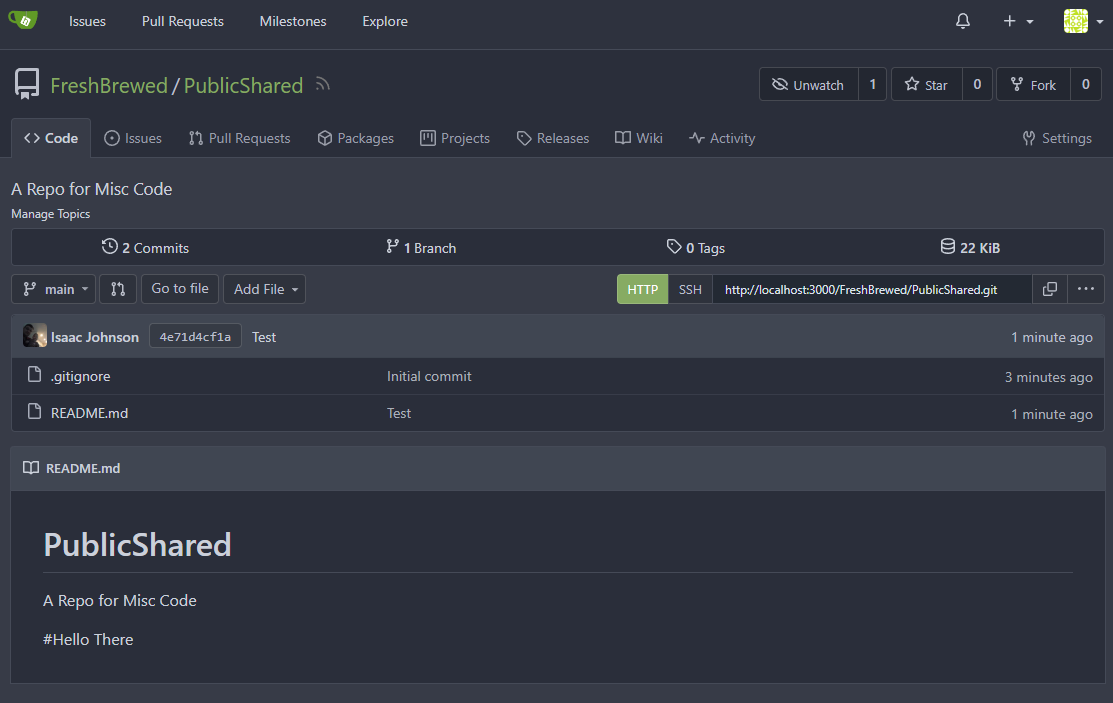
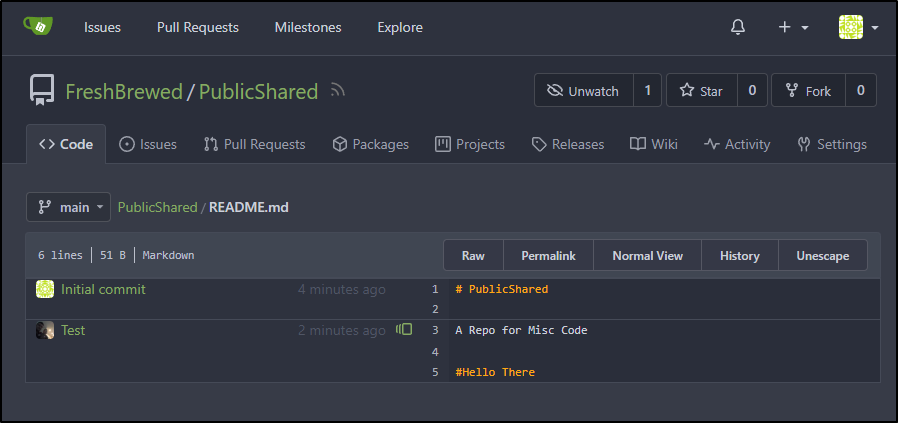
We can now see that reflected
Like you might expect, we can go to the modified file and use blame to see who and when the file was changed
Pull Requests
Let’s create a feature branch and then push it up with a small change
builder@DESKTOP-QADGF36:~/Workspaces/PublicShared$ git checkout -b feature
Switched to a new branch 'feature'
builder@DESKTOP-QADGF36:~/Workspaces/PublicShared$ echo "My Great Feature Idea" > Feature.md
builder@DESKTOP-QADGF36:~/Workspaces/PublicShared$ git add Feature.md
builder@DESKTOP-QADGF36:~/Workspaces/PublicShared$ git commit -m "My Feature Branch"
[feature bb2b144] My Feature Branch
 1 file changed, 1 insertion(+)
 create mode 100644 Feature.md
builder@DESKTOP-QADGF36:~/Workspaces/PublicShared$ git push
fatal: The current branch feature has no upstream branch.
To push the current branch and set the remote as upstream, use

    git push --set-upstream origin feature

builder@DESKTOP-QADGF36:~/Workspaces/PublicShared$ darf
git push --set-upstream origin feature [enter/↑/↓/ctrl+c]
Enumerating objects: 4, done.
Counting objects: 100% (4/4), done.
Delta compression using up to 16 threads
Compressing objects: 100% (2/2), done.
Writing objects: 100% (3/3), 341 bytes | 341.00 KiB/s, done.
Total 3 (delta 0), reused 0 (delta 0)
remote:
remote: Create a new pull request for 'feature':
remote:   http://git.example.com/FreshBrewed/PublicShared/compare/main...feature
remote:
remote: . Processing 1 references
remote: Processed 1 references in total
To http://localhost:3000/FreshBrewed/PublicShared.git
 * [new branch]      feature -> feature
Branch 'feature' set up to track remote branch 'feature' from 'origin'.
Because I haven’t set the actual domain, the URL above is errantly set to ‘example.com’. But if we use our localhost forward http://localhost:3000/FreshBrewed/PublicShared/compare/main...feature, then it will prompt for the new Pull Request
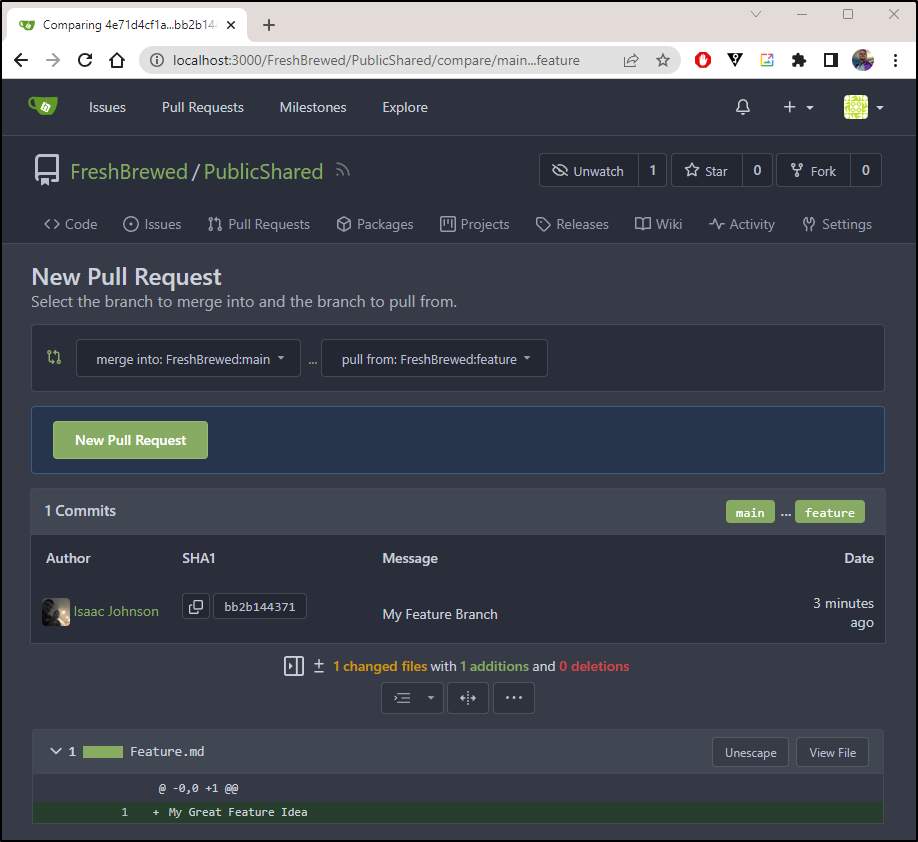
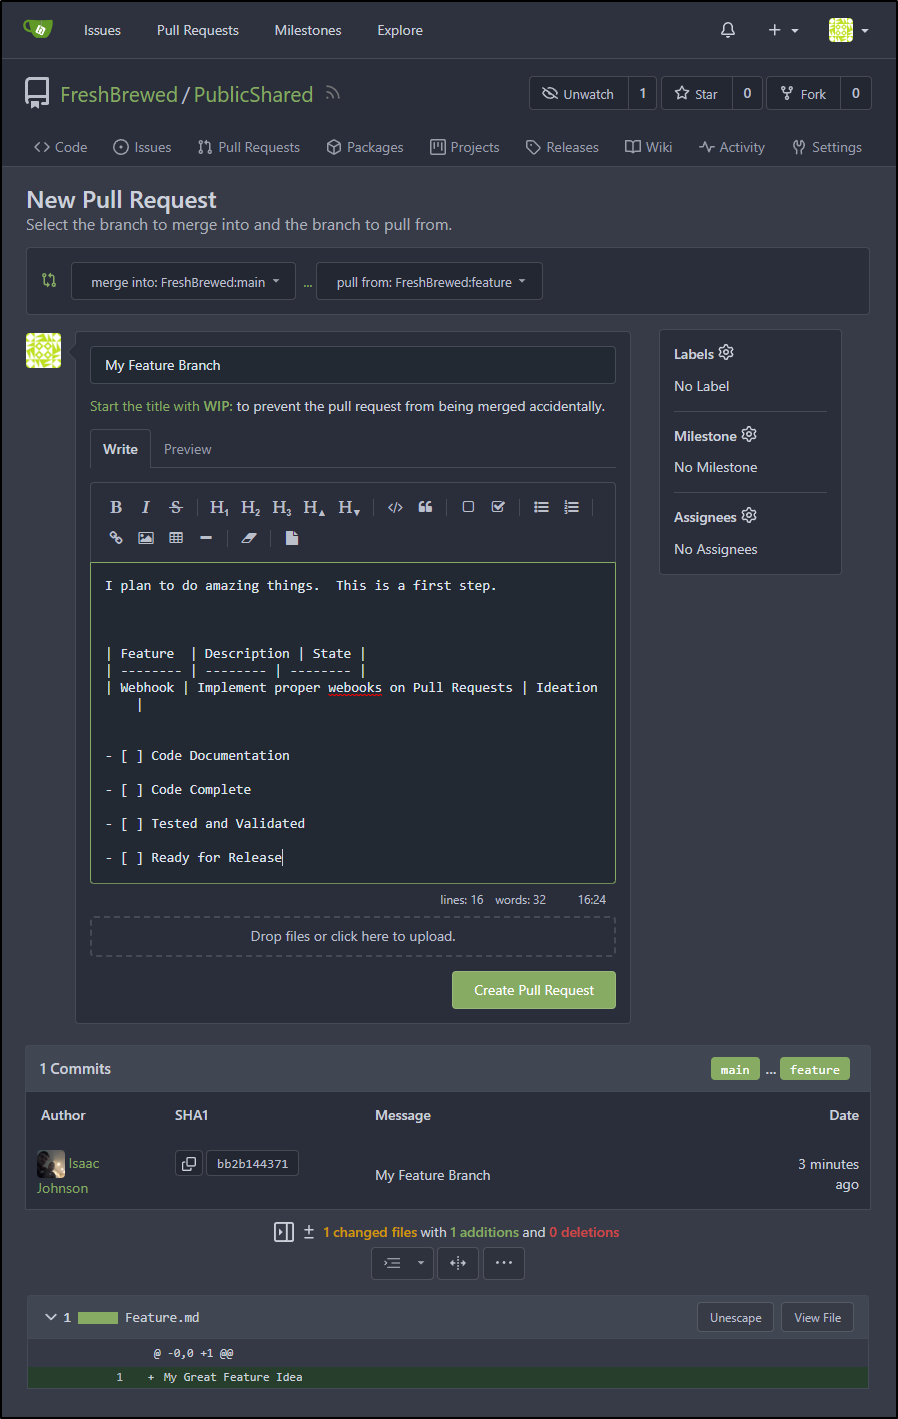
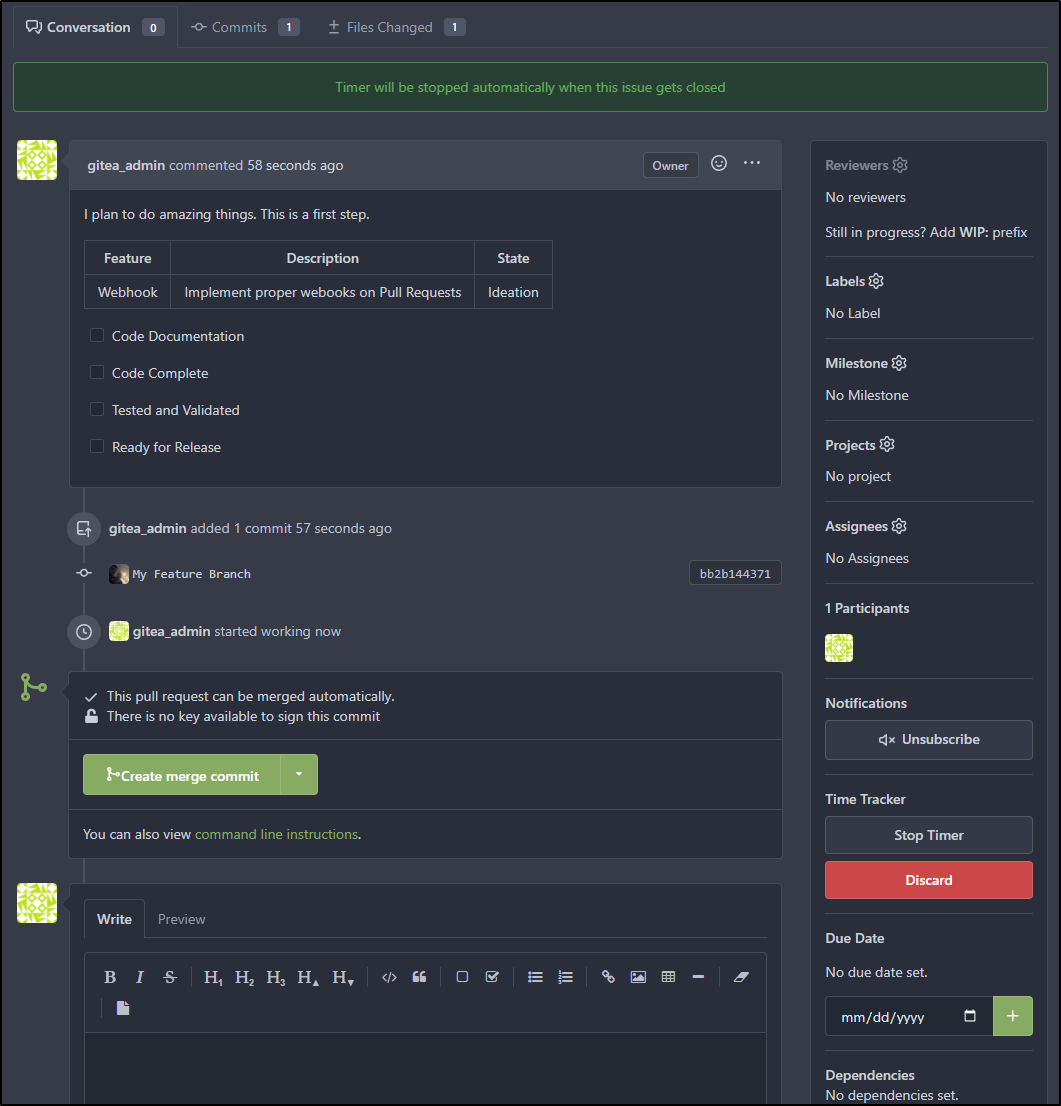
I can write some markdown in the PR form and click “Create Pull Request” to create the PR
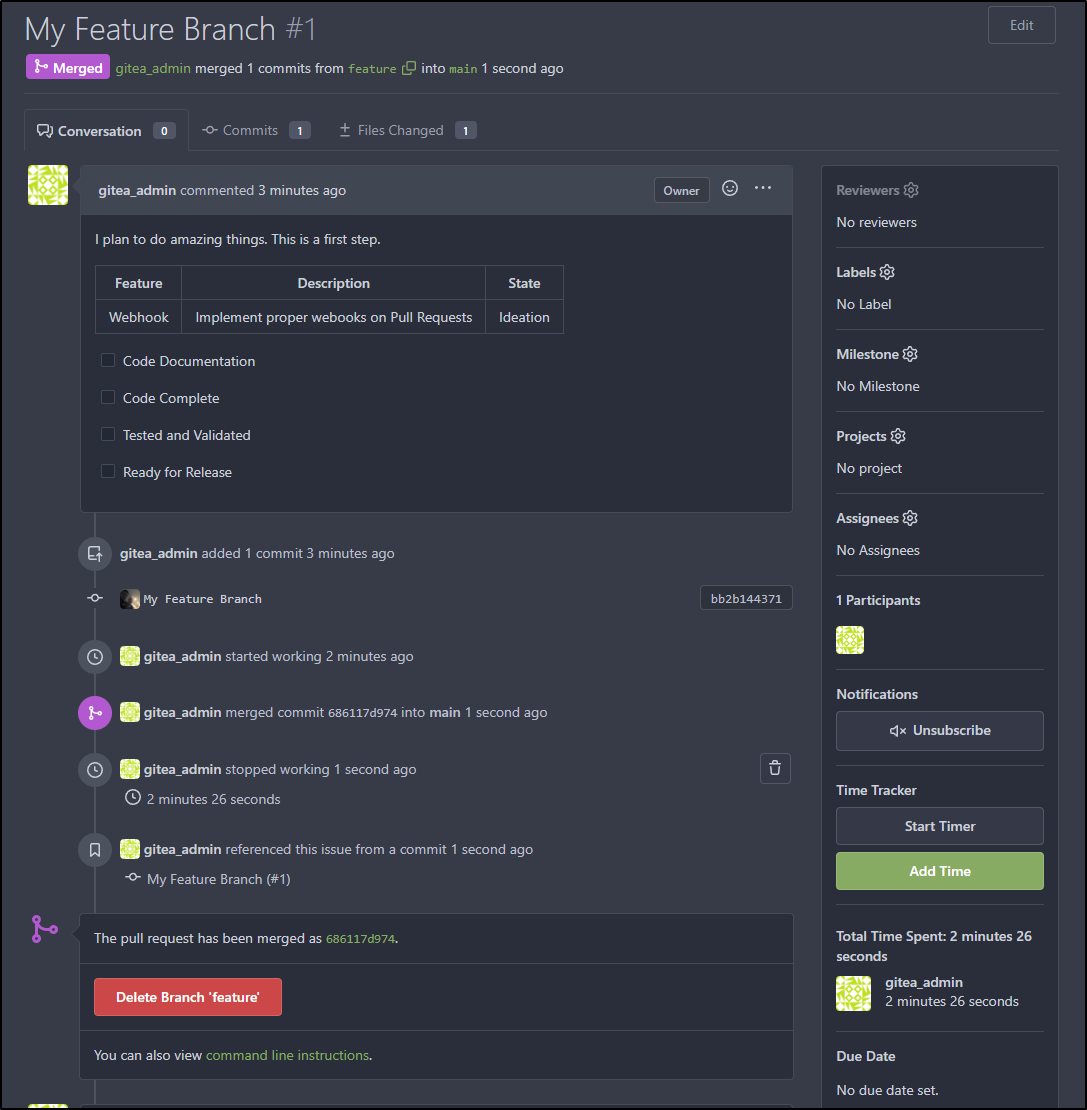
I now have quite a few features we could dig into including Assignees, comments, notifications and a time tracker
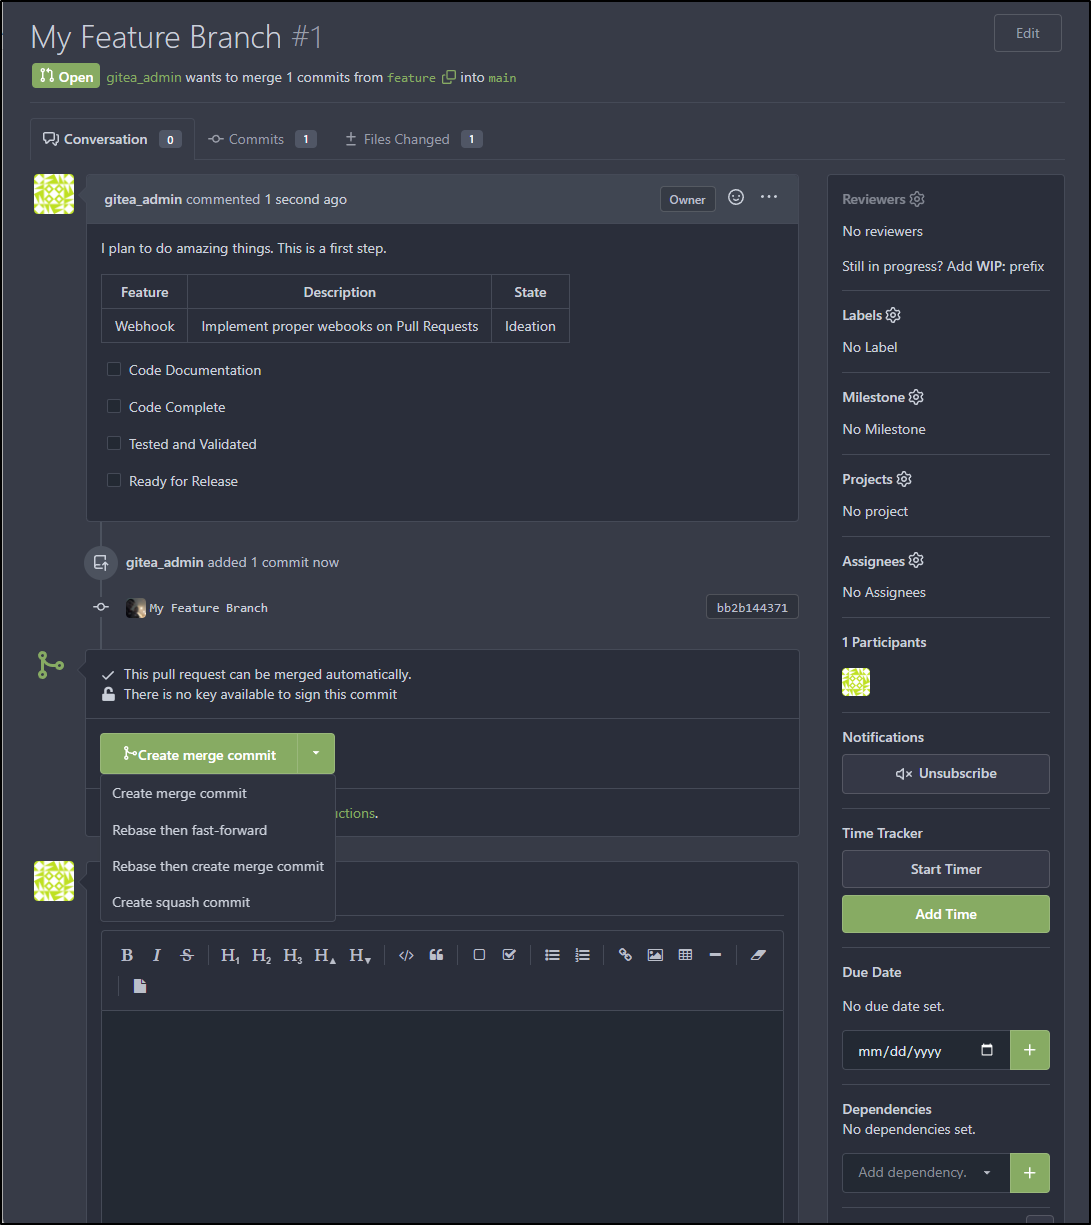
If I click “Start Timer” we can see a banner that the timer has started
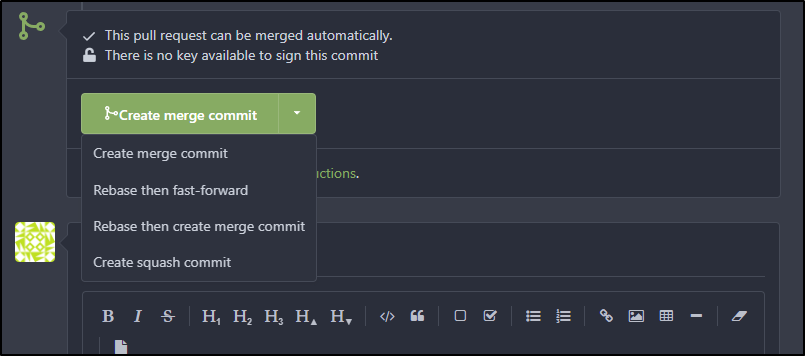
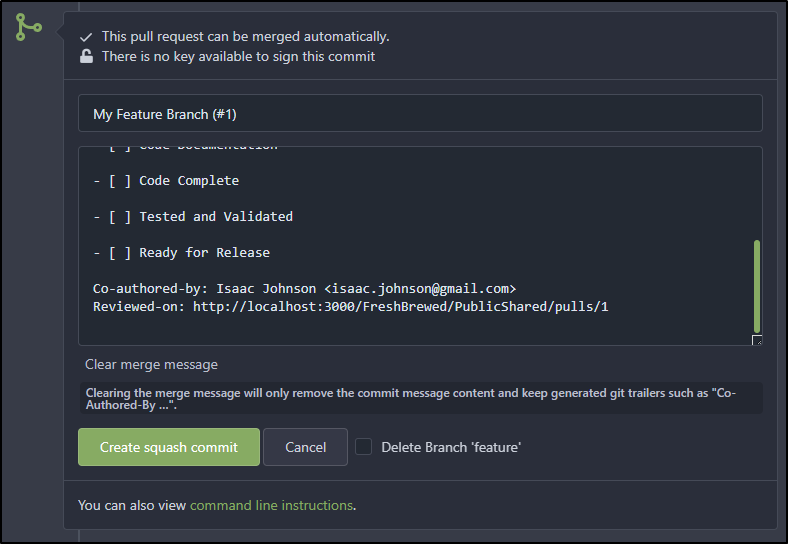
I’ll change from Merge Commit to Squash
Then click “Create squash commit” to do so
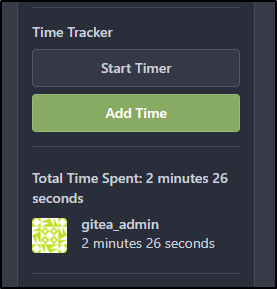
We can see the total time the PR took in the Time Tracker section
Now that the branch is merged, I’ll go ahead and delete the feature branch
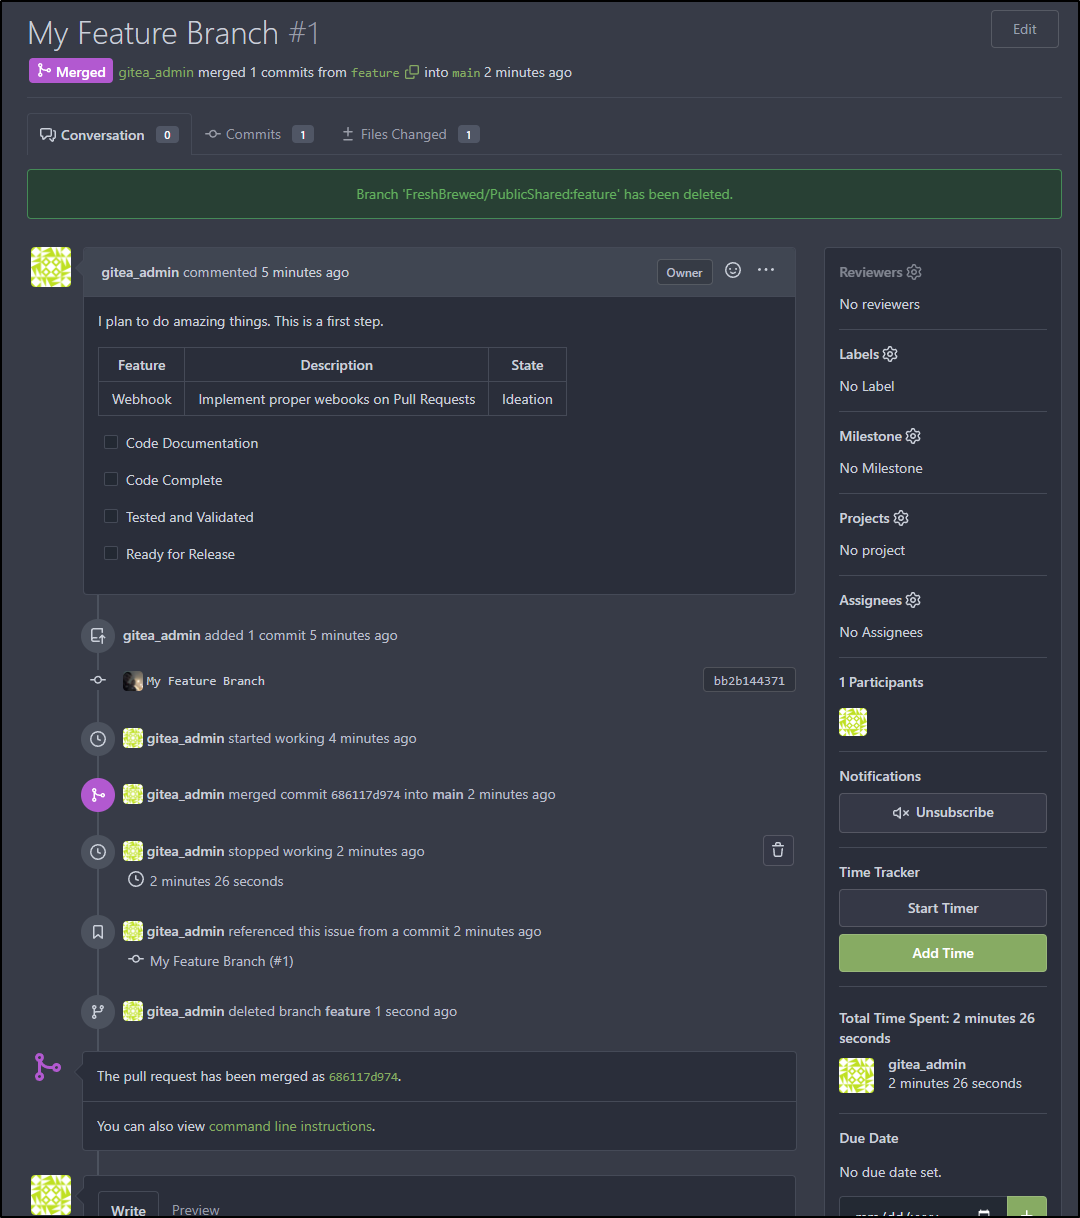
After I confirm delete
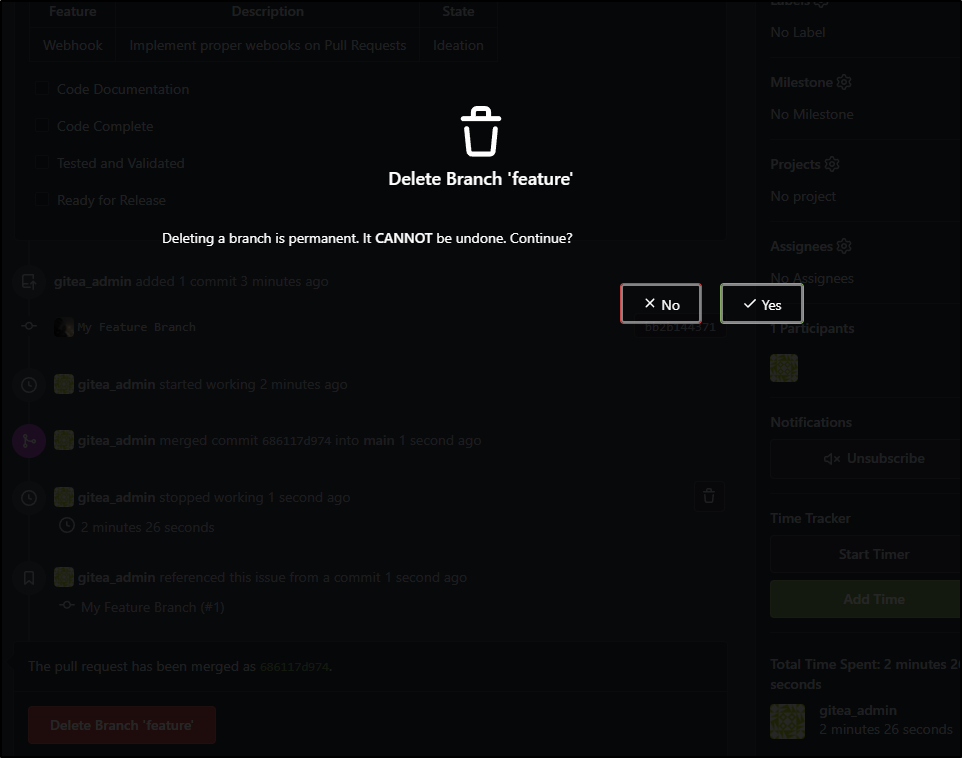
It shows removed
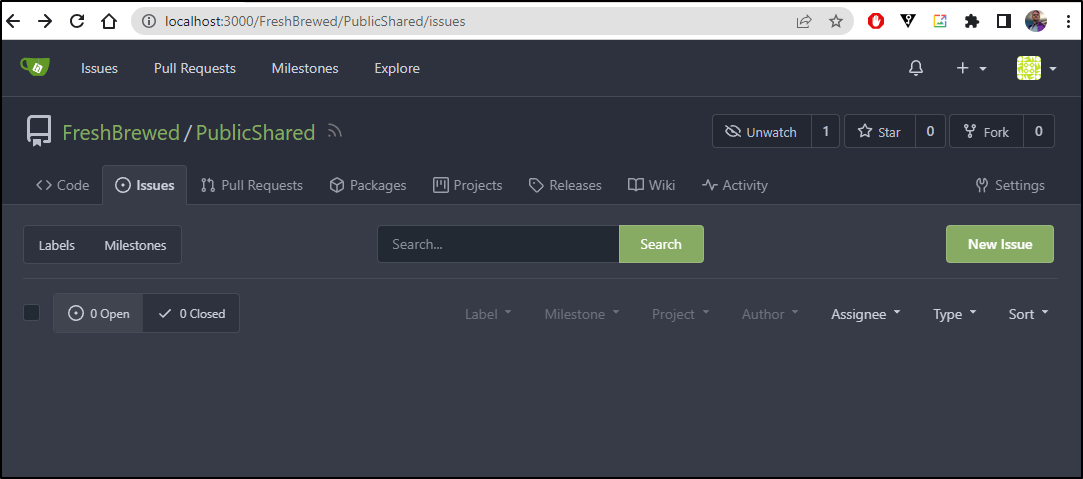
Issues
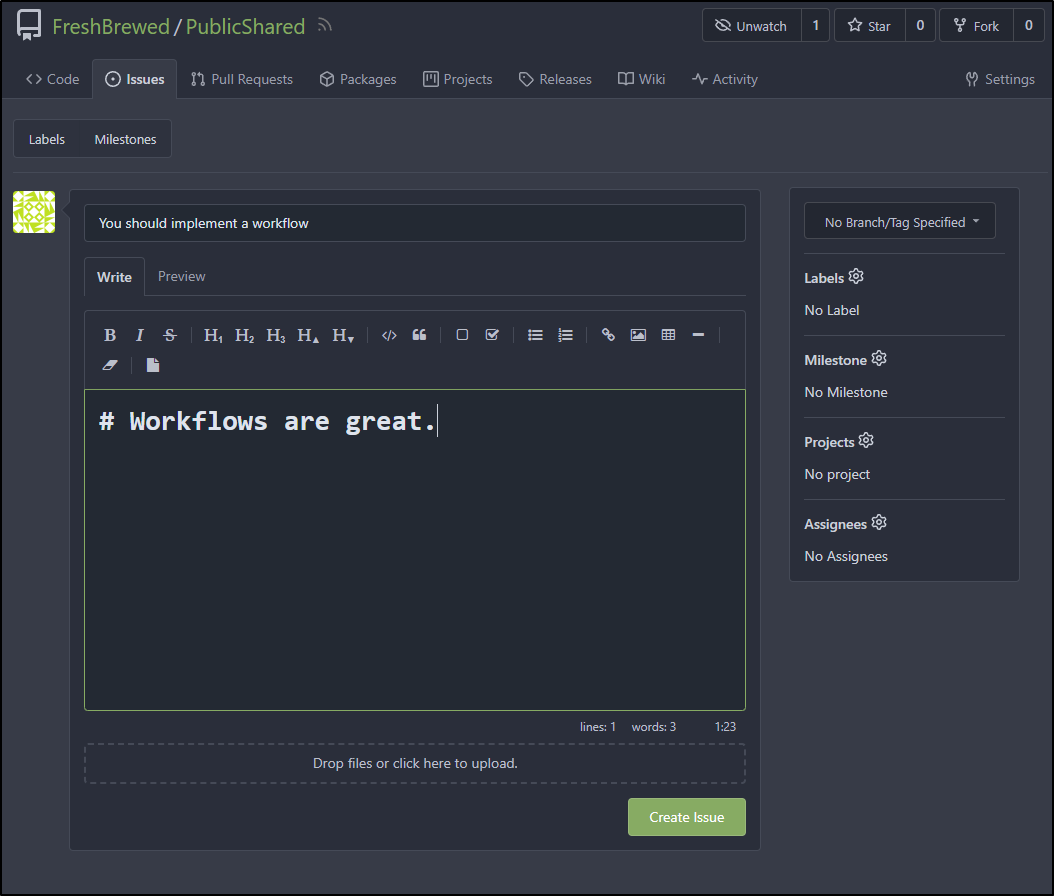
Just like Github, we can go to the Issues section to create a New Issue
I’ll create an issue (with Markdown)
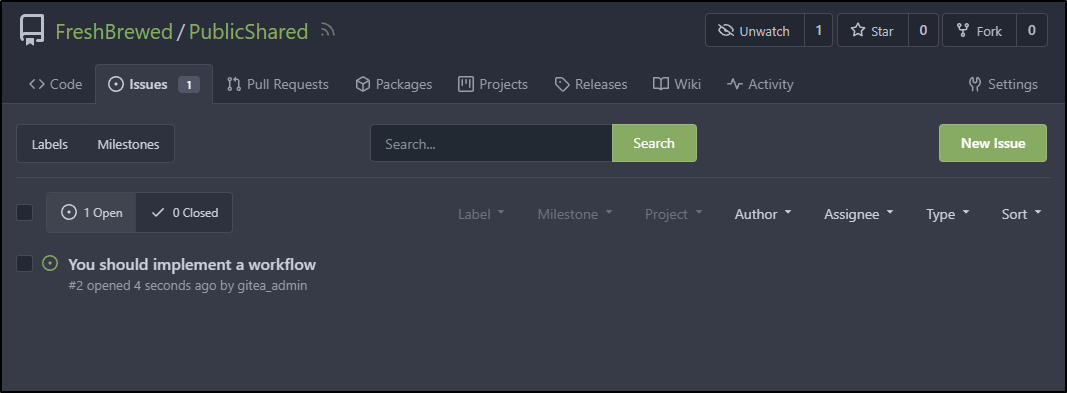
I can now see an initial issue has been created
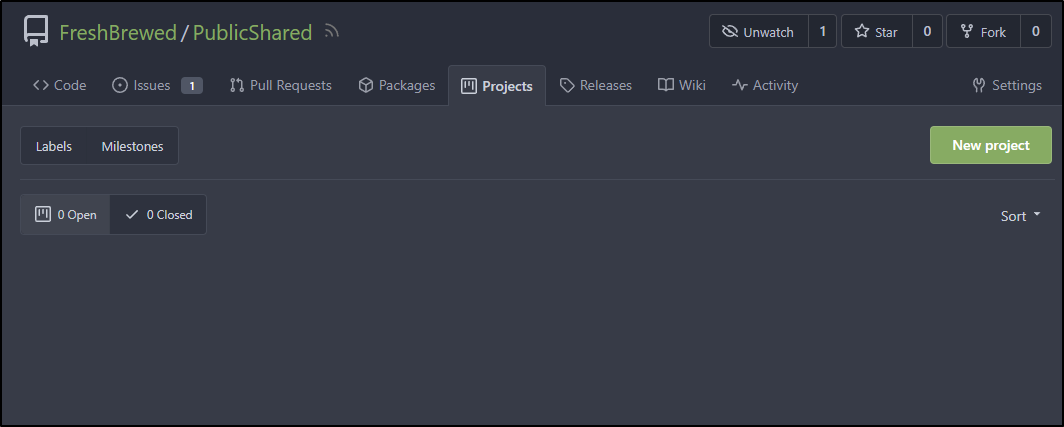
Projects
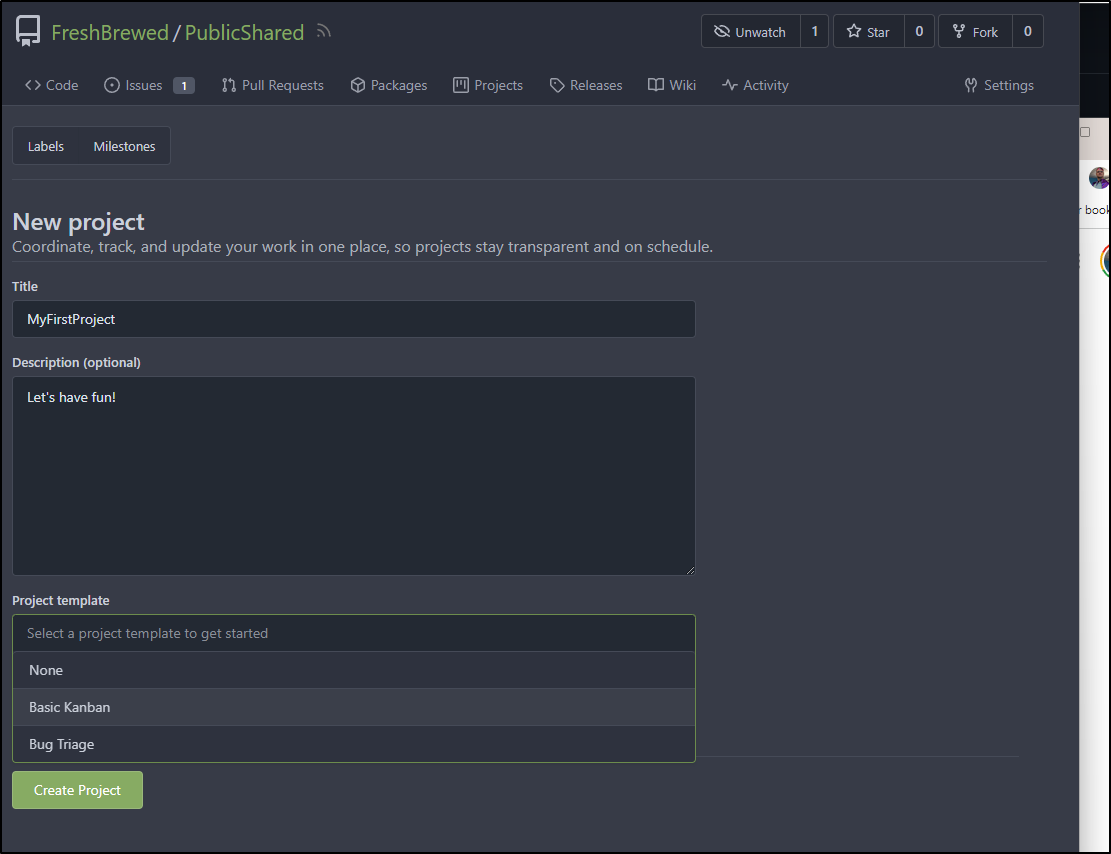
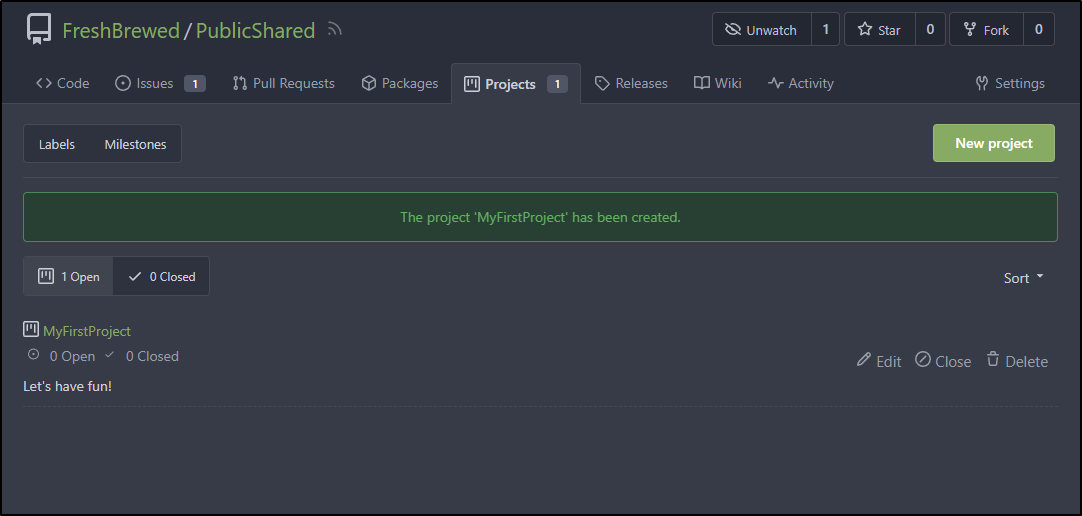
We can go to Projects to create a new Project
I’ll choose to Create a Project and select “Basic Kanban”
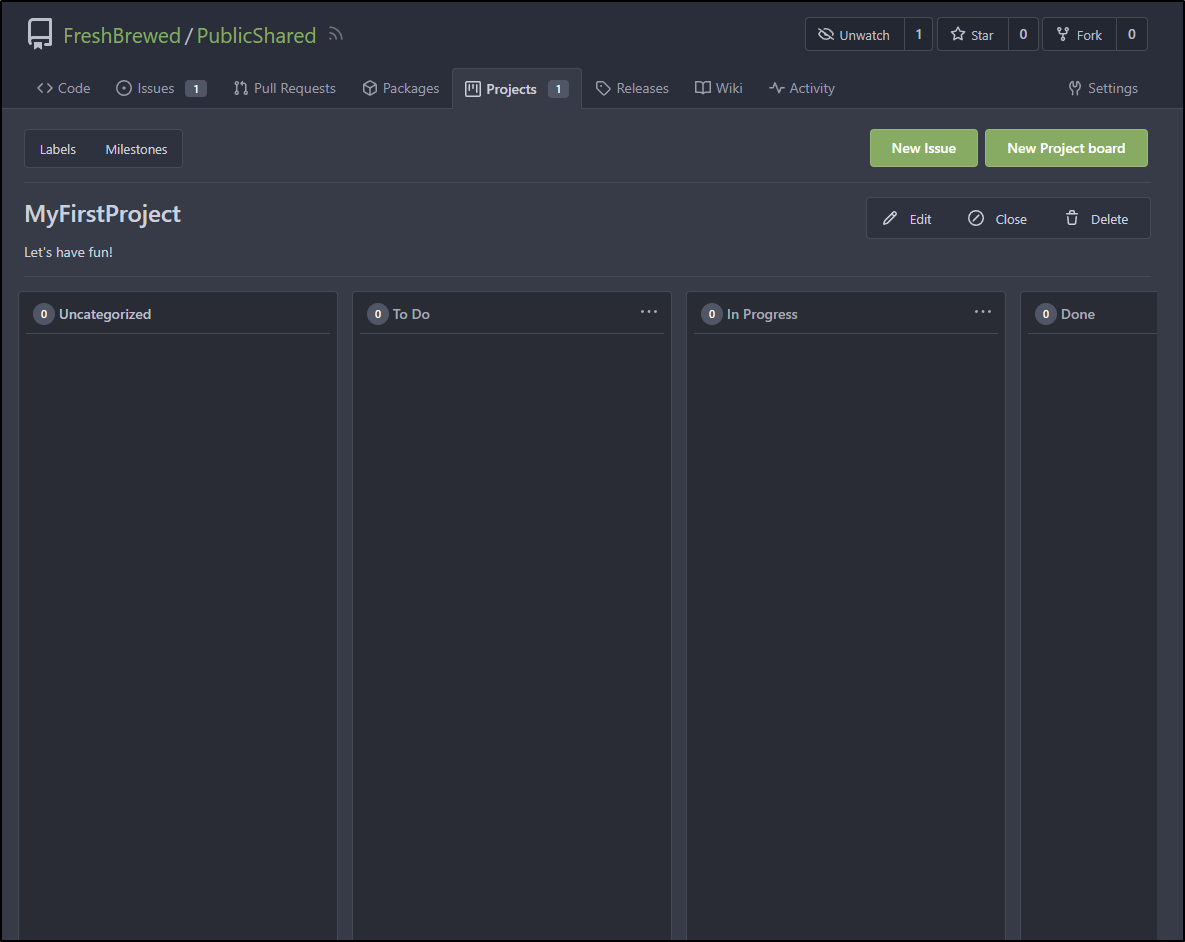
I can now see it under projects
As it stands, my Kanban board is empty
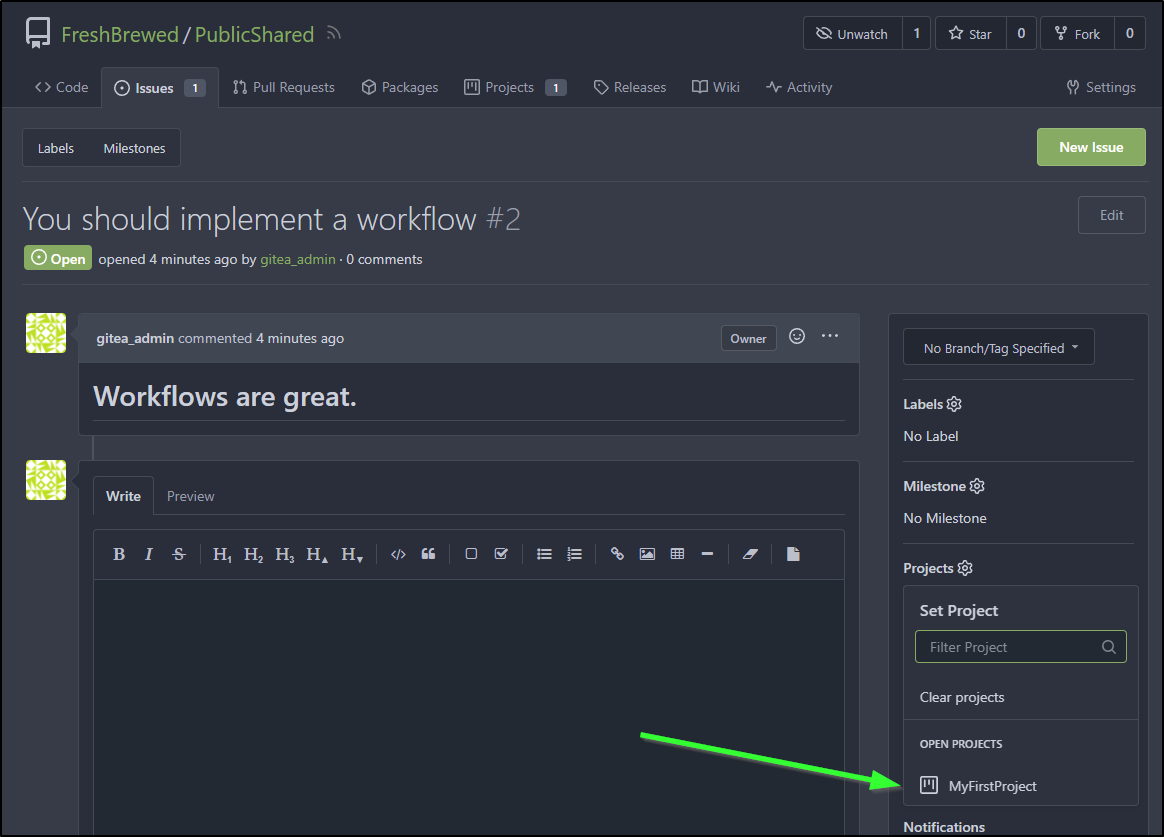
Let’s go back to the Issues page and find that first Issue I created. There I will assign it to the new project
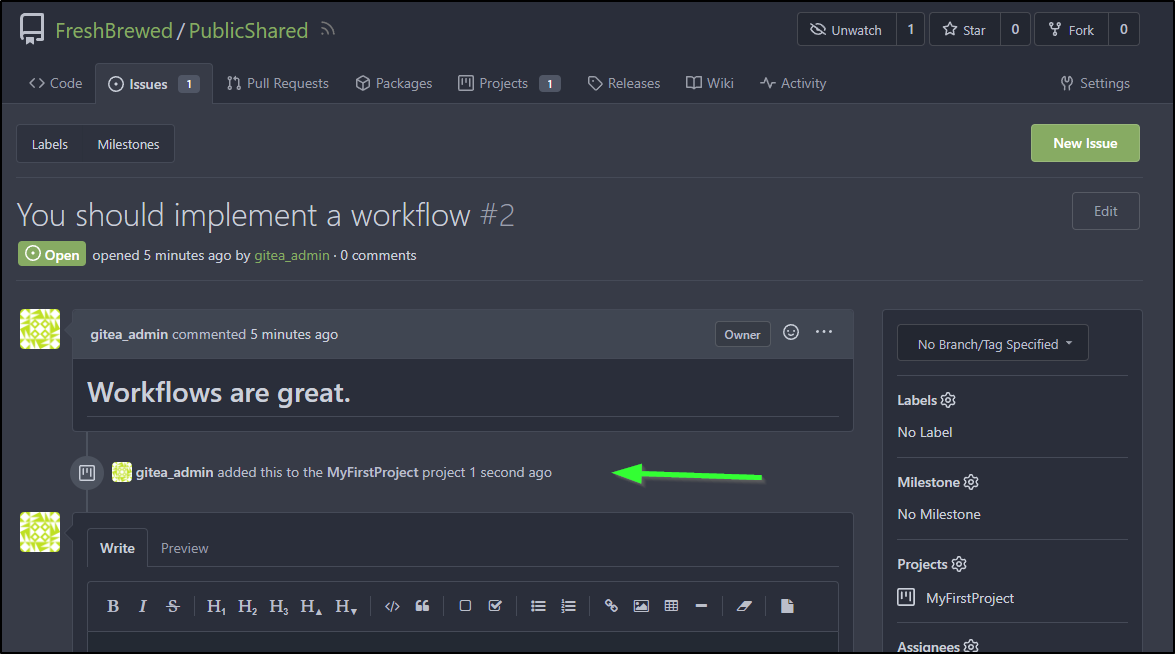
I can see a note that it was added
Back on the Project Page I can see it now listed, but in the Uncategorized area
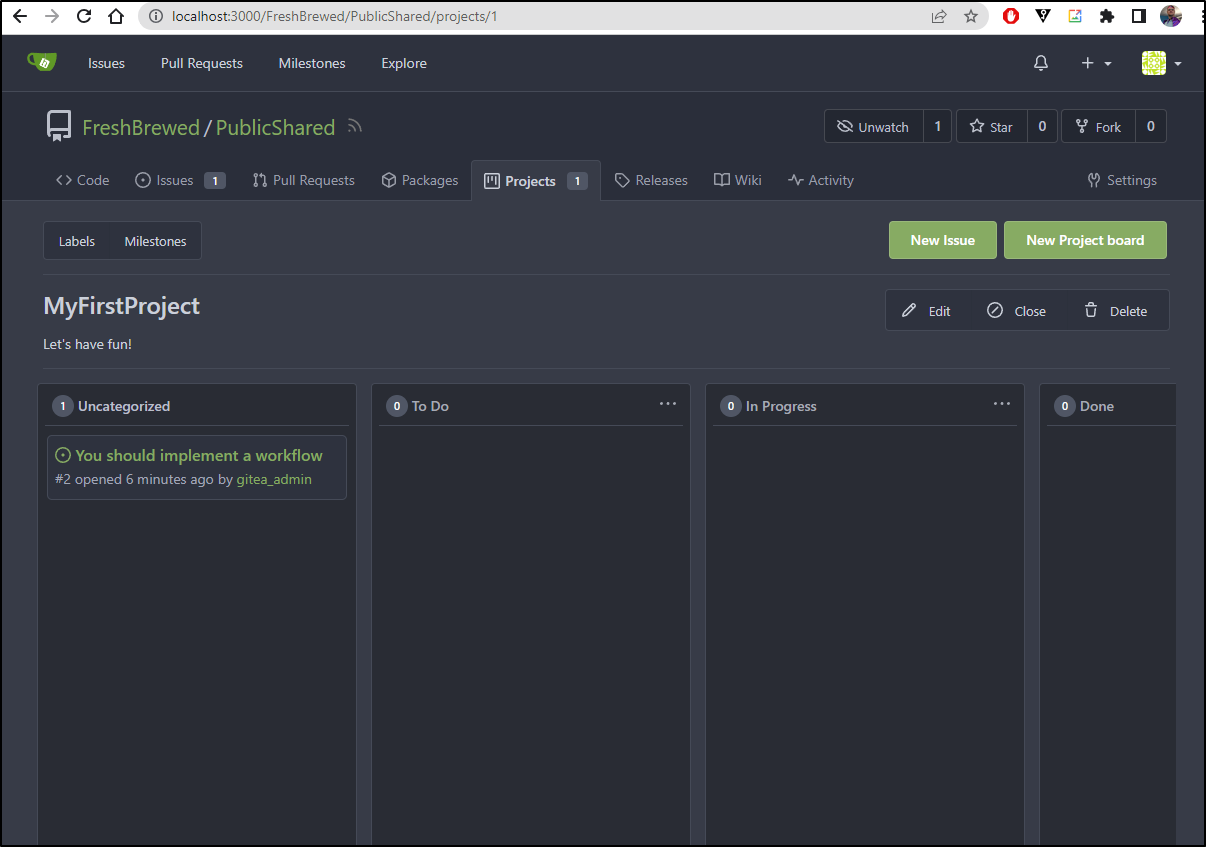
We can move it between Kanban board states, but note that the state is a feature of the board, not issue. That is, the issue is only Open or Closed
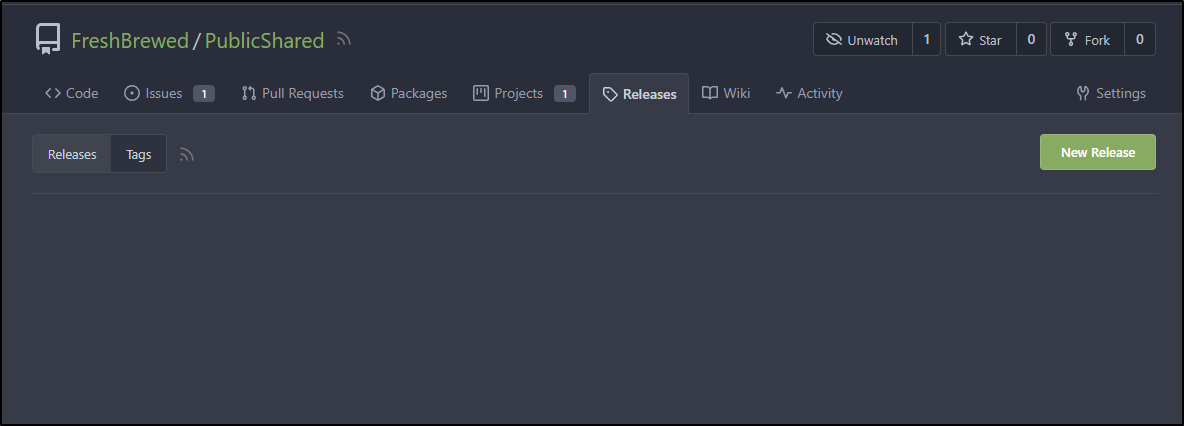
Releases
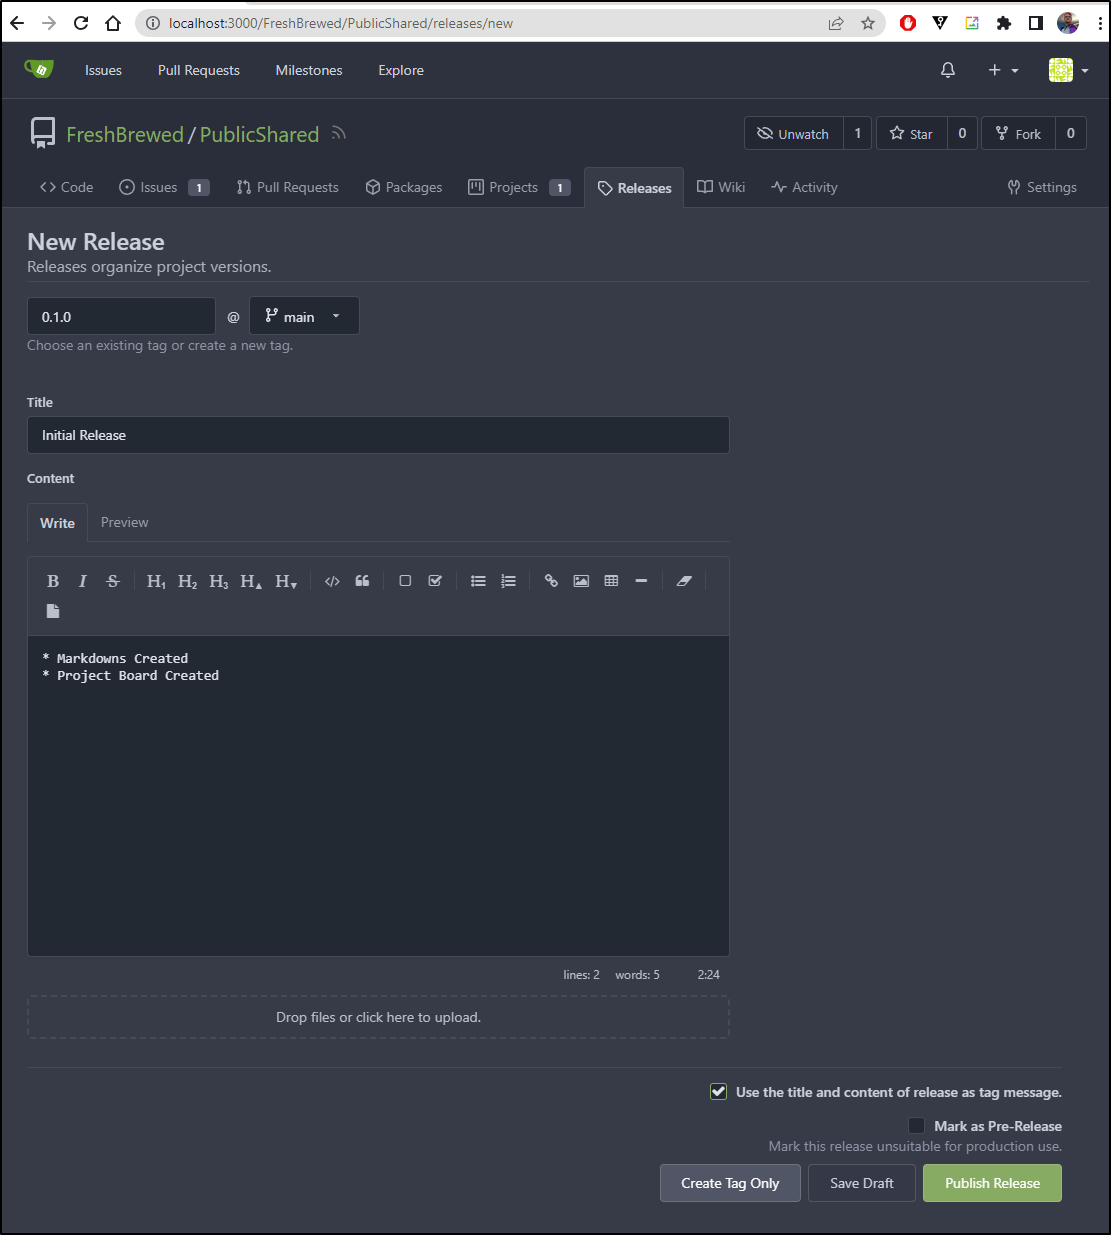
We can “Release” code by going to releases and clicking “New Release”
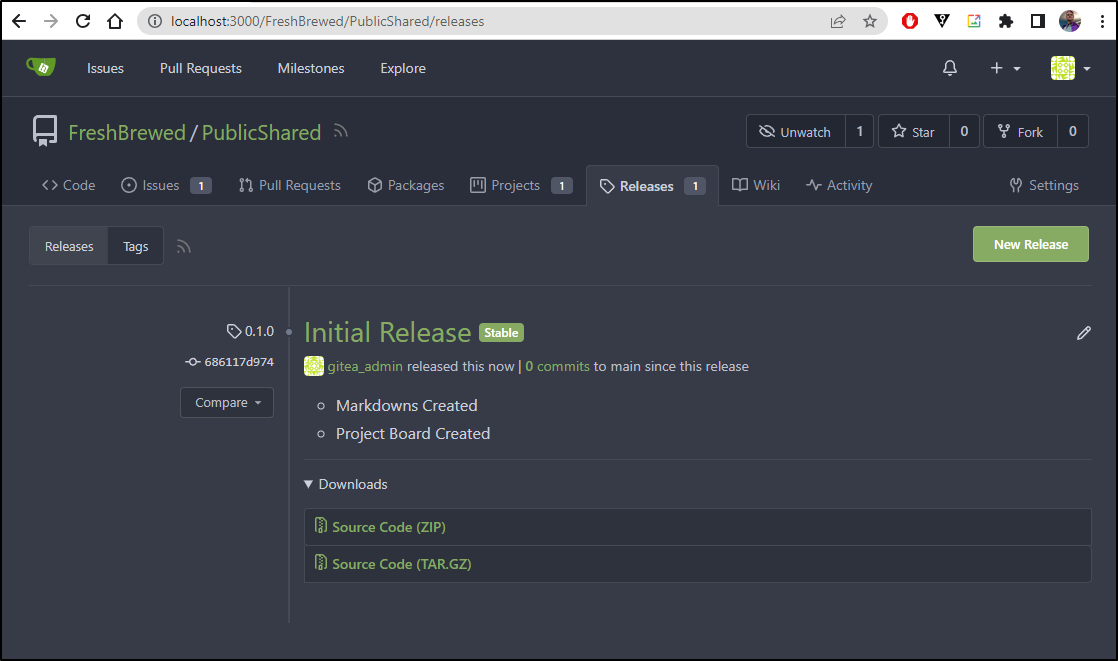
I’ll create an initial 0.1.0 release and optionally select the “Use the title and content of release as tag message”
We can now see a release with source Zip and GZ files to download
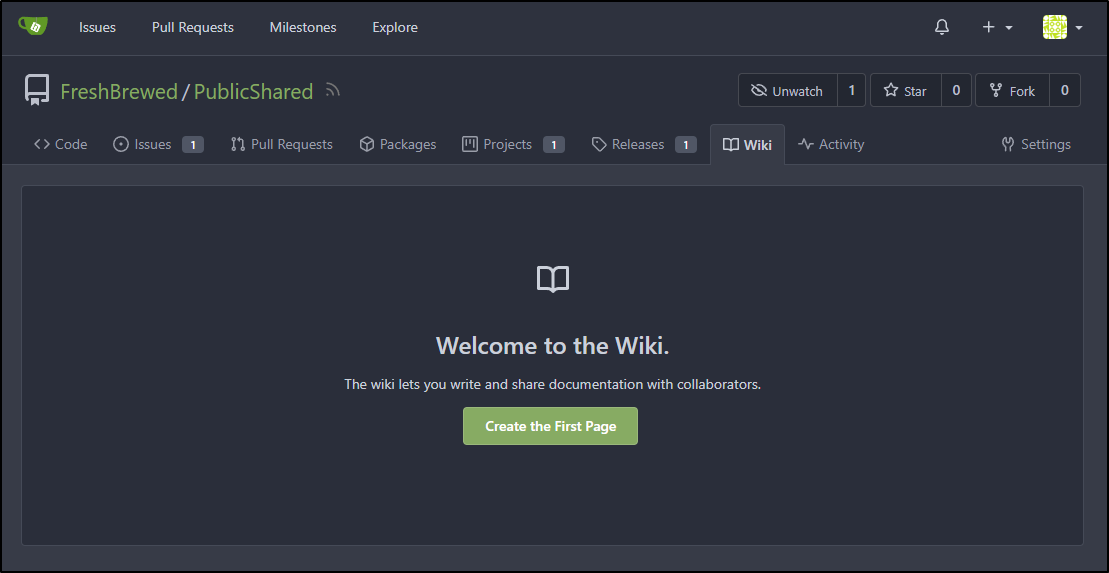
Wiki
We can go to the Wiki page and click “Create the First Page”
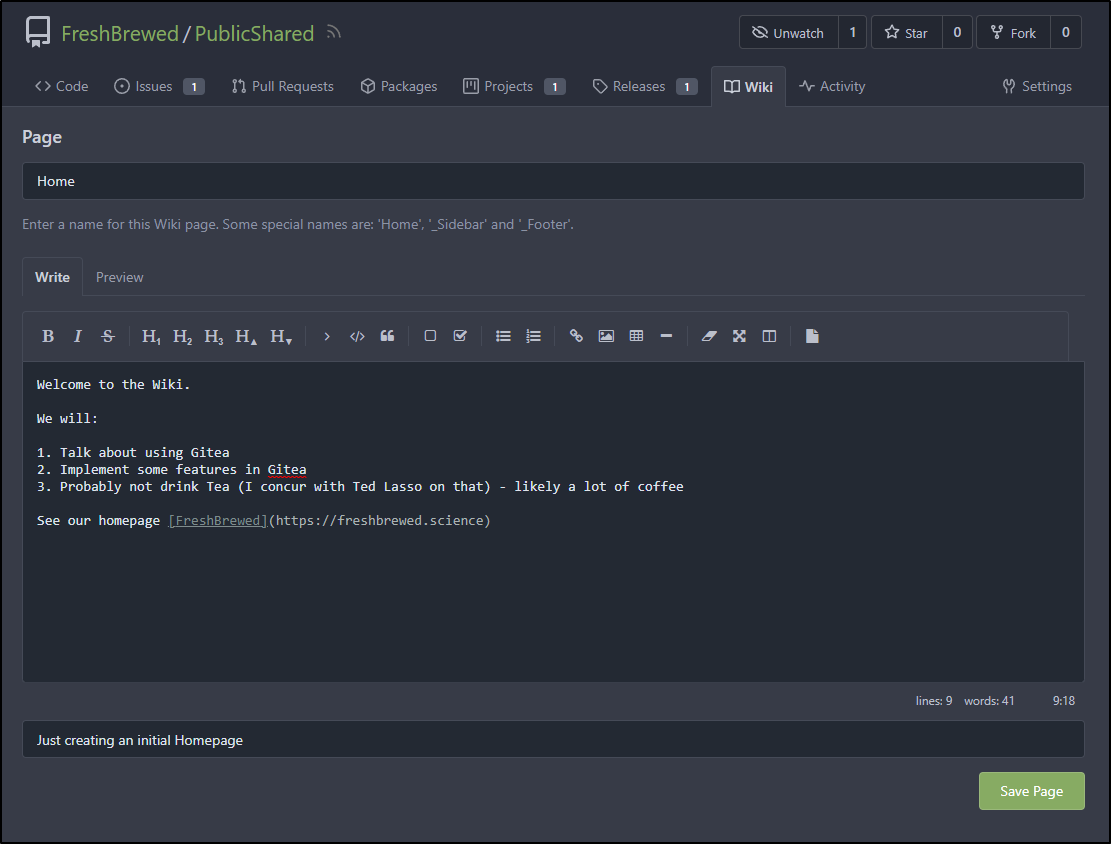
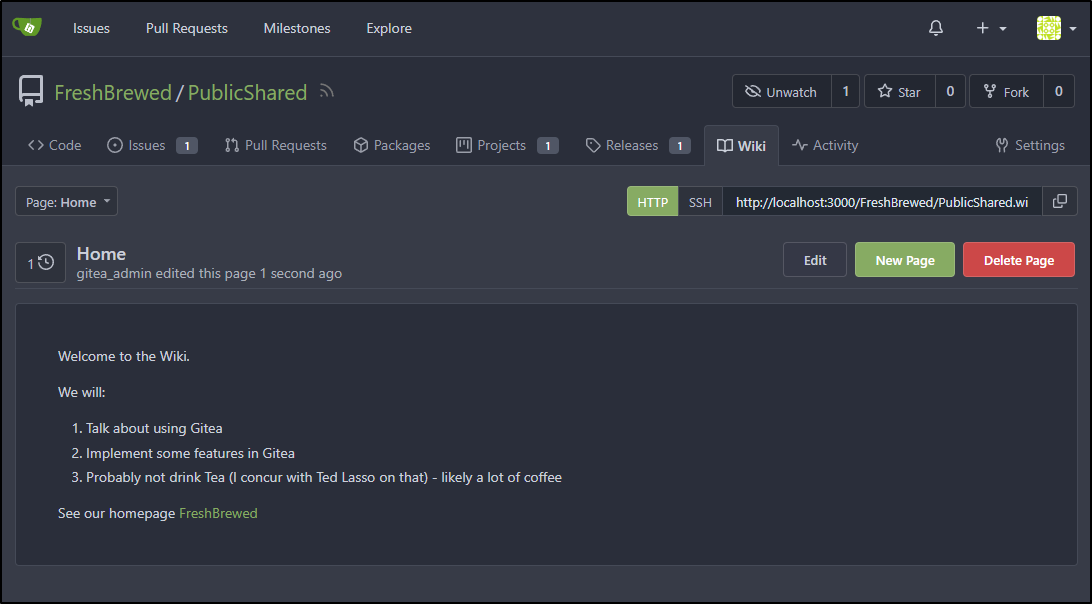
I’ll make a very basic Wiki Homepage
which we can now see
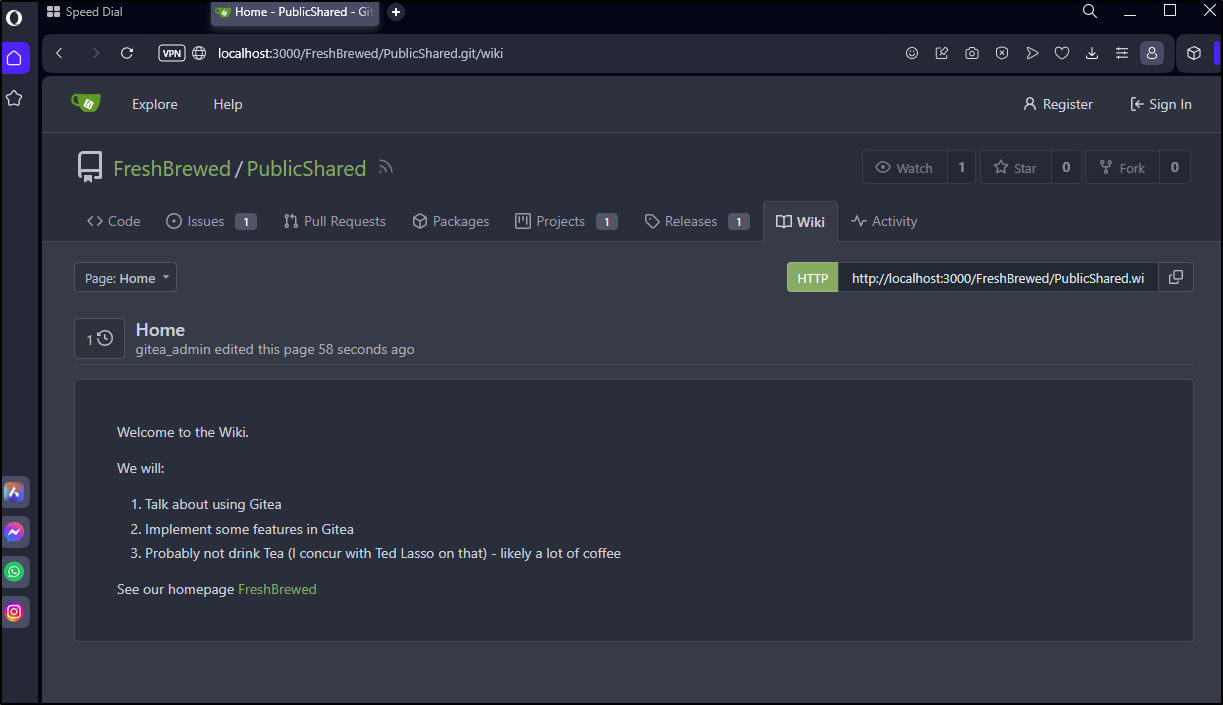
Which for public users, would look much the same, but without the new page and delete page buttons
Activity
We can see all our changes (default period of a week) in the Activity tab

Summary
I only scratched the surface today. We covered the initial setup, Organizations and Repositories. In Repositories we explored code, pull requests (with time tracking), issues, projects, wiki, releases and activity.
There is much much more to dig into including workflows, packages, runners and more.