

Published: Jun 23, 2020 by Isaac Johnson
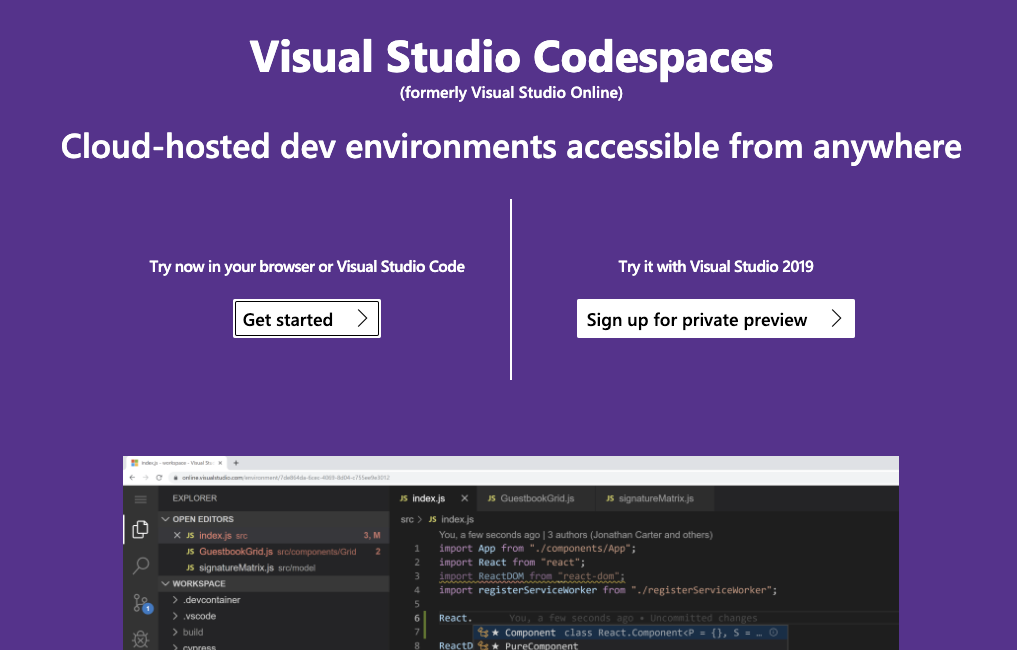
While i have signed up for the new Codespaces feature in Github and am awaiting enrollment, we can explore codespaces (formerly Visual Studio Online, which Microsoft also first called VSTS, now Azure DevOps).
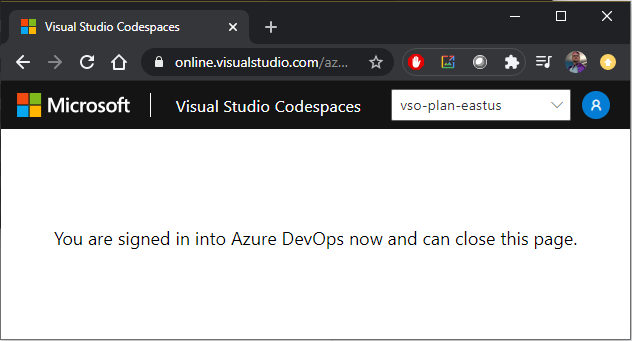
Sign up for Visual Studio Code:
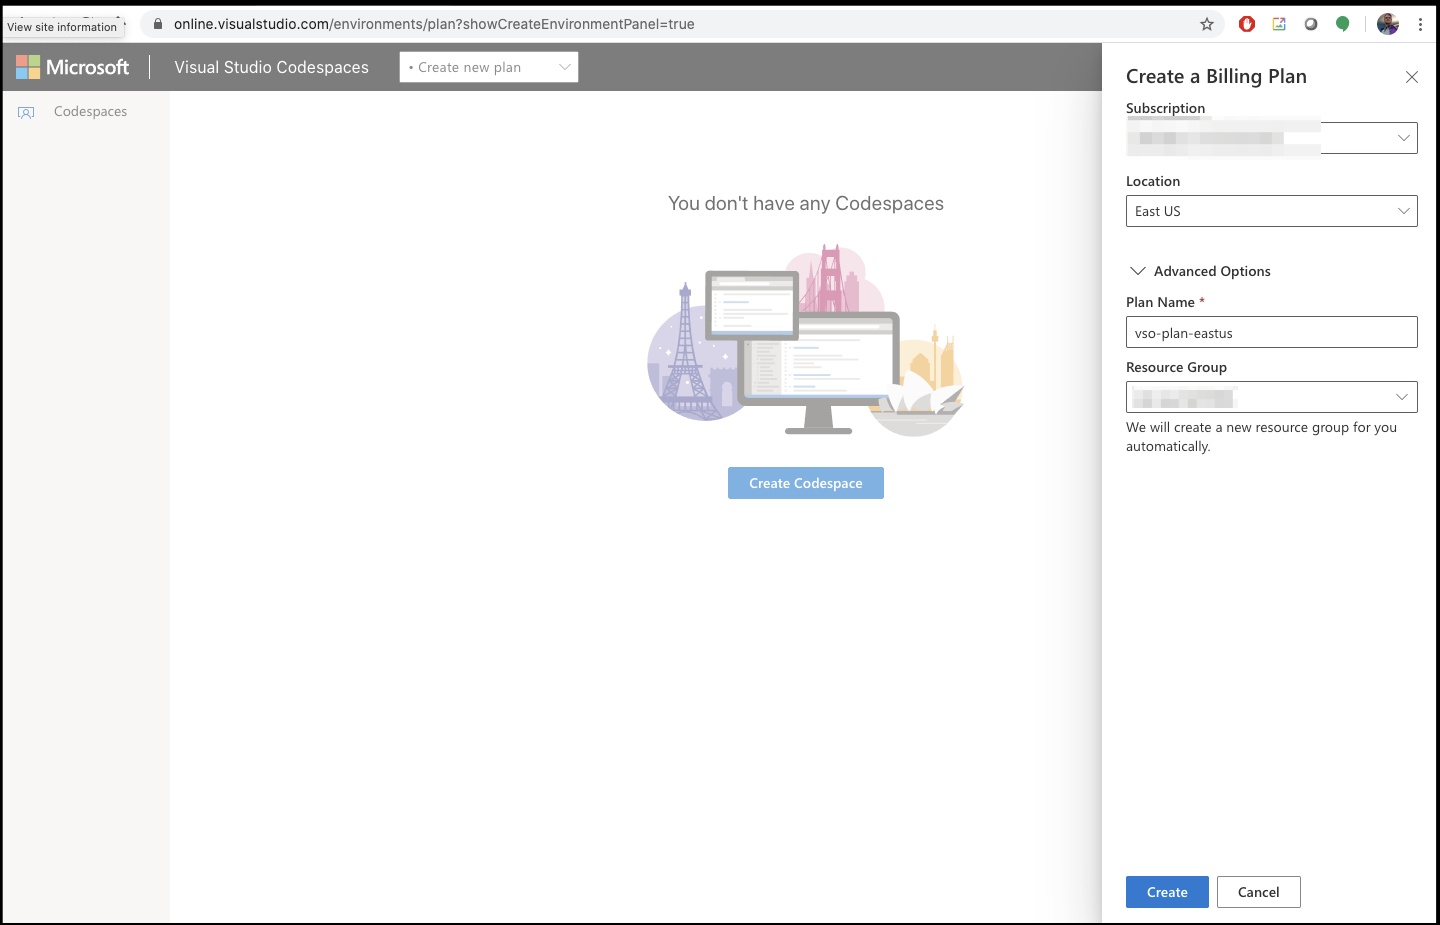
Then set a plan:
But before we go further, we need to create a dotfiles repo and determine sizing:

Creating a dotfiles repo:
Dotfiles (like .bash_profile and .vimrc) are ways we can control various settings for those not as familiar with linux.
Here I created a fork of https://github.com/mathiasbynens/dotfiles: https://github.com/idjohnson/dotfiles
More on dotfiles: https://dotfiles.github.io/utilities/
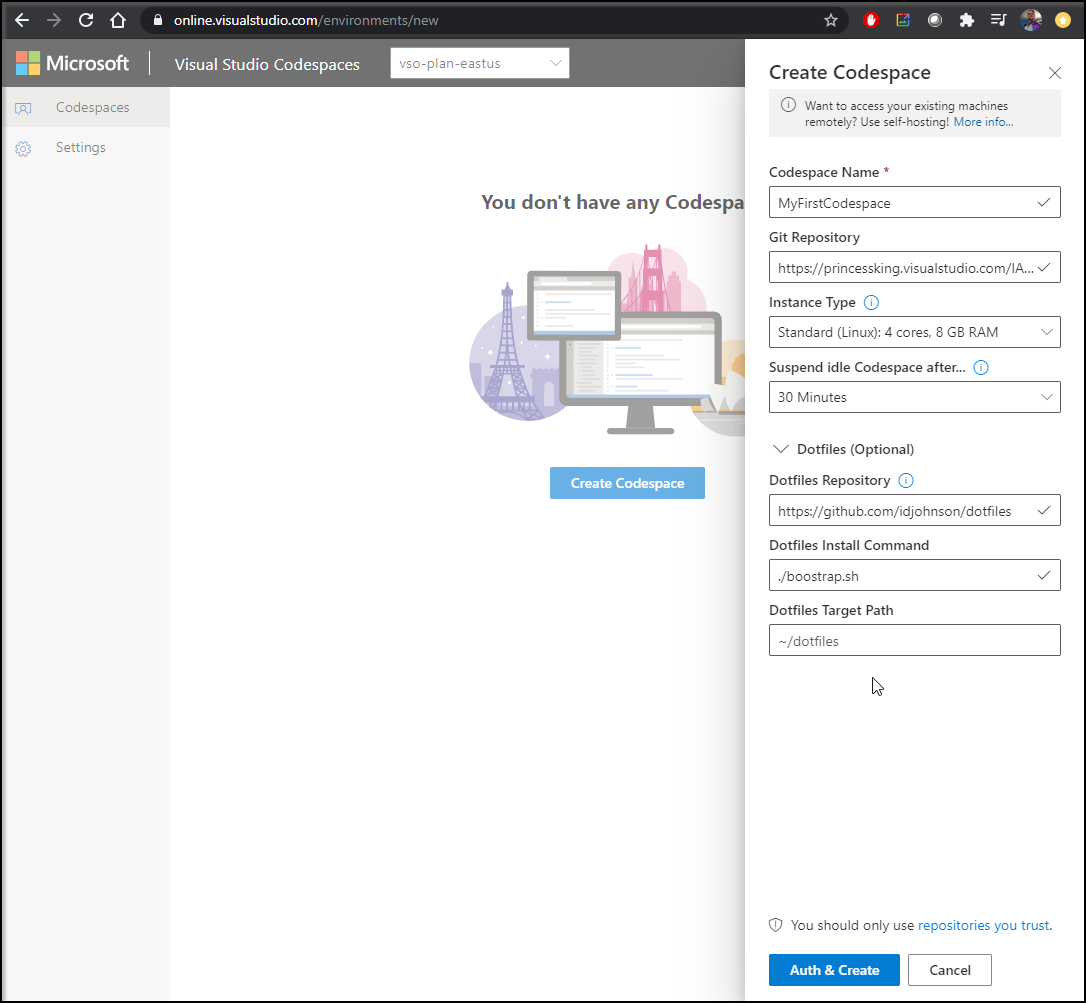
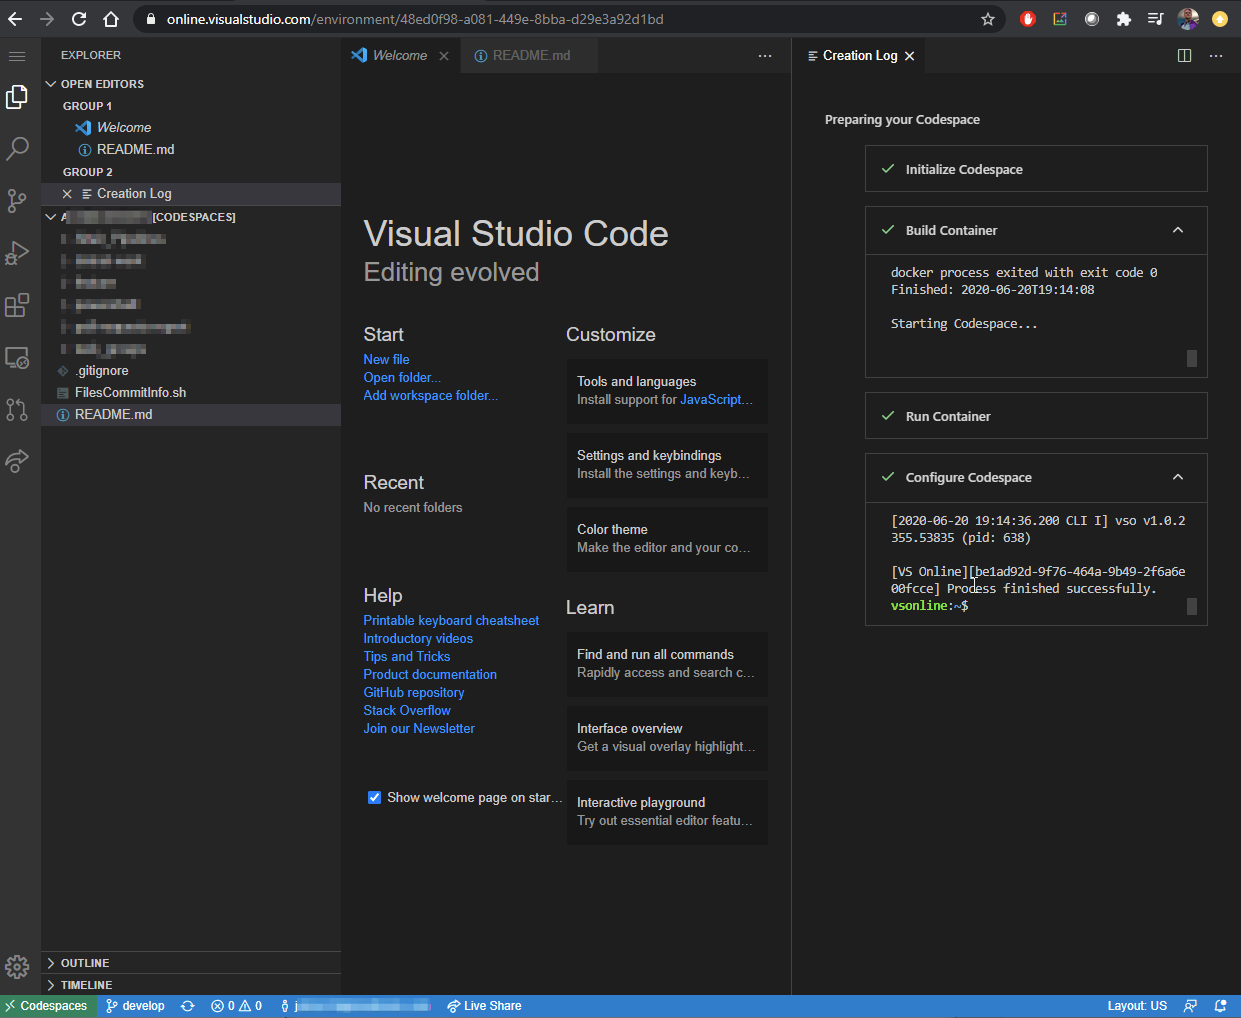
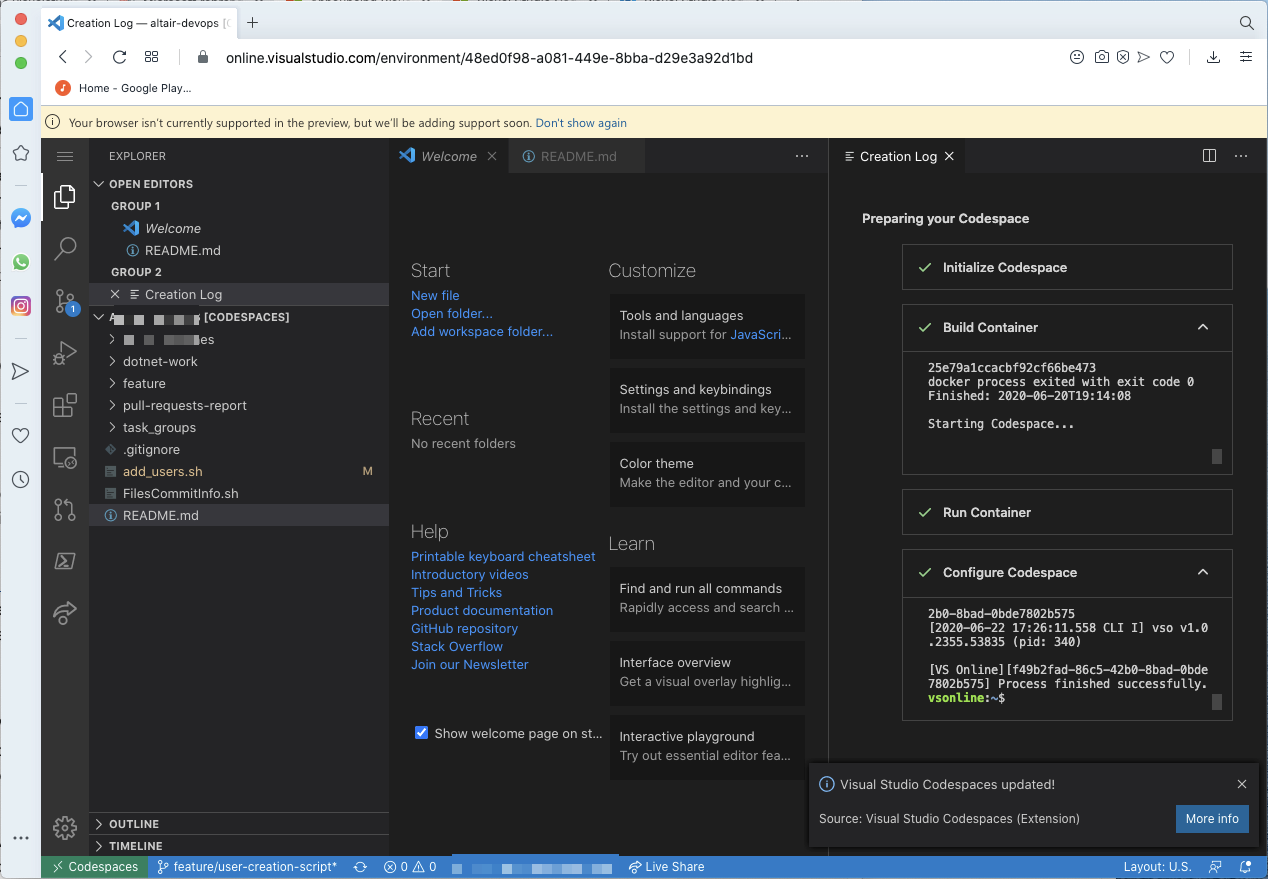
When we head back to Codespaces, we can create a new codespace.

You can use any valid https GIT url for the “Git Repository” parameter.
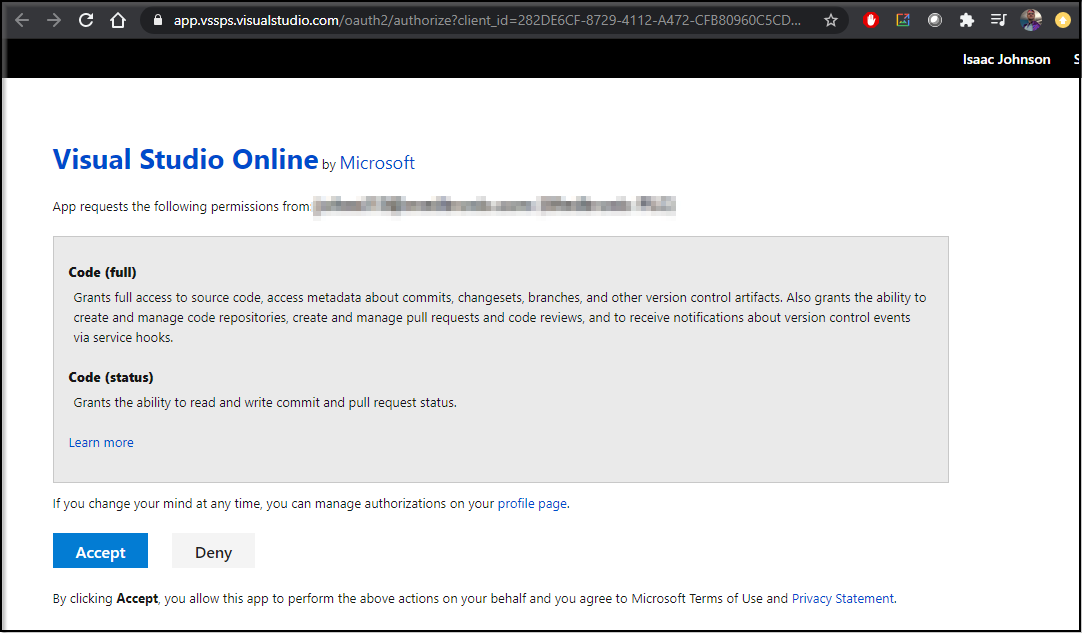
We clicked Auth and Create:
It will now try and clone the repo:
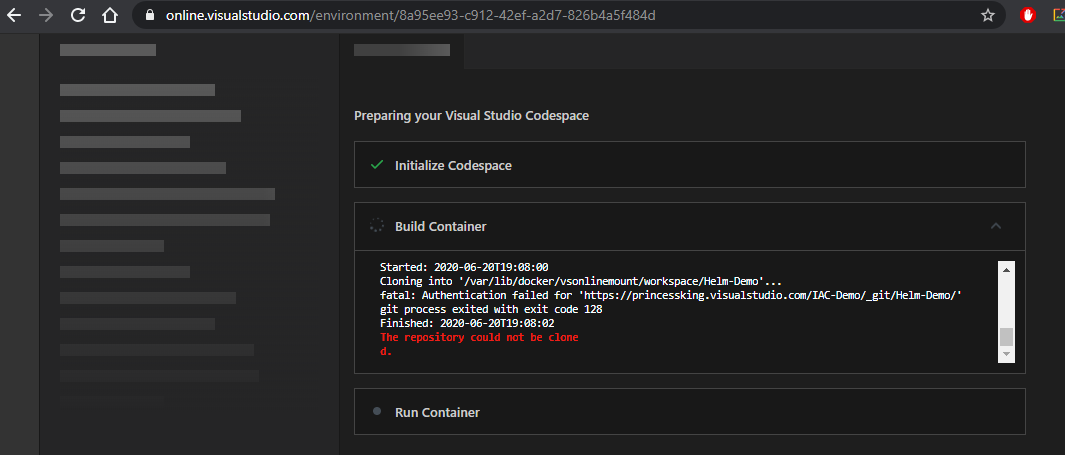
Something I found is that if your Codespaces is tied to the same account as your GIT repo (AzDO), it works fine:
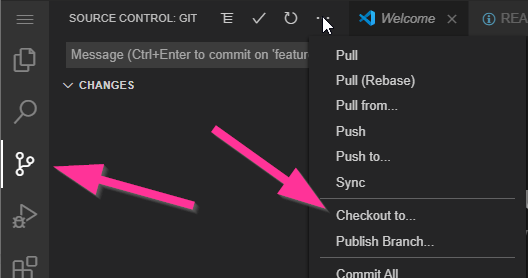
Under source control, we can checkout a branch from “Checkout to…”
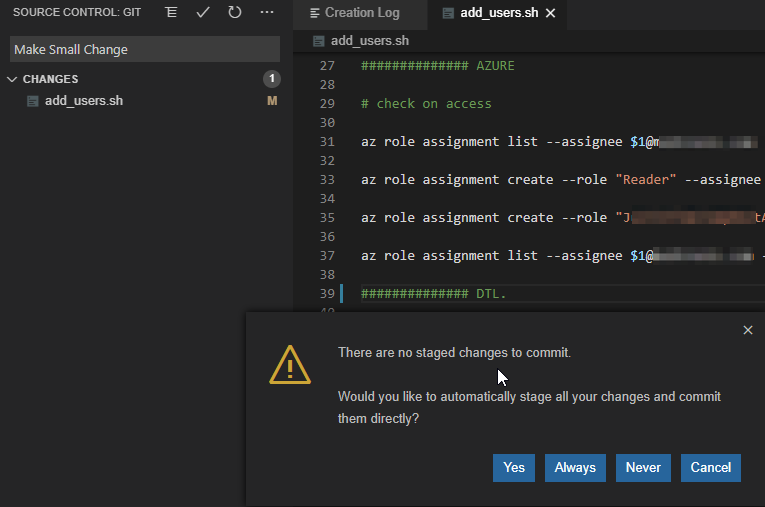
We can make a small change and go back to the source section to commit this change:
We can then Push:
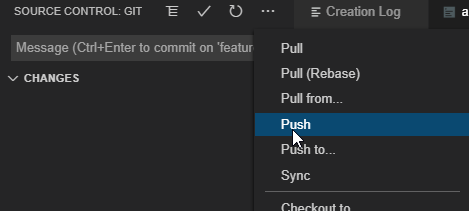
Pushing will prompt about git fetch
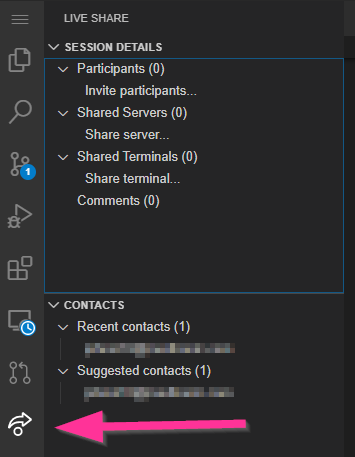
What’s nice is we can do live collaboration with others;
Live Sharing
Choose Live Share:
We can send the link to a colleague to work with us:

Here we can change stuff and see a live update.
Other browsers.
Even “unsupported” browsers like Opera work just great:
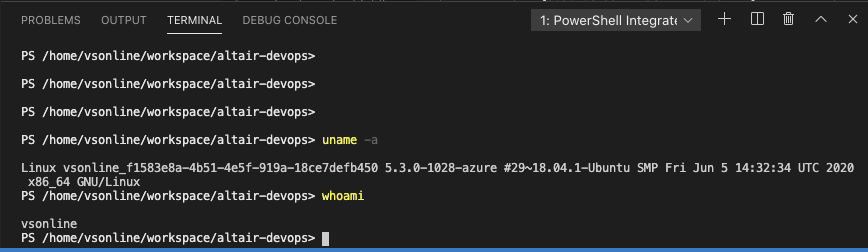
That includes access to the hosted agent terminal for debugging:
You can sign into the Visual Studio Code client.
If you have troubles, you can use ctrl-shift-p/cmd-shift-p and search for “codespaces: sign-in”:

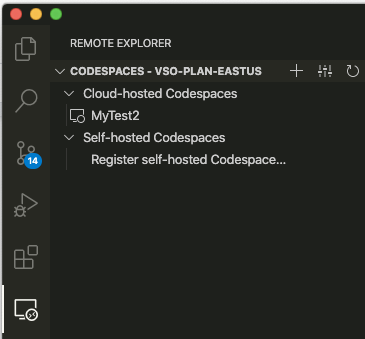
Once signed in, we can see our workspaces:
Visual Studio Code and Kubernetes
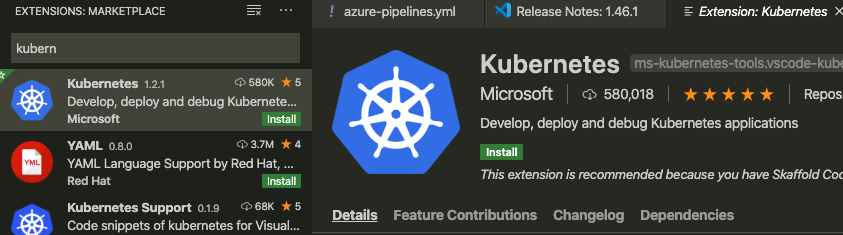
Go to extensions and add the kubernetes extension:
Once installed, you can click the Kubernetes icon on the left to launch the explorer.
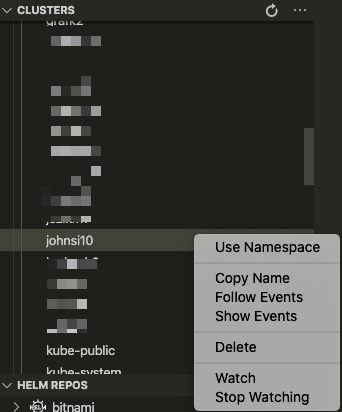
For instance, if we want to explore our own namespace, click on namespaces under the cluster:
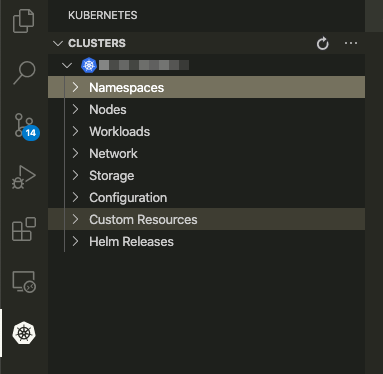
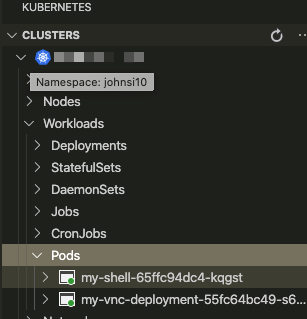
Here on my supported cluster, we see my namespace. I can right click and “use namespace”
Now when we go under Workloads/Pods, we can see our podsAnd we’ll see an asterisk now next to the selected namespace:

Now when we go under Workloads/Pods, we can see our pods:
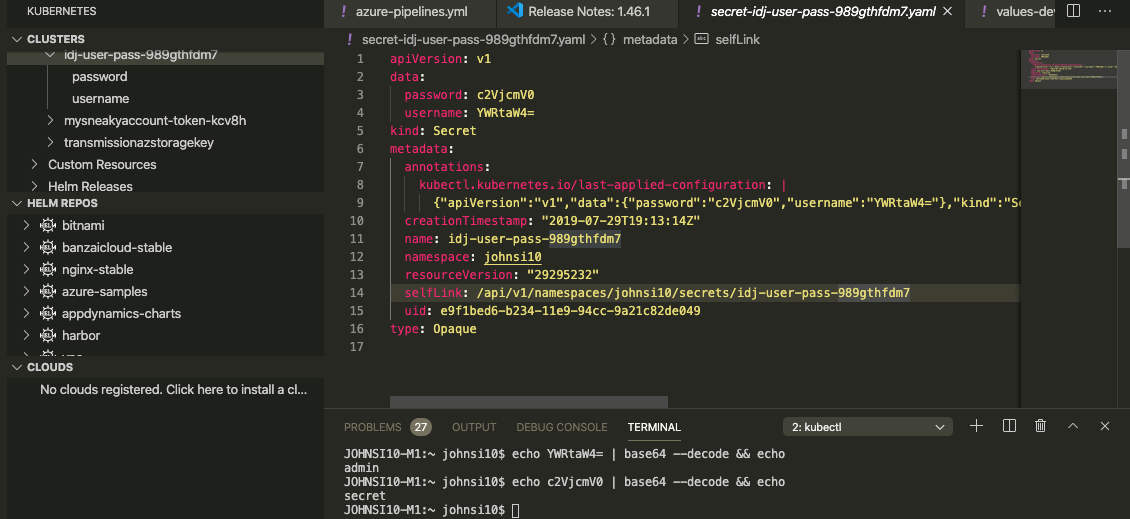
For instance, say I wanted to see a secret defined in my namespace?
We could pull the secret from the Kubernetes explorer and then use the terminal to base64 decode it.
Code on VNC:
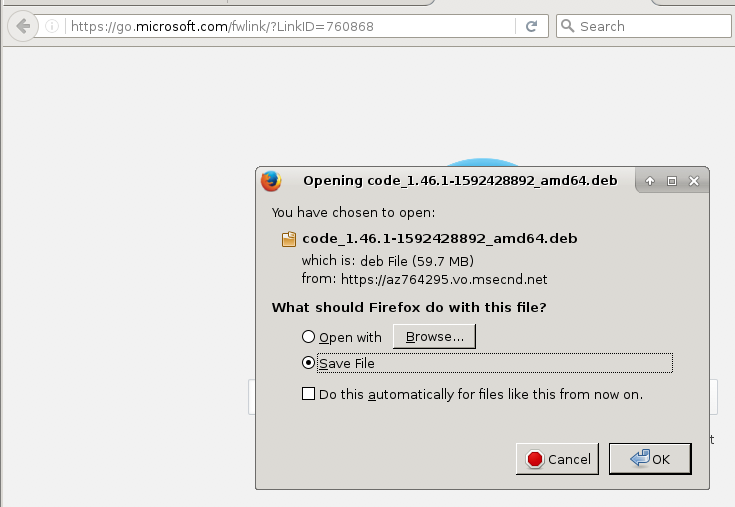
For Ubuntu, you can use the link:
https://go.microsoft.com/fwlink/?LinkID=760868
For RHEL/Cent, you can use the Yum steps:
sudo rpm --import https://packages.microsoft.com/keys/microsoft.asc
sudo sh -c 'echo -e "[code]\nname=Visual Studio Code\nbaseurl=https://packages.microsoft.com/yumrepos/vscode\nenabled=1\ngpgcheck=1\ngpgkey=https://packages.microsoft.com/keys/microsoft.asc" > /etc/yum.repos.d/vscode.repo'
yum check-update
sudo yum install code
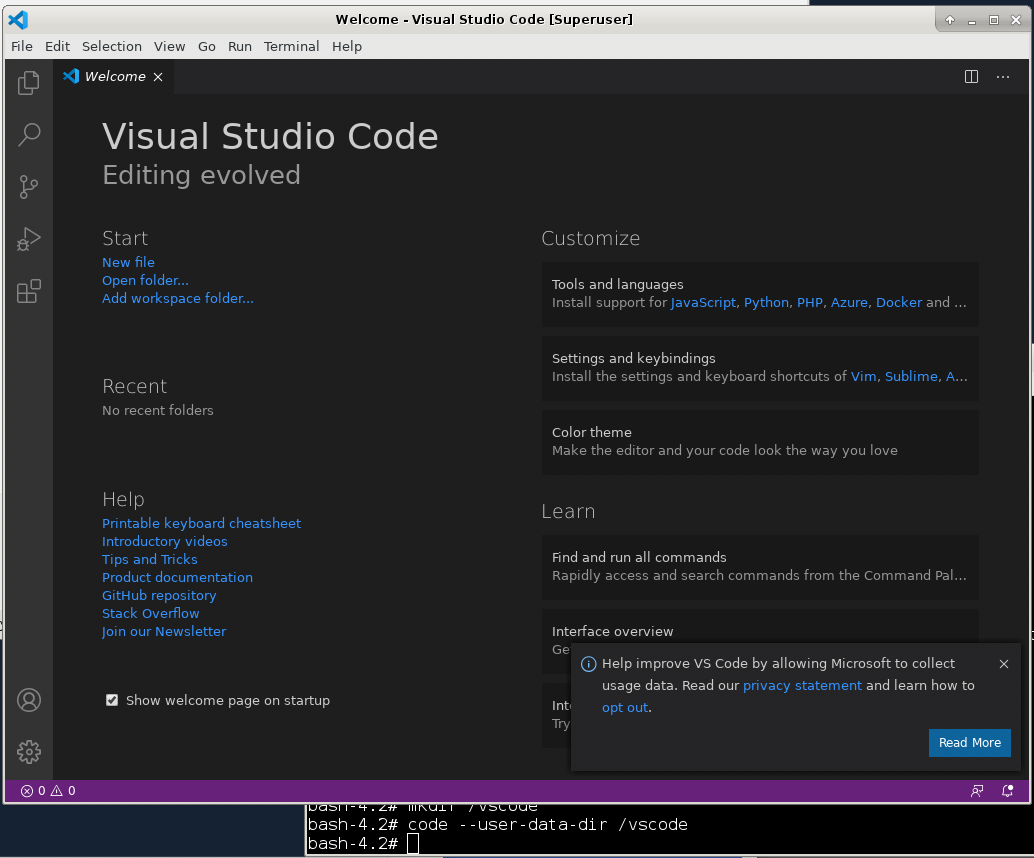
And now we can run code (my containerized VNC runs as root so i have to pass in the user dir)
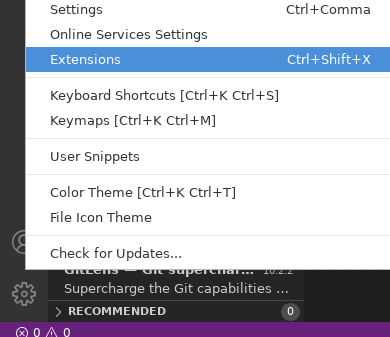
Now we can install codespaces.
Go to extensions:
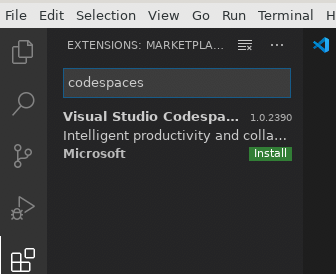
Search and install codespaces:
We can now connect to codespaces from the bottom left

Sadly, my VNC could not sign in regardless of browser.
Self Hosting Codespaces
In a Windows system, i want to self host.
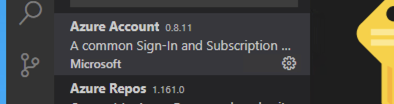
First install the Azure extension
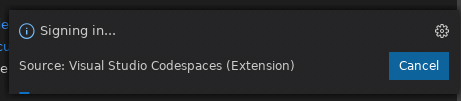
And sign in
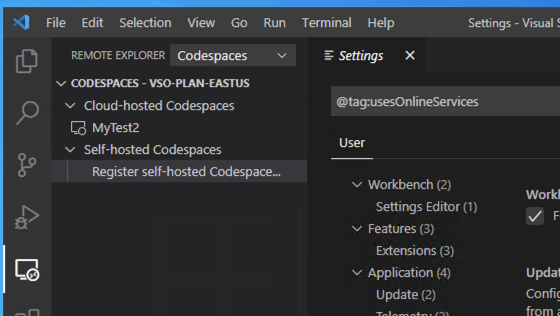
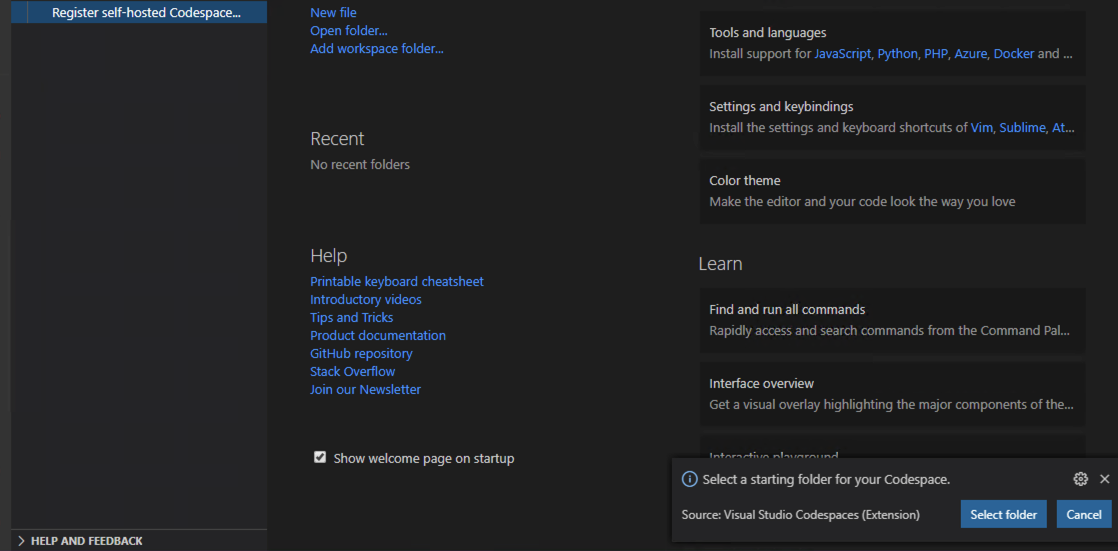
Then click register self-hosted and pick a local workspace. Note: i did need to restart VS Code for it to recognize the Azure plugin was installed and logged in.
Then give a name

Then click register as a process or service. Here we will use service.

Then I’m prompted to login;
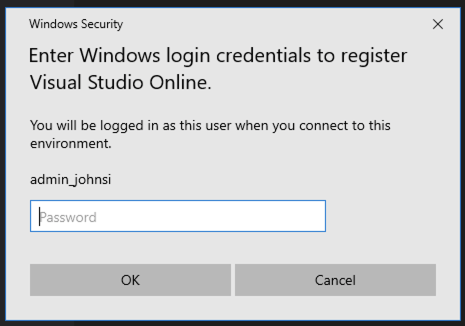
I login as my domain password. The primary reason I am doing this is we use DevTest Labs which have formulas and are a great way to leverage Lab style auto-shutdown/startup to minimize cloud expense on Development machines.
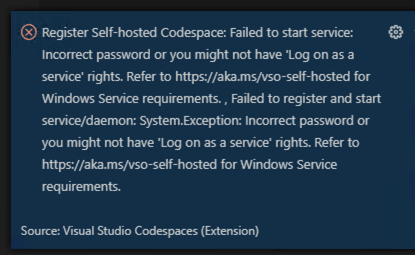
I realized a standard policy blocked adding a service as a user (even as an Administrator):
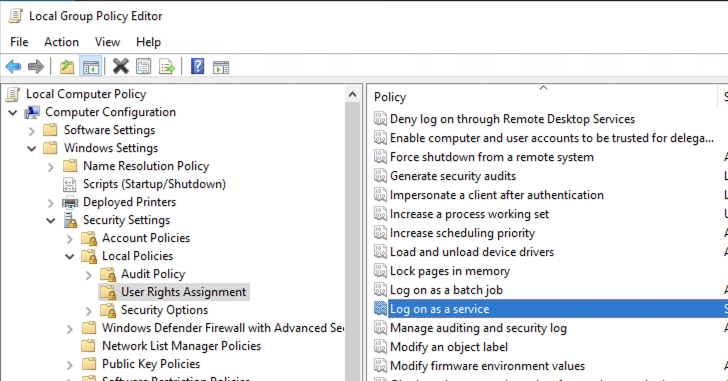
Open the group policy and add your local user (see this guide):
The next time through, after login, i was prompted:
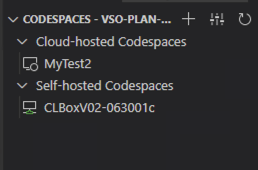
Now I see the box listed:
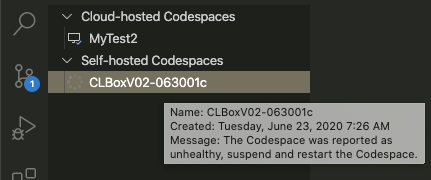
Going back to my mac, i found it didn’t care for it:
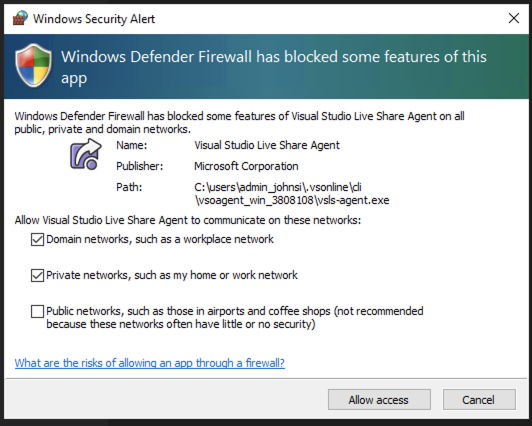
I did later realize most of the core issues were around firewall rules particular to this DTL’s network. You can follow the Microsoft guideon specifics on what ports/protocols to open.
_ Note : if you already have a Self-hosted, you obviously do not see the link to register to a new one. You can find that in the command palette, however to add another:_

A working Example
Let’s show a real example of the power of self hosted.
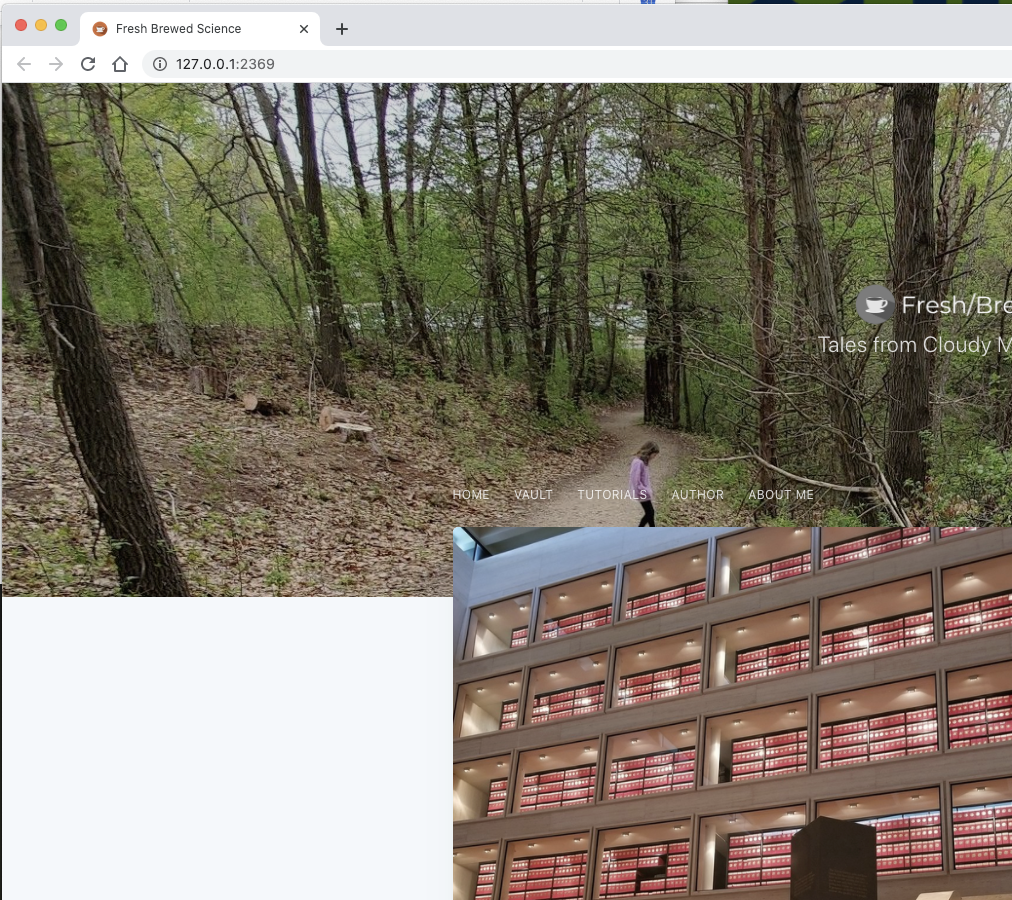
Here i’ll fire up an older copy of this blog:
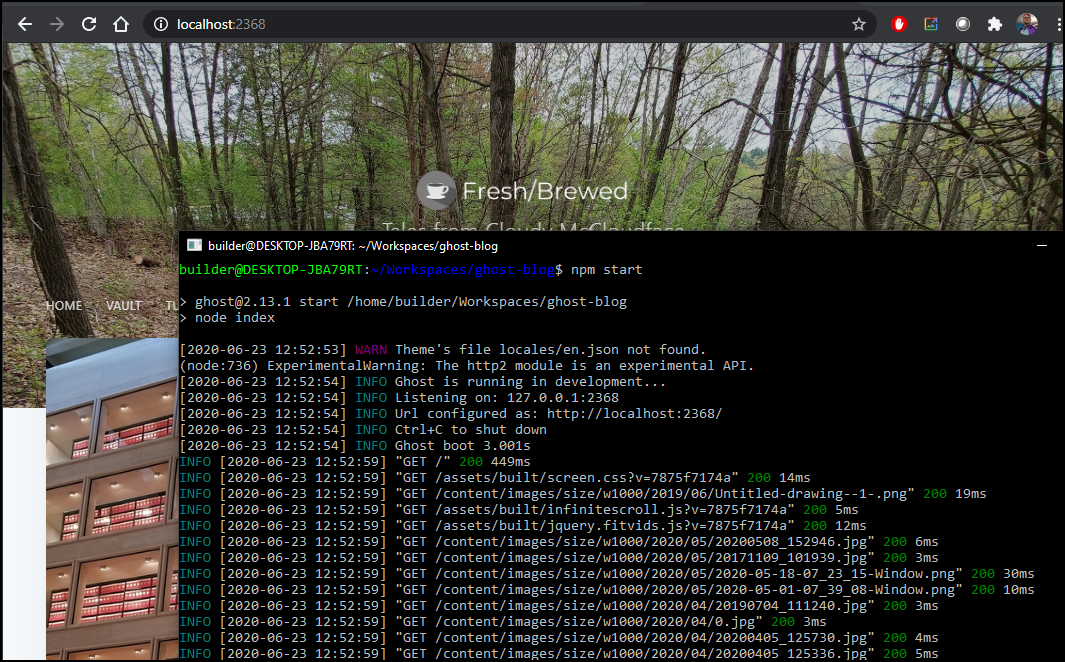
As it runs on ghost, WSL is serving it on :2368. Now i can hop back to my mac and port-forward to that self-hosted codespace
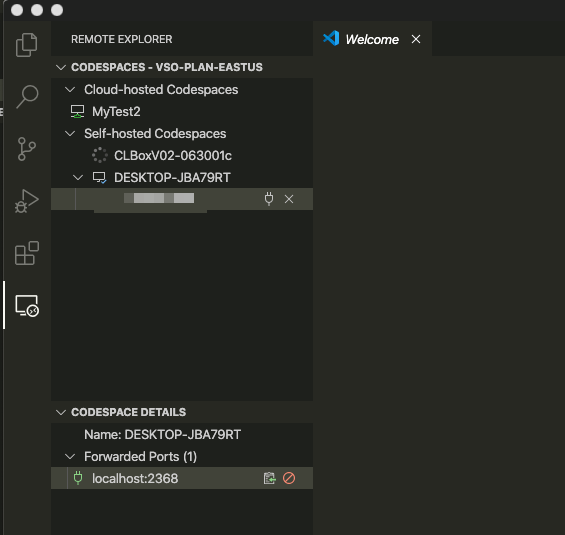
And now on the Mac i can hit localhost:2368 which forwards it through Codespaces back to the PC running the nodejs blog on WSL:
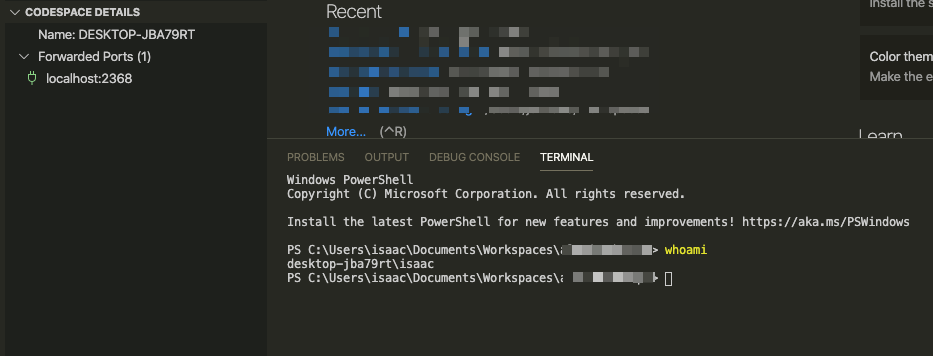
When connected to Codespaces on a remote machine, our terminal also forwards through for remote shell commands:
One last point, I wanted to ensure that connectivity worked across the public internet (and wasn’t dependent on the physical networking between my Mac and PC).
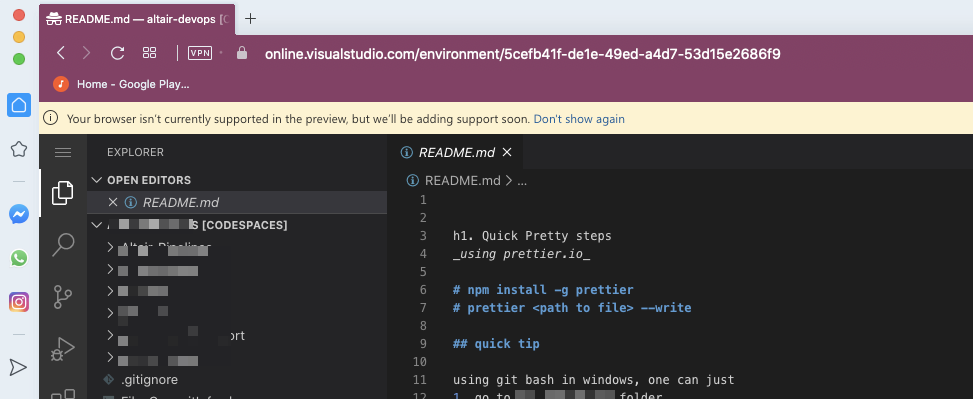
Here we see I can connect back to my Windows desktop from a remote endpoint (using Opera’s built in VPN):
There are more guides on launching containers using Visual Studio Code here: https://code.visualstudio.com/docs/remote/containers
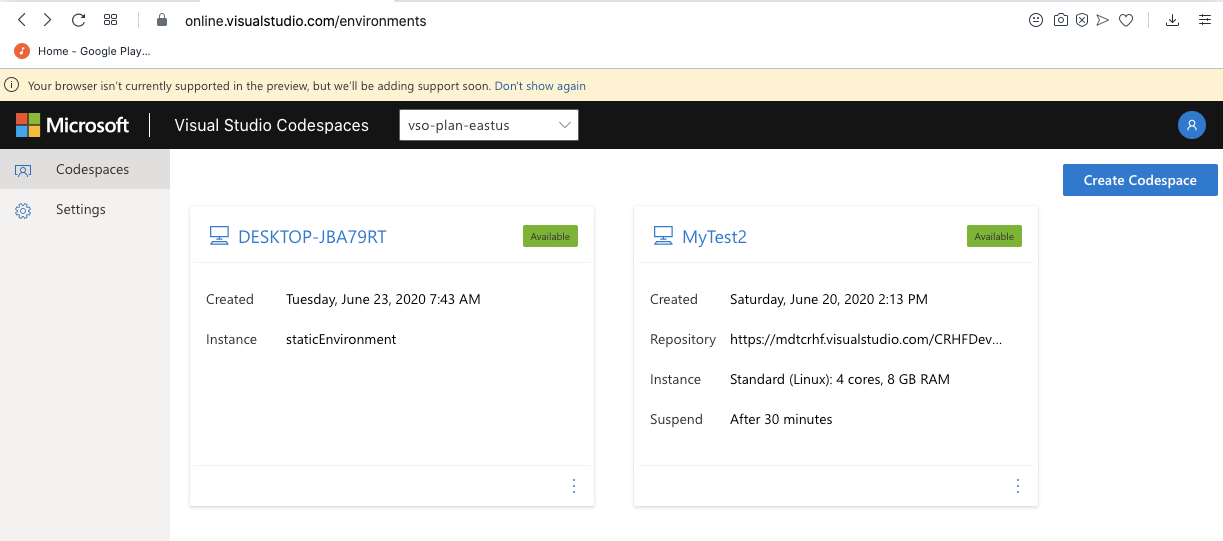
Cleaning up:
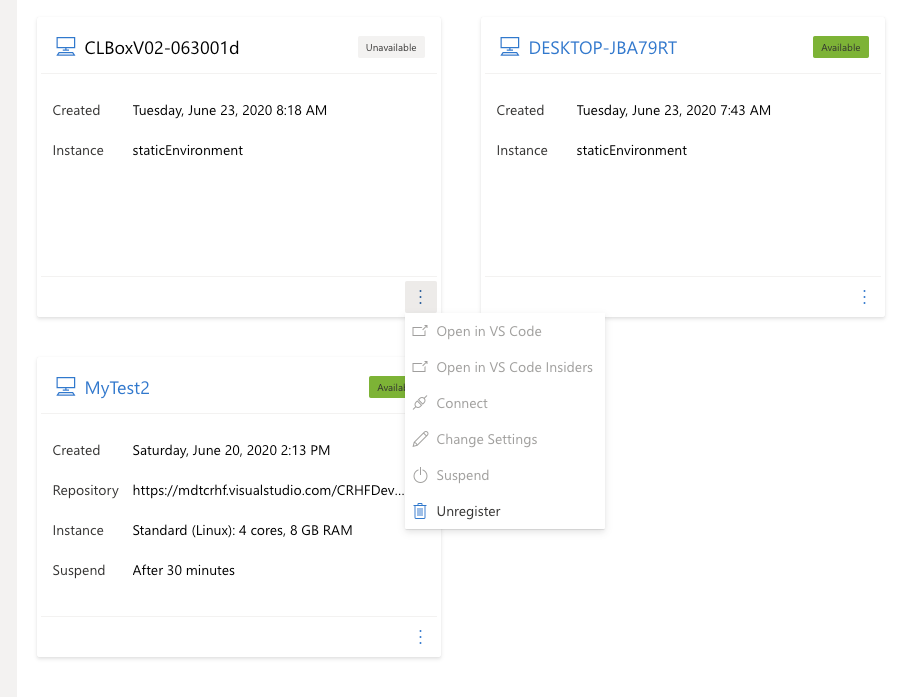
We can go to https://online.visualstudio.com/environments and remove any you do not wish to keep. If you launched Windows Services on those hosts, you’ll need to remove them manually.
Just pick your Codespace and Unregister to remove:
After unregister:
Summary
Codespaces, formerly Visual Studio Online (and VSO was VSTS before VSTS became Azure DevOps) is a great code hosted offering. It was already powerful as a terminal option in the Azure Shell. Now as a first class product, this allows both remote codesharing and debugging in a way that few other tools can do.
Is it useful? I’m writing this right now via codespaces port-forwarding. I’ve always needed to keep multiple working node environments over all my machines to keep the blog up to date. Now i can keep a live version in one place and use remote editing to update it.